Dreamy Coquette Party Food Ideas- Sweet & Chic Recipes
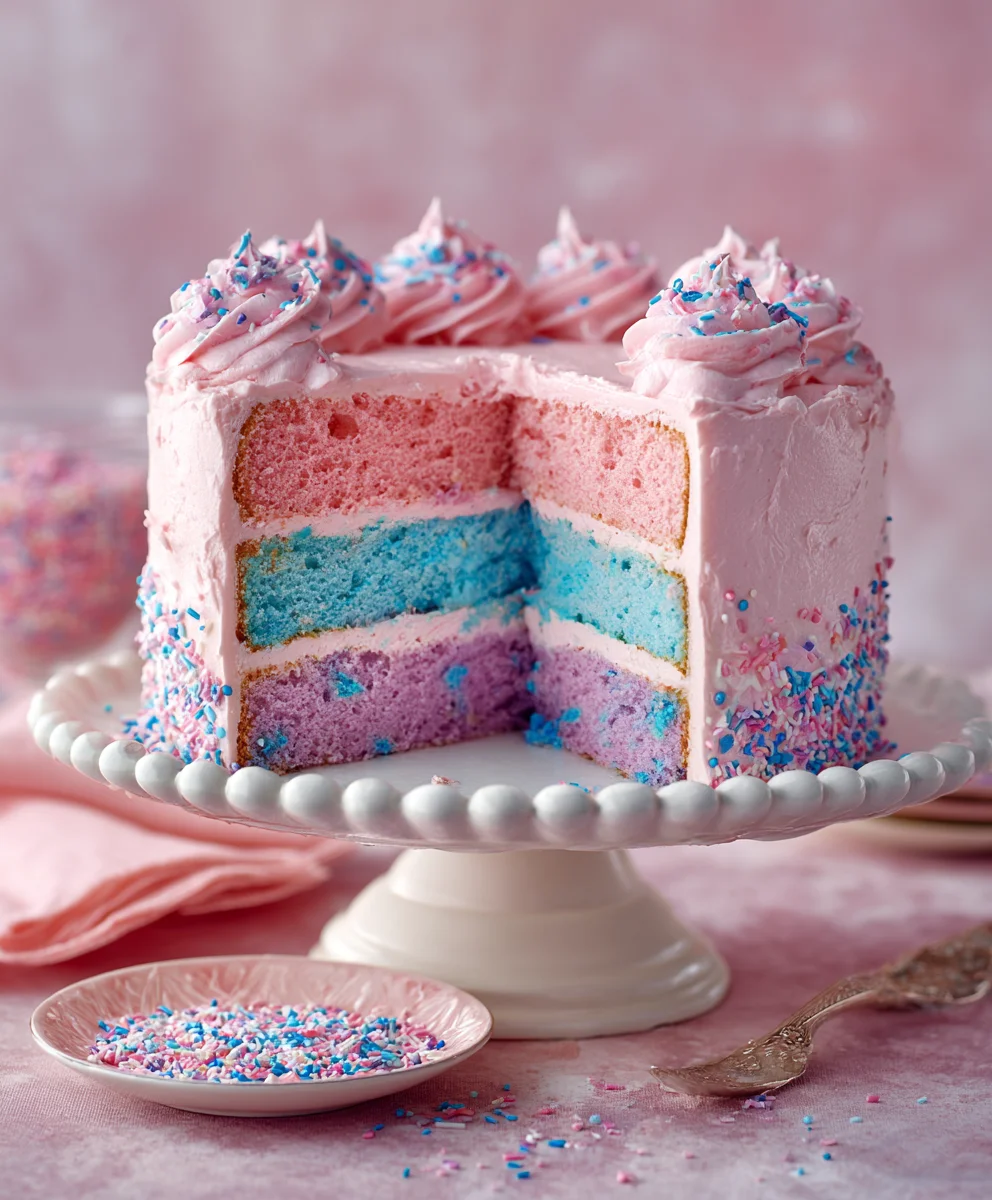
Dreamy Pink & Blue Coquette Party dishes aren’t just food; they’re an experience, a whimsical celebration designed to enchant your guests and make your next gathering utterly unforgettable. Imagin extracte delicate flavors, vibrant colors, and an atmosphere steeped in playful elegance – that’s the magic of a coquette-inspired menu. We’re diving headfirst into a world of sugary delights and savory bites, all curated to embody the charming, romantic, and slightly mischievous spirit of coquette aesthetics. This isn’t about fussy or complicated recipes; it’s about accessible, delightful creations that look as good as they taste, perfect for a birthday bash, a bridal shower, or simply a special occasion that calls for a touch of enchantment. Get ready to assemble a spread that will have everyone oohing and aahing, a true Dreamy Pink & Blue Coquette Party that will be talked about for ages.
Ingredients:
- 2 cups all-purpose flour
- 1 teaspoon baking powder
- 1/2 teaspoon salt
- 1 cup unsalted butter, softened
- 1 3/4 cups granulated sugar
- 2 large eggs
- 1 teaspoon vanilla extract
- 1/2 teaspoon almond extract (optional, but adds a lovely depth)
- 1/2 cup milk (whole milk is best for richness)
- Pink gel food coloring
- Blue gel food coloring
- Powdered sugar for dusting
- Optional: Sprinkles, edible glitter, or small candies for decoration
Preparing the Dough
Step 1: Combine Dry Ingredients
In a medium bowl, whisk together the all-purpose flour, baking powder, and salt. This ensures that the leavening agent and salt are evenly distributed throughout the flour, which is crucial for consistent cookie texture. Set this bowl aside.
Step 2: Cream Butter and Sugar
In a large bowl, using an electric mixer on medium speed, cream the softened unsalted butter and granulated sugar until the mixture is light and fluffy. This process incorporates air into the butter and sugar, which contributes to the cookie’s tender texture and helps them spread slightly during baking. Scrape down the sides of the bowl occasionally to ensure everything is thoroughly mixed.
Step 3: Incorporate Wet Ingredients
Add the large eggs, one at a time, beating well after each addition. Then, stir in the vanilla extract and the almond extract, if using. These extracts provide the foundational flavor for our cookies. Ensure the eggs are fully incorporated before moving on.
Step 4: Alternating Flour and Milk
Gradually add the dry ingredients to the wet ingredients, alternating with the milk. Begin extract by adding about one-third of the flour mixture and mix on low speed until just combined. Then, add half of the milk and mix. Continue this process, adding another third of the flour, the remaining milk, and finally the last of the flour mixture. It’s important not to overmix at this stage. Overmixing can develop the gluten in the flour, resulting in tough cookies. Mix only until the dough just comes together.
Dividing and Coloring the Dough
Step 5: Divide and Color the Dough
Divide the cookie dough evenly into three portions. Leave one portion plain, and to the other two, add your pink and blue gel food coloring. Start with just a few drops of gel coloring, as it’s highly concentrated. Knead the coloring into each portion of dough gently until you achieve your desired vibrant pink and blue hues. For the plain portion, this will be your base white dough. It’s best to use gel food coloring for cookies because it doesn’t add extra moisture, which could alter the cookie’s texture. If you want an even more marbled effect, you can swirl the colors together slightly rather than fully combining them.
Chilling and Shaping
Step 6: Chill the Dough
Wrap each colored portion of dough separately in plastic wrap, and flatten them into discs. Refrigerate the dough for at least 1 hour, or until firm. Chilling the dough is a vital step for several reasons. It solidifies the butter, making the dough easier to handle and less likely to spread excessively during baking. This ensures that your cookies will hold their shape beautifully. You can even chill the dough for up to 2-3 days at this point.
Baking and Decorating
Step 7: Preheat Oven and Prepare Baking Sheets
When you’re ready to bake, preheat your oven to 350°F (175°C). Line baking sheets with parchment paper. This prevents the cookies from sticking and makes for easy cleanup.
Step 8: Shape and Bake the Cookies
Remove the chilled dough from the refrigerator. You can create a variety of coquette-inspired shapes. For a dreamy pink and blue effect, you can roll out each color separately and stack them, then cut out shapes, or you can gently marble pieces of each color together before cutting. Alternatively, you can roll small balls of each color and gently press them together to create a swirled effect on your cookies. Using cookie cutters in whimsical shapes like hearts, bows, or scallops is perfect for a Dreamy Pink & Blue Coquette Party theme. Place the shaped cookies about 1 inch apart on the prepared baking sheets.
Bake for 8-12 minutes, or until the edges are lightly golden brown. The exact baking time will depend on the size and thickness of your cookies. It’s important not to overbake them, as they will continue to firm up as they cool.
Step 9: Cool and Decorate
Allow the cookies to cool on the baking sheets for a few minutes before transferring them to a wire rack to cool completely. Once completely cool, you can dust them lightly with powdered sugar for a delicate, snowy finish. For an extra touch of coquette charm, you can add edible glitter, sprinkles in coordinating pastel colors, or small edible pearls. These decorative elements will truly elevate your cookies for a Dreamy Pink & Blue Coquette Party.
Conclusion:
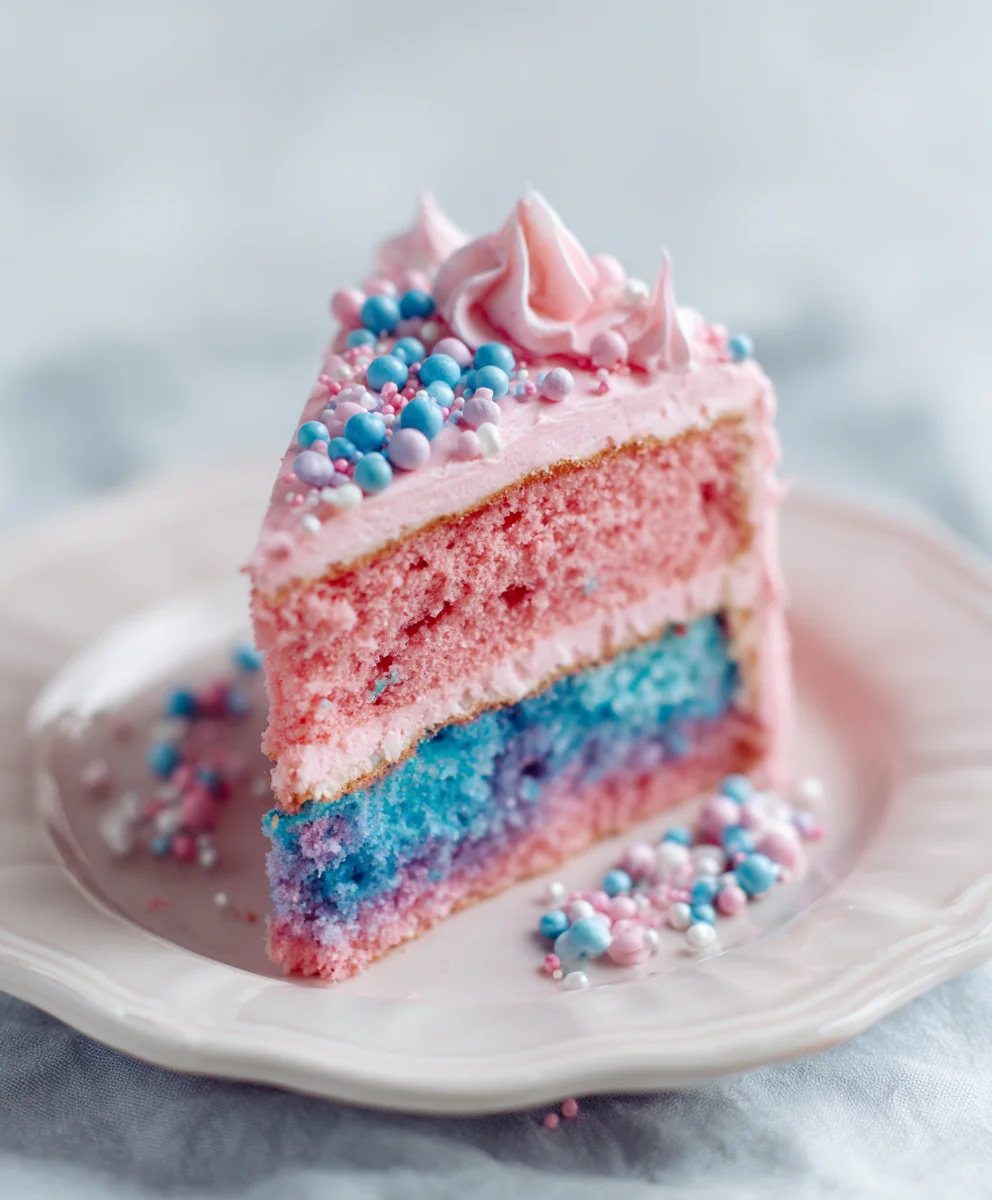
We hope you’ve had as much fun creating and imagin extracting the Dreamy Pink & Blue Coquette Party as we have! This delightful recipe is perfect for adding a touch of whimsical charm to any celebration. The combination of soft pinks and vibrant blues creates a truly enchanting visual appeal, while the sweet flavors are sure to be a hit with guests of all ages. Don’t be afraid to embrace the coquette aesthetic and let your creativity shine!
Serve the Dreamy Pink & Blue Coquette Party as a stunning centerpiece for your dessert table, or as individual treats for a delightful surprise. They pair wonderfully with a light, fruity beverage or a classic cup of tea.
Feel free to get creative with variations! You could experiment with different extracts like rosewater or almond for a unique flavor profile. Edible glitter in coordinating colors can add an extra layer of sparkle, and small fondant bows or pearls can further enhance the coquette theme. Remember, the goal is to have fun and make something truly special!
Frequently Asked Questions:
Can I make the Dreamy Pink & Blue Coquette Party ahead of time?
Absolutely! Most components of the Dreamy Pink & Blue Coquette Party can be prepared a day or two in advance. Store elements separately in airtight containers at room temperature or in the refrigerator, depending on their nature, to maintain freshness. Assemble the final touches closer to serving time for the best presentation.
What other color combinations would work for this recipe?
While pink and blue are quintessential for the coquette aesthetic, this recipe is wonderfully versatile! Consider soft pastels like lavender and mint green, or even a more sophisticated pnon-alcoholic alette of rose gold and ivory. The key is to choose colors that evoke a sense of sweetness and playful elegance.
Are there any non-dairy alternatives for this recipe?
Yes, you can adapt this recipe for non-dairy preferences. For the base, look for plant-based butter substitutes. For any dairy-based coatings or fillings, explore options like coconut cream or cashew-based alternatives. Always check ingredient labels to ensure they are suitable for your dietary needs.
Dreamy Coquette Party Cookies
Sweet and chic cookies perfect for a coquette-themed party, featuring dreamy pink and blue pastel colors and delicate decorations.
Ingredients
-
2 cups all-purpose flour
-
1 teaspoon baking powder
-
1/2 teaspoon salt
-
1 cup unsalted butter, softened
-
1 3/4 cups granulated sugar
-
2 large eggs
-
1 teaspoon vanilla extract
-
1/2 teaspoon almond extract
-
1/2 cup milk
-
Pink gel food coloring
-
Blue gel food coloring
-
Powdered sugar for dusting
-
Sprinkles, edible glitter, or small candies for decoration
Instructions
-
Step 1
Combine the all-purpose flour, baking powder, and salt in a medium bowl and whisk together. Set aside. -
Step 2
Cream softened unsalted butter and granulated sugar in a large bowl with an electric mixer until light and fluffy. Scrape down the sides of the bowl. -
Step 3
Add eggs one at a time, beating well after each addition. Stir in vanilla extract and almond extract. -
Step 4
Gradually add the dry ingredients to the wet ingredients, alternating with the milk. Mix on low speed until just combined. Do not overmix. -
Step 5
Divide the dough into three portions. Leave one plain and color the other two with pink and blue gel food coloring. Knead gently until desired hues are achieved. -
Step 6
Wrap each colored dough portion separately in plastic wrap, flatten into discs, and refrigerate for at least 1 hour until firm. -
Step 7
Preheat oven to 350°F (175°C) and line baking sheets with parchment paper. -
Step 8
Shape the chilled dough into coquette-inspired shapes, such as by stacking and cutting rolled-out colors or marbling pieces together. Place cookies about 1 inch apart on baking sheets. -
Step 9
Bake for 8-12 minutes, or until edges are lightly golden brown. Cool on baking sheets for a few minutes, then transfer to a wire rack to cool completely. -
Step 10
Once cool, dust with powdered sugar. Decorate with edible glitter, sprinkles, or edible pearls for extra coquette charm.
Important Information
Nutrition Facts (Per Serving)
It is important to consider this information as approximate and not to use it as definitive health advice.
Allergy Information
Please check ingredients for potential allergens and consult a health professional if in doubt.