Easy Slam Dunk Basketball Cookies – March Madness Recipe
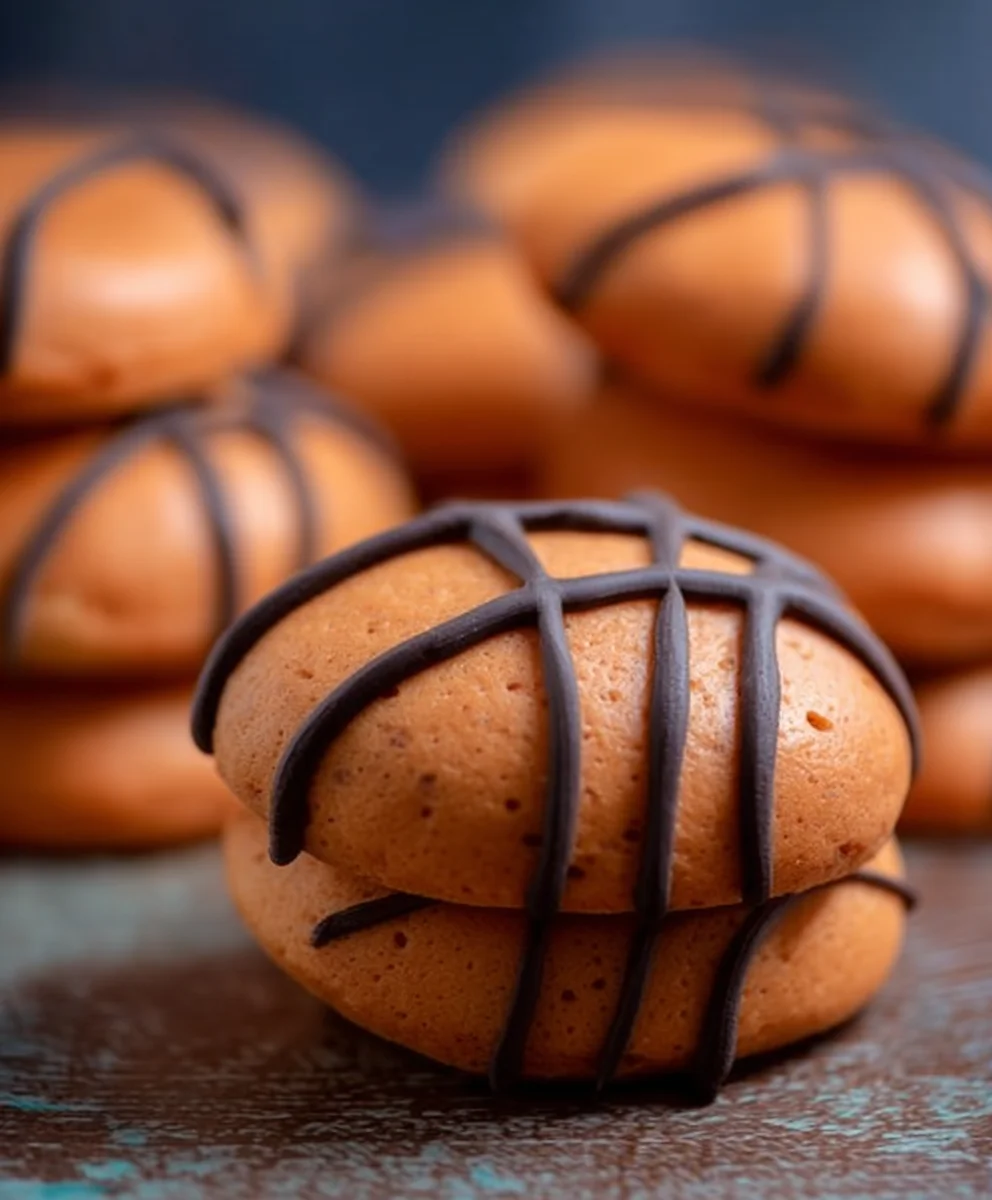
March Madness Recipe: Easy Slam Dunk Basketball Cookies are the ultimate crowd-pleaser for any basketball fan during this exhilarating tournament season. Imagin extracte the cheers and hoots as your guests bite into these perfectly crafted, sweet treats that not only look the part but taste absolutely divine. Why do we love them so much? It’s simple: they capture the spirit of the game with undeniable fun and deliciousness, making them an instant hit whether you’re hosting a watch party or just want to get into the competitive spirit. What truly makes these March Madness Recipe: Easy Slam Dunk Basketball Cookies special is their incredible simplicity. You don’t need to be a professional baker to achieve a show-stopping result. We’re talking about minimal ingredients, straightforward steps, and a final product that will have everyone talking about your game-day spread long after the final buzzer.
Ingredients:
- 12 ounces Wilton orange candy melts
- ¼ cup Wilton black candy melts
- 1 package chocolate sandwich cookies (like Oreo)
- 1 small resealable plastic bag (sandwich size is perfect)
- Scissors
Preparation Steps
Phase 1: Melting the Orange Coating
First, we need to get our orange candy melts ready. These are going to be the base color for our basketball cookies, giving them that authentic look. You’ll want to take your 12 ounces of Wilton orange candy melts and carefully place them into a microwave-safe bowl. It’s important to use a bowl that is specifically designed for melting chocolate or candy melts, as this helps prevent scorching. Microwave the orange candy melts in 30-second intervals, stirring well after each interval. Continue this process until the candy melts are completely smooth and liquid. Be patient here; over-heating can cause the candy melts to seize up or become difficult to work with. Once melted, set this bowl aside. You want the candy to be warm and fluid, but not piping hot, when you start dipping your cookies.
Phase 2: Preparing the Chocolate Sandwich Cookies
Now, let’s get our chocolate sandwich cookies ready for their basketball transformation. Take your entire package of chocolate sandwich cookies and carefully separate each cookie in half. You’ll want to be gentle here to avoid breaking the cookie. The goal is to have two halves for each cookie. We’ll be using the cookie halves as the canvas for our basketball design. You don’t need the cream filling for this recipe, so you can either discard it or save it for another use – perhaps another delicious dessert! Arrange your cookie halves on a clean surface, such as a parchment-lined baking sheet or a large plate, making sure they are in a single layer and not touching each other. This will make it much easier to dip and decorate them without them sticking together.
Phase 3: Dipping the Cookies
This is where the magic starts to happen! Take one chocolate sandwich cookie half and gently dip it into the melted orange candy coating. Use a fork or a dipping tool to ensure the entire surface of the cookie half is covered. Let any excess coating drip back into the bowl for a few seconds. This is crucial for a neat finish. Carefully place the coated cookie half back onto your prepared parchment-lined sheet or plate. Repeat this process for all of your cookie halves. You want to work relatively quickly so the candy melts don’t start to set up too much in the bowl, but don’t rush so much that you make mistakes. If the candy melts start to thicken too much, you can always pop them back into the microwave for another 10-15 seconds on a low power setting to re-liquefy them.
Phase 4: Creating the Basketball Lines
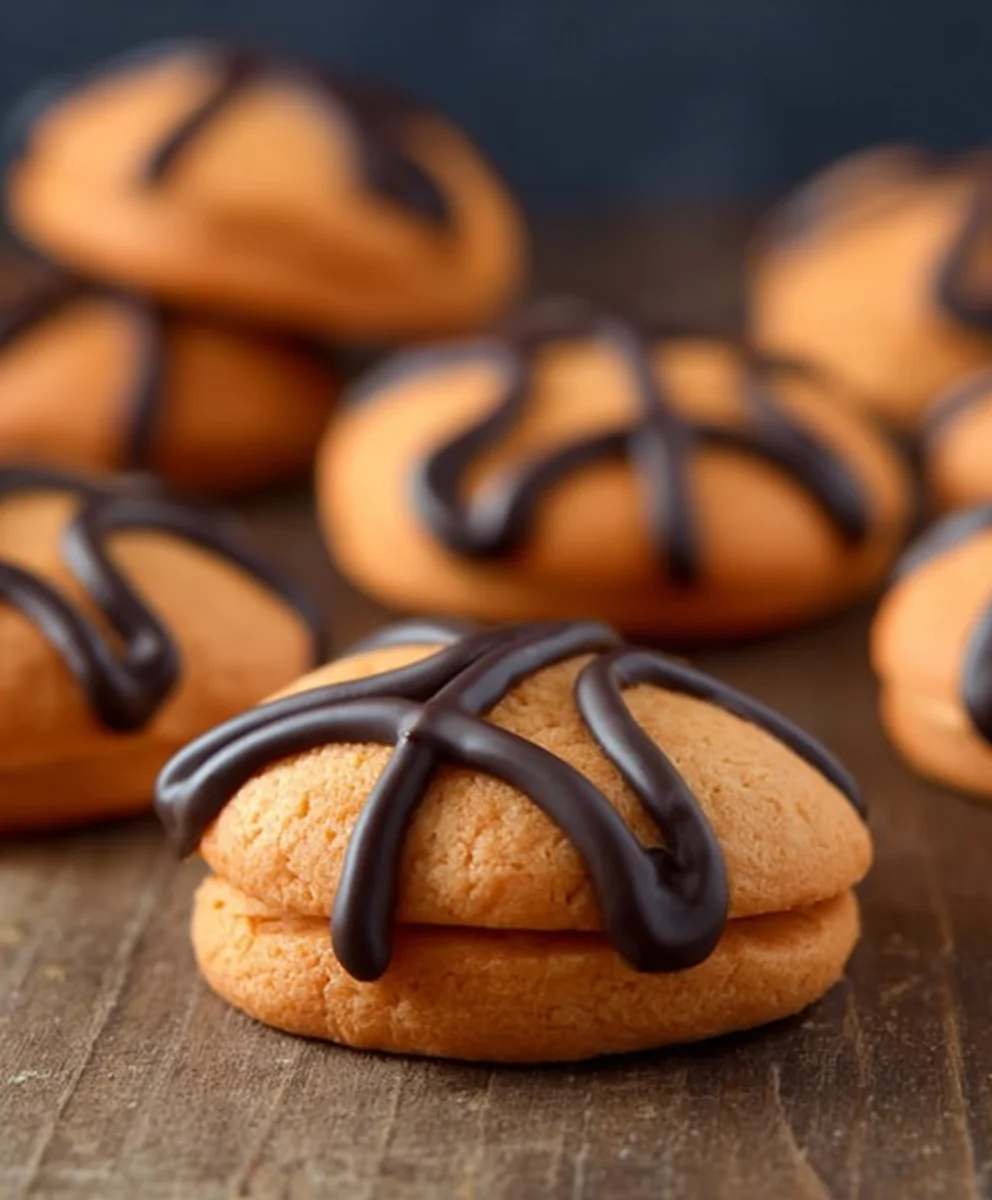
While the orange coating is still wet (or just slightly starting to set), it’s time to add those signature basketball lines. Take your ¼ cup of Wilton black candy melts and place them into the small resealable plastic bag. Seal the bag tightly, making sure to press out as much air as possible. Now, very carefully snip off a tiny corner of the bag. You want the opening to be very small, just big enough to create thin lines. Gently squeeze the bag to pipe thin, curved lines onto the orange-coated cookie halves to resemble the seams of a basketball. Think about the natural curves of a basketball and try to replicate them. You’ll want to create two curved lines that meet at the edges of the cookie, and then a shorter, straighter line connecting those two curves, creating a sort of rounded “X” shape. If you make a mistake, you can often gently nudge the line with a toothpick before it fully hardens, or simply re-melt some orange candy and re-coat that section if necessary.
Phase 5: Setting and Finishing
Now for the final and most patient step: letting your basketball cookies set completely. Once you’ve finished piping the black lines on all your cookies, leave them undisturbed on the parchment-lined sheet or plate. You can place them in the refrigerator for about 10-15 minutes to speed up the setting process, but be aware that condensation can sometimes form on chocolate if it cools too quickly in a very cold environment. Air drying at room temperature until the candy coating is firm and solid is often the best approach for a smooth finish. Once the orange coating and black lines are completely hardened, your March Madness Recipe: Easy Slam Dunk Basketball Cookies are ready to be enjoyed! These are perfect for parties, game nights, or just a fun treat to make with the kids.
Conclusion:
And there you have it! You’ve successfully recreated the March Madness Recipe: Easy Slam Dunk Basketball Cookies, a delightful treat perfect for any game day or sports-themed celebration. These cookies are not only visually appealing but also incredibly simple to make, making them a fantastic activity for families or a quick crowd-pleaser for any gathering. The satisfaction of biting into these perfectly baked, basketball-inspired delights is truly unmatched.
To elevate your cookie experience, consider serving them with a glass of cold milk or a refreshing sports drink. They also pair wonderfully with a scoop of vanilla ice cream for an extra special dessert. Don’t be afraid to get creative with variations! You can experiment with different food coloring for team spirit, add edible glitter for a bit of sparkle, or even incorporate a touch of orange extract into the dough for a subtle citrus twist.
I truly hope you enjoyed making and savoring these March Madness Recipe: Easy Slam Dunk Basketball Cookies. They’re a guaranteed win for any occasion. So go forth and bake with confidence – you’ve got this!
Frequently Asked Questions:
Q1: How can I store these cookies to keep them fresh?
You can store your March Madness Recipe: Easy Slam Dunk Basketball Cookies in an airtight container at room temperature for up to 5 days. Ensure they are completely cooled before storing to prevent condensation.
Q2: Can I make the dough ahead of time?
Absolutely! The dough for the March Madness Recipe: Easy Slam Dunk Basketball Cookies can be made a day or two in advance and stored in the refrigerator. Just allow it to soften slightly at room temperature before rolling and cutting.
Easy Slam Dunk Basketball Cookies – March Madness Recipe
Fun and easy basketball-themed cookies perfect for March Madness parties and events. These cookies use chocolate sandwich cookies dipped in orange candy melts and decorated with black candy melt lines to resemble basketballs.
Ingredients
-
12 ounces Wilton orange candy melts
-
1/4 cup Wilton black candy melts
-
1 package chocolate sandwich cookies
-
1 small resealable plastic bag
-
Scissors
-
Parchment paper (optional, for lining baking sheets)
Instructions
-
Step 1
Melt the orange candy melts in a microwave-safe bowl in 30-second intervals, stirring after each, until completely smooth and liquid. Be careful not to overheat. -
Step 2
Gently separate chocolate sandwich cookies into halves. Arrange the halves in a single layer on a parchment-lined baking sheet or plate, ensuring they don’t touch. -
Step 3
Dip each cookie half into the melted orange candy coating, using a fork or dipping tool to cover the surface. Let excess coating drip off and place the coated cookie back on the prepared sheet. -
Step 4
Place black candy melts in a small resealable plastic bag, seal tightly, and snip off a tiny corner. Pipe thin, curved lines onto the wet orange coating to resemble basketball seams, creating a rounded ‘X’ shape. -
Step 5
Allow the cookies to set completely at room temperature until the coating is firm. For faster setting, refrigerate for 10-15 minutes, but be mindful of condensation.
Important Information
Nutrition Facts (Per Serving)
It is important to consider this information as approximate and not to use it as definitive health advice.
Allergy Information
Please check ingredients for potential allergens and consult a health professional if in doubt.