Cheesy Garlic Butter Corn on the Cob – Easy Recipe
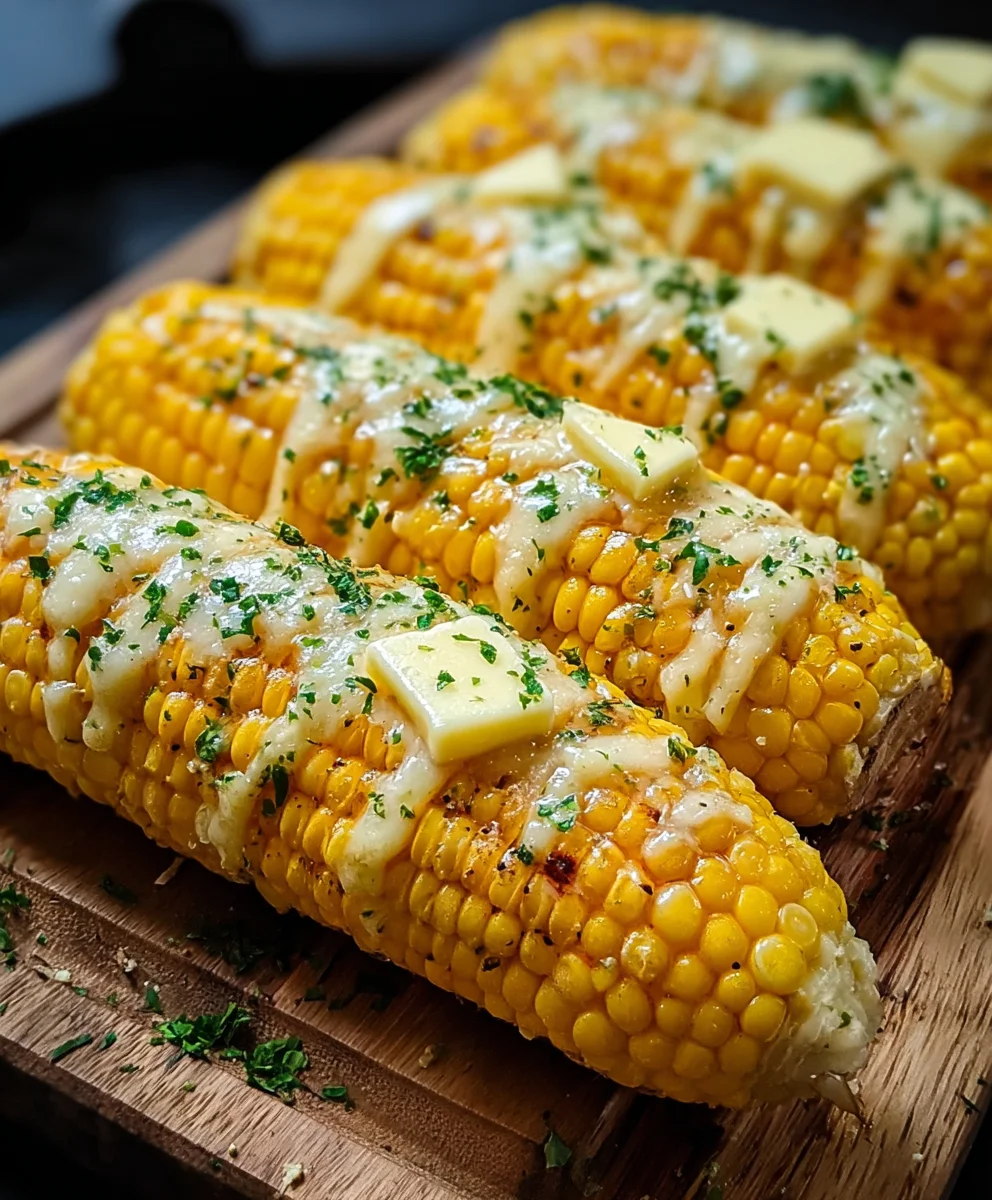
Cheesy Garlic Butter Corn on the Cob is more than just a side dish; it’s a celebration of summer, a nostalgic bite of childhood, and an irresistible indulgence all rolled into one. Who doesn’t adore the sweet, tender kernels bursting with flavor, especially when they’re elevated to this level of decadence? We love it because it’s the ultimate crowd-pleaser, a dish that brings smiles to faces and seconds to plates. But what truly sets this Cheesy Garlic Butter Corn on the Cob apart is the symphony of textures and tastes: the creamy, melty cheese clingin extractg to each kernel, the pungent aroma of toasted garlic, and the rich, buttery goodness that seeps into every crevice. It’s simple to make but tastes like a gourmet masterpiece, proving that sometimes, the most beloved dishes are the ones that embrace pure, unadulterated flavor with open arms.
Get ready to transform your humble corn into an unforgettable culinary experience!
Ingredients:
- 4 ears fresh corn, husked
- ¼ cup (½ stick) unsalted butter, softened
- 2 garlic cloves, minced
- 1 tbsp chopped fresh parsley
- ½ tsp salt
- ¼ tsp black pepper
- ½ cup grated Parmesan cheese
- 1 tsp lemon zest (optional)
Prepare the Corn
Step 1: Getting the Corn Ready
The first step to achieving perfectly tender and flavorful corn on the cob is to properly prepare the ears. Once you’ve husked your four ears of fresh corn, you’ll want to gently run your hands over them to remove any remaining silk. A paper towel or a clean kitchen towel works wonderfully for this. Just rub the ears up and down, and the silk should come away easily. Don’t worry if you miss a few strands; they’re unlikely to impact the final taste. For this recipe, we’re going to cook the corn directly on the cob, so no need to cut it into pieces yet.
Make the Flavorful Topping
Step 2: Crafting the Cheesy Garlic Butter Mixture
This is where all the deliciousness truly begin extracts! In a medium bowl, combine your softened unsalted butter, two minced garlic cloves, one tablespoon of chopped fresh parsley, half a teaspoon of salt, and a quarter teaspoon of black pepper. Make sure your butter is indeed softened – this is crucial for easy mixing and even distribution over the corn. If your butter is too hard, you can microwave it in very short bursts (5-10 seconds at a time), being careful not to melt it completely. Mash everything together with a fork until it’s well combined and forms a fragrant paste. If you’re using the lemon zest, this is the perfect time to add it to the butter mixture. The zest adds a bright, zesty note that beautifully complements the richness of the butter and garlic, but it’s entirely optional. Just give it a good stir to incorporate.
Step 3: Incorporating the Parmesan Cheese
Now, it’s time to add the star of the show for that irresistible cheesy flavor: the grated Parmesan cheese. Add the half cup of grated Parmesan cheese to your butter mixture. Continue to stir and mash until the Parmesan is evenly distributed throughout the butter. You want a cohesive, spreadable mixture that will cling to the corn kernels. This cheesy garlic butter spread is what will transform simple corn on the cob into a decadent treat. Don’t be tempted to skimp on the cheese; it really makes a difference!
Cooking the Corn
Step 4: Coating the Corn with the Cheesy Butter
With your flavorful cheesy garlic butter spread ready, it’s time to coat the corn. Take one ear of corn at a time and generously spread a thick layer of the butter mixture all over it. Use a knife or a small spatula to ensure you get an even coating from top to bottom, making sure to get into all the nooks and crannies between the kernels. Don’t be shy with the spread; the more you use, the more flavorful your corn will be. Once an ear is coated, you can place it on a piece of aluminum foil. Repeat this process for all four ears of corn, ensuring each one is generously slathered with the cheesy garlic butter.
Step 5: Wrapping and Roasting for Maximum Flavor Infusion
Once all four ears of corn are coated and placed on separate pieces of aluminum foil, it’s time to wrap them up. Create a foil packet for each ear of corn, sealing the edges tightly to keep all that delicious butter and cheese contained. This steaming process inside the foil helps the corn to cook perfectly and allows the flavors to meld beautifully. Preheat your oven to 400°F (200°C). Carefully place the foil-wrapped corn packets directly onto the oven rack or onto a baking sheet. Roast for 20 to 25 minutes. The exact cooking time will depend on the thickness of your corn ears and your oven. You’ll know they’re ready when the corn is tender and the butter mixture is melted and bubbling.
Step 6: The Final Touch – Broiling for Golden Perfection
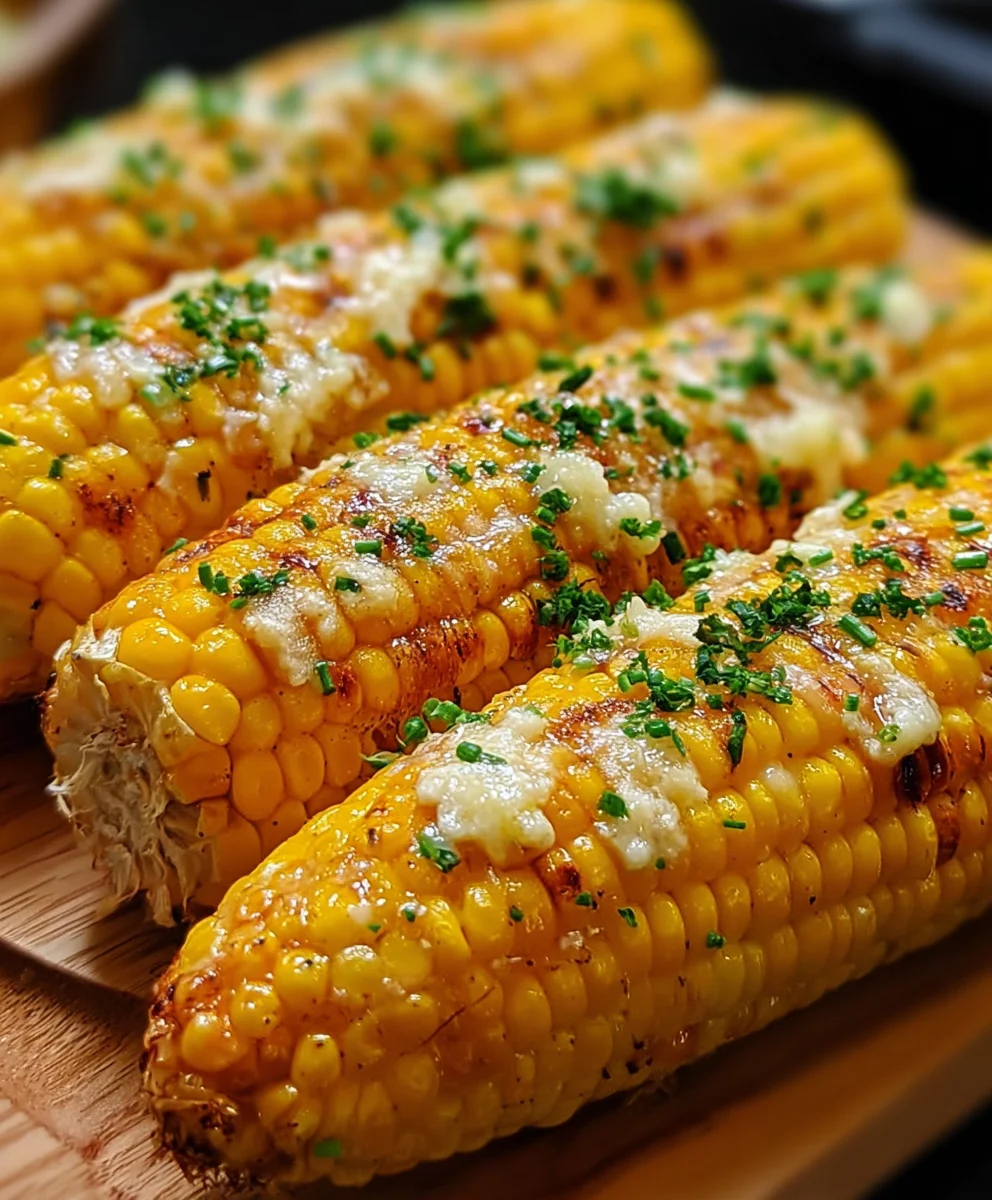
For that extra special touch and a delightful golden-brown finish, we’re going to carefully unwrap the corn after the initial roasting. Once the 20-25 minutes are up and the corn is tender, very carefully open the foil packets. Be cautious of the steam that will escape. You’ll see the melted, garlicky, cheesy goodness coating the corn. At this point, you can sprinkle a little extra Parmesan cheese and chopped parsley over the top if you wish for an even more indulgent presentation. For that irresistible crispy edge, turn your oven’s broiler on high. Place the unwrapped corn back under the broiler for just 1-3 minutes, watching it very closely. The goal is to lightly toast the butter and cheese on the surface, not to burn it. This step adds a wonderful textural contrast and a deeper, more complex flavor profile. Remove from the broiler immediately once it reaches your desired level of golden brown.
Conclusion:
There you have it – a foolproof guide to creating the most delicious Cheesy Garlic Butter Corn on the Cob! We’ve explored the simple steps to achieving perfectly tender corn infused with a rich, savory blend of garlic and butter, all topped with a glorious melted cheese finish. This recipe is a guaranteed crowd-pleaser and a fantastic way to elevate a simple summer staple into something truly special. I encourage you to give this Cheesy Garlic Butter Corn on the Cob a try; you won’t be disappointed!
Serve this delightful corn as a side dish to grilled meats, burgers, or even alongside a hearty salad. It’s also incredibly versatile. Feel free to experiment with different types of cheese, like Monterey Jack or a spicy pepper jack, for an extra kick. You could also add a sprinkle of fresh herbs like chives or parsley after baking for a pop of color and freshness. Don’t be afraid to make this Cheesy Garlic Butter Corn on the Cob your own!
Frequently Asked Questions:
Can I use frozen corn?
While fresh corn is ideal for its sweetness and texture, you can use frozen corn. Thaw it completely and drain off any excess water before proceeding with the recipe. You might need to adjust the cooking time slightly.
What if I don’t have fresh garlic?
If fresh garlic isn’t available, you can substitute it with 1 teaspoon of garlic powder for every clove of fresh garlic called for. However, fresh garlic will provide a more robust and authentic flavor to your Cheesy Garlic Butter Corn on the Cob.
How can I make this recipe dairy-free?
To make this dairy-free, use a plant-based butter substitute and a dairy-free shredded cheese alternative. Many delicious vegan options are available that will melt beautifully and offer a similar cheesy appeal.
Cheesy Garlic Butter Corn on the Cob – Easy Recipe
A simple and delicious recipe for cheesy garlic butter corn on the cob, roasted to perfection with a golden broiled finish.
Ingredients
-
4 ears fresh corn, husked
-
¼ cup (½ stick) unsalted butter, softened
-
2 garlic cloves, minced
-
1 tbsp chopped fresh parsley
-
½ tsp salt
-
¼ tsp black pepper
-
½ cup grated Parmesan cheese
-
1 tsp lemon zest (optional)
Instructions
-
Step 1
Gently run your hands over the husked corn ears to remove any remaining silk. A paper towel or clean kitchen towel works well for this. Do not cut the corn. -
Step 2
In a medium bowl, combine softened unsalted butter, minced garlic, chopped fresh parsley, salt, and black pepper. Mash with a fork until well combined and forms a fragrant paste. Add lemon zest now if using and stir. -
Step 3
Add grated Parmesan cheese to the butter mixture and continue to stir and mash until the Parmesan is evenly distributed. The mixture should be cohesive and spreadable. -
Step 4
Generously spread a thick layer of the cheesy garlic butter mixture all over each ear of corn using a knife or spatula. Place each coated ear on a separate piece of aluminum foil. -
Step 5
Preheat oven to 400°F (200°C). Tightly wrap each ear of corn in its foil packet. Place packets directly onto the oven rack or a baking sheet and roast for 20 to 25 minutes, or until corn is tender and butter is melted and bubbling. -
Step 6
Carefully open the foil packets, being cautious of steam. Turn oven broiler on high. Place unwrapped corn back under the broiler for 1-3 minutes, watching very closely, until the butter and cheese are lightly toasted and golden brown. Remove immediately once desired color is reached.
Important Information
Nutrition Facts (Per Serving)
It is important to consider this information as approximate and not to use it as definitive health advice.
Allergy Information
Please check ingredients for potential allergens and consult a health professional if in doubt.