Cheesy Pizza Bombs Recipe – Easy & Delicious Bites
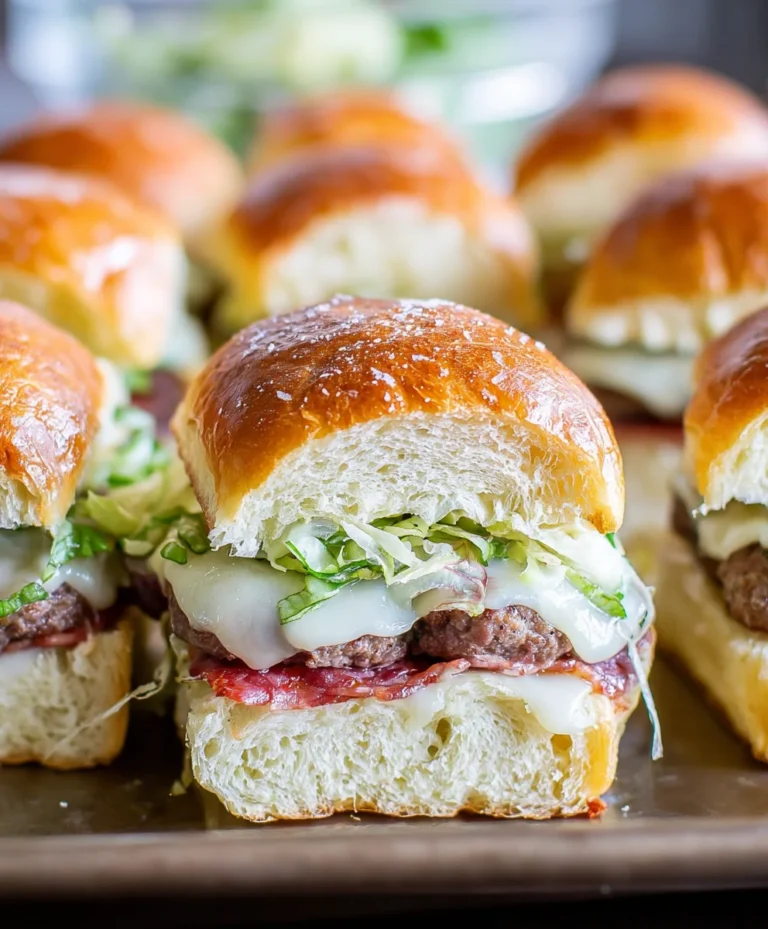
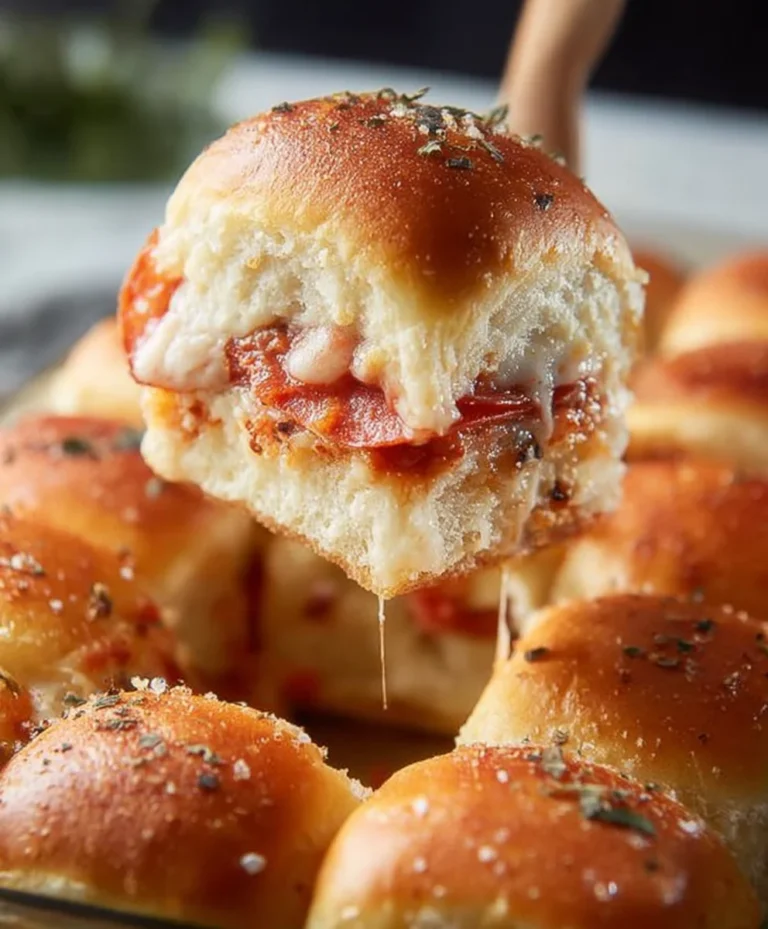
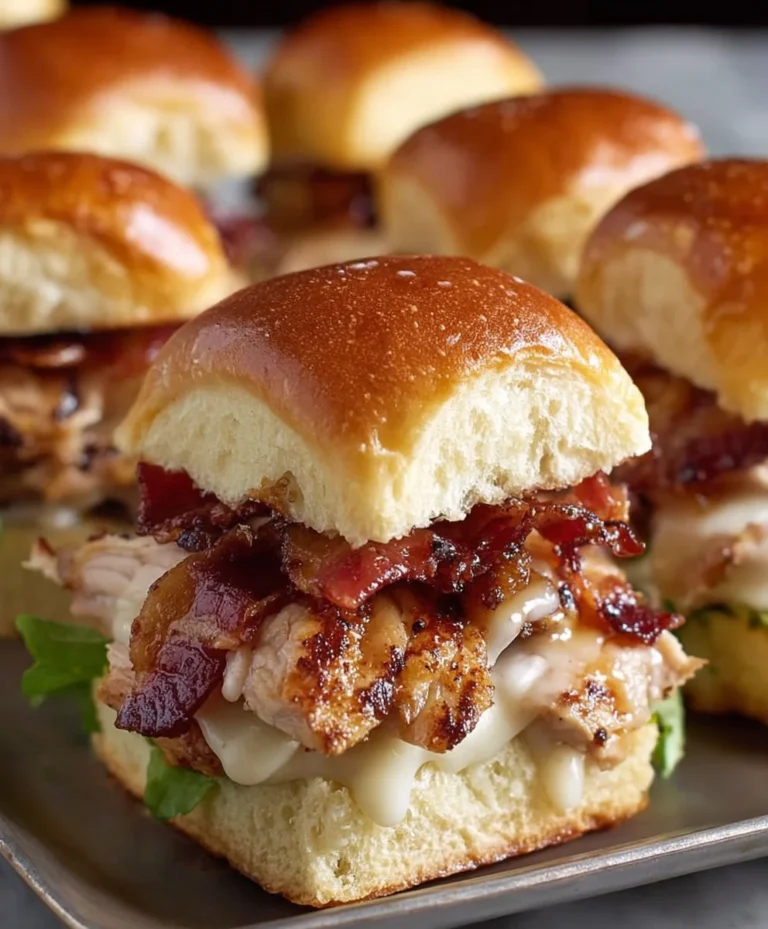
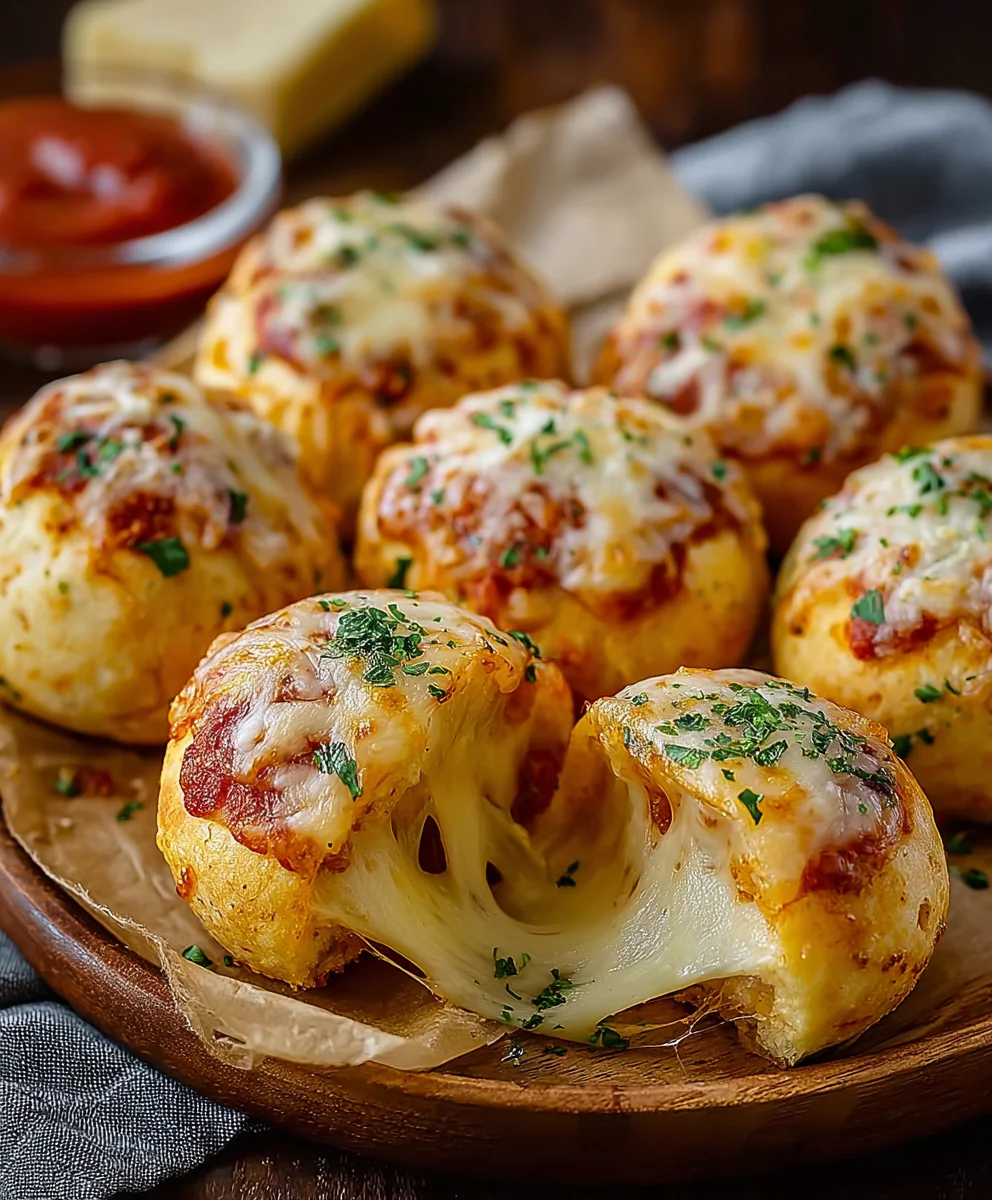
Cheesy Pizza Bombs are more than just a snack; they are miniature explosions of pure joy, perfect for parties, game nights, or simply satisfying that late-night craving. Imagin extracte biting into a perfectly golden-brown sphere, the outer crust giving way to a molten, gooey center bursting with all the classic flavors of your favorite pizza. What’s not to love? These delightful little morsels manage to capture the essence of pizza – the tangy tomato sauce, the savory beef pepperoni or your preferred topping, and of course, that irresistible, stretchy cheese – all wrapped up in a fun, bite-sized package. The magic of Cheesy Pizza Bombs lies in their versatility and the sheer delight they bring to any occasion. They’re incredibly satisfying, surprisingly easy to make, and guaranteed to disappear faster than you can say “more, please!” Get ready to elevate your snack game with this incredibly addictive recipe.
Ingredients:
- 1 can (16 oz) refrigerated biscuit dough (this usually contains 8 large biscuits)
- 1/2 cup pizza sauce, plus extra for dipping on the side
- 1 cup shredded mozzarella cheese
- 1/4 cup mini beef beef pepperoni (or regular beef pepperonieroni, chopped into smaller pieces if you prefer)
- 1 teaspoon Italian seasoning
- 1/4 cup unsalted butter, melted
- 1 tablespoon grated Parmesan cheese
Preparing the Cheesy Pizza Bombs
Preheating and Assembly Prep
Let’s get started on these delicious Cheesy Pizza Bombs! The first crucial step is to preheat your oven to 375 degrees Fahrenheit (190 degrees Celsius). This ensures that our pizza bombs cook evenly and develop that perfect golden-brown crust. While the oven is heating up, take out a baking sheet and line it with parchment paper. This makes cleanup a breeze and prevents any cheesy goodness from sticking to your pan. Now, open up your can of refrigerated biscuit dough. You should find about 8 large biscuits inside. Gently separate them, being careful not to tear the dough. We’ll be working with these one by one to create our pizza bombs.
Filling and Sealing the Bombs
This is where the magic happens! Take one biscuit dough round and flatten it slightly with your fingers or a rolling pin to about a 4-inch circle. Don’t worry if it’s not perfectly round; rustic is good! Now, in a small bowl, mix together your shredded mozzarella cheese, beef pepperoni pepperoni, and Italian seasoning. This will be our flavorful filling. Place about one tablespoon beef pepperoniheesy pepperoni mixture into the center of your flattened biscuit dough. Now, it’s time to bring the edges of the biscuit dough up and pinch them together tightly to seal the filling inside. You want to ensure there are no gaps where the cheese can escape during baking. Think of it like wrapping a present securely. Make sure to pinch very firmly at the top. If any dough overlaps, that’s perfectly fine. Repeat this process with the remaining biscuit dough rounds and filling until all your pizza bombs are formed.
Baking to Golden Perfection
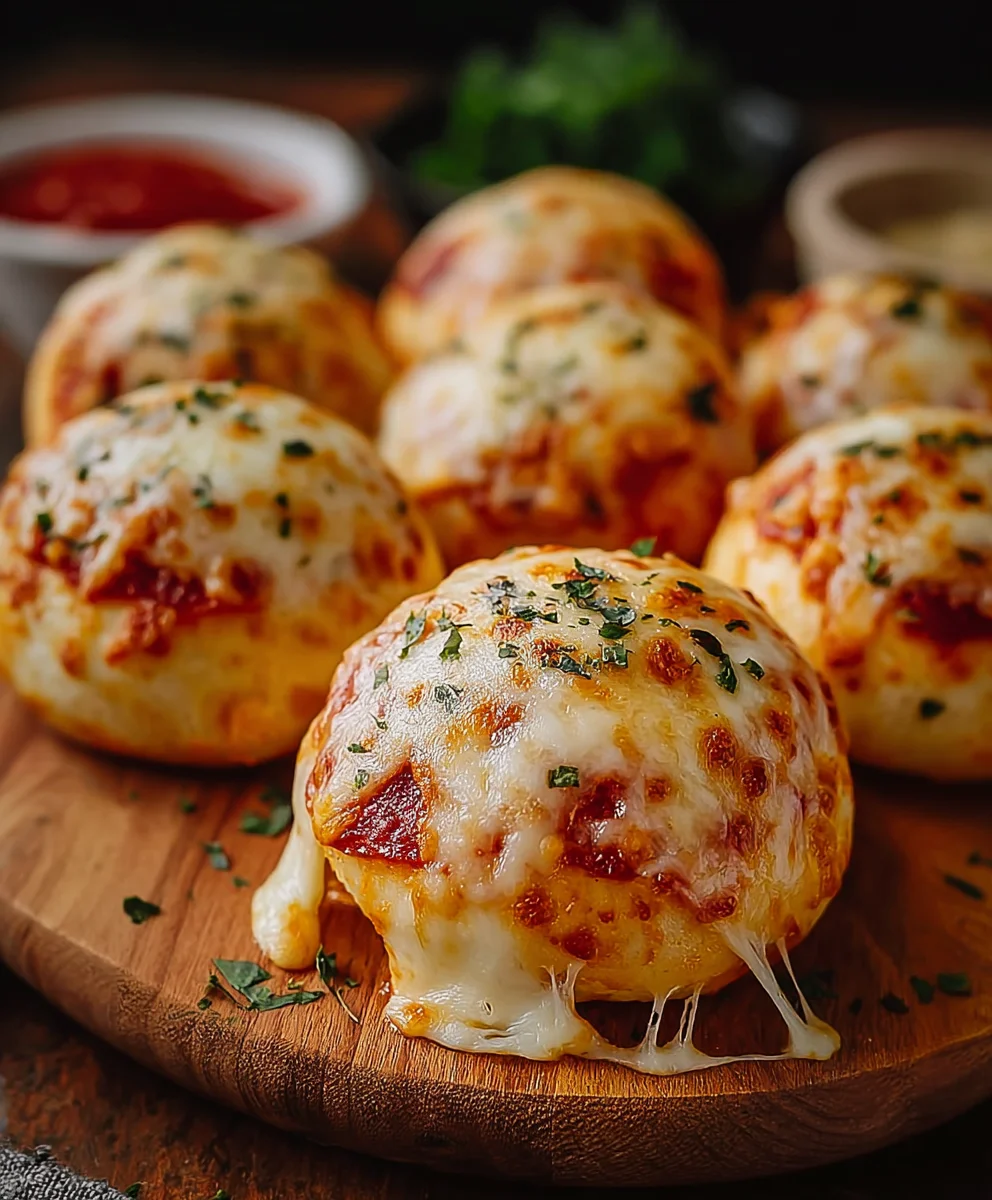
Once all your Cheesy Pizza Bombs are formed and senon-alcoholic aled, carefully arrange them on your prepared baking sheet. Make sure to leave a little space between each one, as they will puff up slightly as they bake. Now, it’s time to bake them in your preheated oven. They will need approximately 12 to 15 minutes to bake. You’re looking for them to be puffed up, golden brown on the outside, and the cheese should be melted and gooey within. Keep an eye on them during the last few minutes, as oven temperatures can vary. If they seem to be browning too quickly on top, you can loosely tent them with aluminum foil. The key is a beautiful, toasted exterior that promises a molten, cheesy center.
The Irresistible Butter Glaze
While your pizza bombs are baking, it’s the perfect time to prepare our irresistible butter glaze. In a small bowl, combine the melted butter with the grated Parmesan cheese. Give it a good stir to ensure the Parmesan is evenly distributed. This simple glaze is going to add an extra layer of savory flavor and a beautiful sheen to our finished Cheesy Pizza Bombs, elevating them from just good to absolutely amazing. It’s this little extra step that makes all the difference, adding that classic pizza crust flavor we all love.
As soon as your Cheesy Pizza Bombs come out of the oven, they are still piping hot and ready for their finishing touch. Immediately brush the tops of each warm pizza bomb generously with the prepared butter and Parmesan glaze. The heat from the bombs will help the glaze melt and coat them perfectly. Let them cool on the baking sheet for just a few minutes before transferring them to a serving platter. This allows them to set slightly. Serve your glorious Cheesy Pizza Bombs warm with your extra pizza sauce on the side for dipping. Get ready for everyone to rave about these irresistible bite-sized delights!
Conclusion:
We’ve reached the end of our delicious journey creating these incredible Cheesy Pizza Bombs! I hope you’ve enjoyed this recipe and are as excited as I am to dive into these savory, bite-sized delights. These Cheesy Pizza Bombs are truly a crowd-pleaser, perfect for parties, game nights, or just a fun family dinner. The combination of gooey cheese, tangy sauce, and your favorite pizza toppings encased in a soft, chewy dough is simply irresistible. Don’t be afraid to experiment with different cheeses and fillings to make them your own!
I love serving these Cheesy Pizza Bombs warm, straight from the oven, with an extra side of marinara sauce for dipping. They also pair wonderfully with a fresh green salad for a complete meal. Remember, the beauty of this recipe lies in its versatility. Feel free to add cooked Italian sausage, beef pepperoni, mushrooms, or even some spinach for added flavor and texture. Get creative and have fun with it!
Frequently Asked Questions:
Can I make Cheesy Pizza Bombs ahead of time?
Yes, you can definitely prepare the dough and fillings ahead of time. You can assemble the Cheesy Pizza Bombs and refrigerate them for up to 24 hours before baking. You may need to add a few extra minutes to the baking time if they are coming directly from the refrigerator.
What are some other filling ideas for Cheesy Pizza Bombs?
Beyond the clabeef pepperonieroni and mozzarella, consider using pesto and sundried tomatoes, a mix of cheddar and jalapeños for a spicy kick, or even some cooked and crum extractbled Italian sausage with ricotta cheese. The possibilities are endless, so feel free to get adventurous with your favorite pizza toppings!
Cheesy Pizza Bombs Recipe – Easy & Delicious Bites
Easy and delicious bite-sized pizza bombs made with refrigerated biscuits, mozzarella cheese, pepperoni, and a savory butter glaze.
Ingredients
-
1 can (16 oz) refrigerated biscuit dough (8 biscuits)
-
1/2 cup pizza sauce, plus extra for dipping
-
1 cup shredded mozzarella cheese
-
1/4 cup mini beef pepperoni, chopped
-
1 teaspoon Italian seasoning
-
1/4 cup unsalted butter, melted
-
1 tablespoon grated Parmesan cheese
Instructions
-
Step 1
Preheat oven to 375°F (190°C). Line a baking sheet with parchment paper. Separate the 8 refrigerated biscuit dough rounds. -
Step 2
Flatten each biscuit dough round to about a 4-inch circle. In a small bowl, mix shredded mozzarella cheese, beef pepperoni, and Italian seasoning. -
Step 3
Place about 1 tablespoon of the cheese and pepperoni mixture into the center of each flattened biscuit dough. Pinch the edges together tightly to seal the filling inside. -
Step 4
Arrange the formed pizza bombs on the prepared baking sheet, leaving space between them. Bake for 12-15 minutes, or until puffed, golden brown, and cheese is melted and gooey. -
Step 5
While baking, combine melted butter and grated Parmesan cheese in a small bowl. Stir well. -
Step 6
Immediately brush the tops of the warm pizza bombs with the butter and Parmesan glaze. Let cool for a few minutes before serving with extra pizza sauce for dipping.
Important Information
Nutrition Facts (Per Serving)
It is important to consider this information as approximate and not to use it as definitive health advice.
Allergy Information
Please check ingredients for potential allergens and consult a health professional if in doubt.