Grilled Cheese Burrito Recipe- Ultimate Comfort Food
Grilled Cheese Burrito – if that phrase alone doesn’t send a delicious shiver of anticnon-alcoholic ipation down your spine, you haven’t experienced the pure, unadulterated joy this creation offers. We all have our comfort foods, those dishes that wrap us in a warm hug of nostalgia and pure culinary bliss. For many, it’s the simple perfection of a grilled cheese sandwich. But what if we told you that you could elevate that beloved classic to an entirely new, dare we say, epic level? The Grilled Cheese Burrito takes everything you adore about the gooey, crispy, cheesy goodness of a grilled cheese and transforms it into a portable, handheld fiesta of flavor. It’s a playful fusion, a brilliant marriage of two iconic comfort foods that somehow just works. Prepare yourself, because this isn’t just a meal; it’s an experience that will have you questioning why you ever settled for the ordinary.
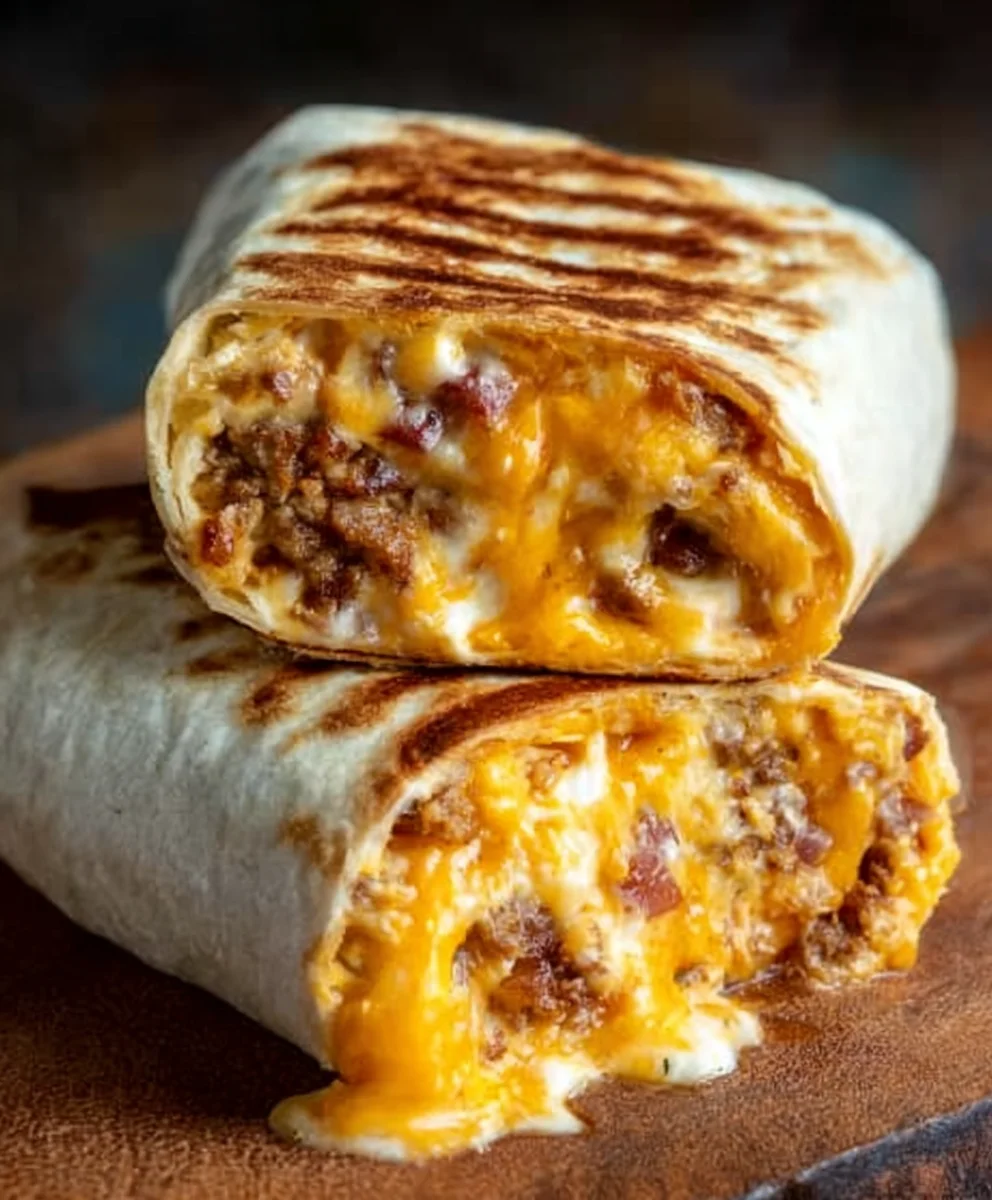
Ingredients:
- 1 lb ground beef
- 1 packet taco seasoning (or a homemade blend, which typically includes chili powder, cumin, paprika, garlic powder, onion powder, and a pinch of cayenne pepper)
- 1 cup cooked white rice (preferably slightly sticky rice for better binding)
- 1/2 cup sour cream
- 1/2 cup nacho cheese sauce (store-bought or homemade)
- 1/4 cup chipotle sauce (this adds a smoky heat; adjust to your spice preference)
- 1 cup shredded cheddar cheese
- 1 cup shredded mozzarella cheese
- 4 large flour tortillas (burrito-sized are ideal for this recipe)
- Butter or neutral cooking oil (like vegetable or canola oil) for grilling
Preparing the Filling
The foundation of our delicious Grilled Cheese Burrito is a savory and flavorful ground beef mixture. To start, place a large skillet over medium-high heat. Once the skillet is hot, add the 1 lb of ground beef. Break up the meat with a spoon or spatula and cook, stirring occasionally, until it’s thoroughly browned and no pink remains. This usually takes about 8-10 minutes. As the beef cooks, it will release its natural juices. For a cleaner flavor and less grease in your burrito, I recommend carefully draining off any excess fat from the skillet. You can do this by tilting the skillet gently and scooping out the liquid fat with a spoon, or by using a paper towel to absorb it.
Once the ground beef is browned and drained, it’s time to infuse it with flavor. Sprinkle the entire packet of taco seasoning over the cooked beef. Stir well to ensure that every piece of ground beef is coated evenly with the seasoning. Continue to cook for another minute or two, allowing the spices to toast slightly and release their aromatic qualities. This step is crucial for developing a rich taco flavor. Now, add the 1 cup of cooked white rice to the skillet with the seasoned ground beef. Stir everything together until the rice is well combined with the meat. The rice will help absorb some of the moisture and bind the filling together.
Next, we’ll incorporate the creamy and zesty elements. Add the 1/2 cup of sour cream to the mixture. Stir it in gently until it’s fully incorporated, creating a creamier texture. The sour cream adds a pleasant tang and richness. Follow this with the 1/2 cup of nacho cheese sauce. Stir until the cheese sauce is melted and evenly distributed throughout the beef and rice. This will create a gooey, cheesy binder that holds everything together beautifully. Finally, add the 1/4 cup of chipotle sauce. Stir this in to distribute its smoky heat and flavor. Taste the filling at this point and adjust seasonings if necessary. If you like it spicier, you could add a dash more chipotle sauce or a pinch of cayenne pepper. Remove the skillet from the heat.
Assembling the Burritos
Now that our flavorful filling is ready, it’s time to assemble our Grilled Cheese Burritos. Lay out your 4 large flour tortillas on a clean, flat surface. To make assembly easier and prevent tearing, you can warm the tortillas slightly. You can do this by briefly heating them in a dry skillet for about 15-30 seconds per side, or by wrapping them in a damp paper towel and microwaving them for 20-30 seconds. A warm tortilla is more pliable and less likely to crack when you roll it.
Spoon an equal amount of the prepared ground beef and rice filling onto the center of each tortilla. Be generous, but avoid overfilling, as this can make rolling difficult. You want enough filling to make the burrito satisfying, but not so much that it spills out when you try to wrap it. On top of the beef mixture, evenly distribute the cheeses. Sprinkle 1/4 cup of shredded cheddar cheese and 1/4 cup of shredded mozzarella cheese over the filling on each tortilla. The combination of cheddar and mozzarella provides both sharp flavor and excellent meltability.
Now, for the rolling technique. Fold in the sides of the tortilla towards the center, tucking them snugly against the filling. Then, starting from the bottom edge closest to you, tightly roll the tortilla upwards, enclosing the filling. Aim for a firm, compact roll to ensure the burrito stays together during the grilling process. Repeat this process for all four tortillas, creating four well-wrapped burritos.
Grilling to Golden Perfection
The final stage is where the magic happens – grilling our burritos to a golden, crispy perfection, creating that “grilled cheese” effect. Heat a large skillet or griddle over medium heat. Add about a tablespoon of butter or cooking oil to the skillet. Allow the butter to melt and coat the surface of the skillet. Once the butter is shimmering, carefully place two of the assembled burritos, seam-side down, into the hot skillet.
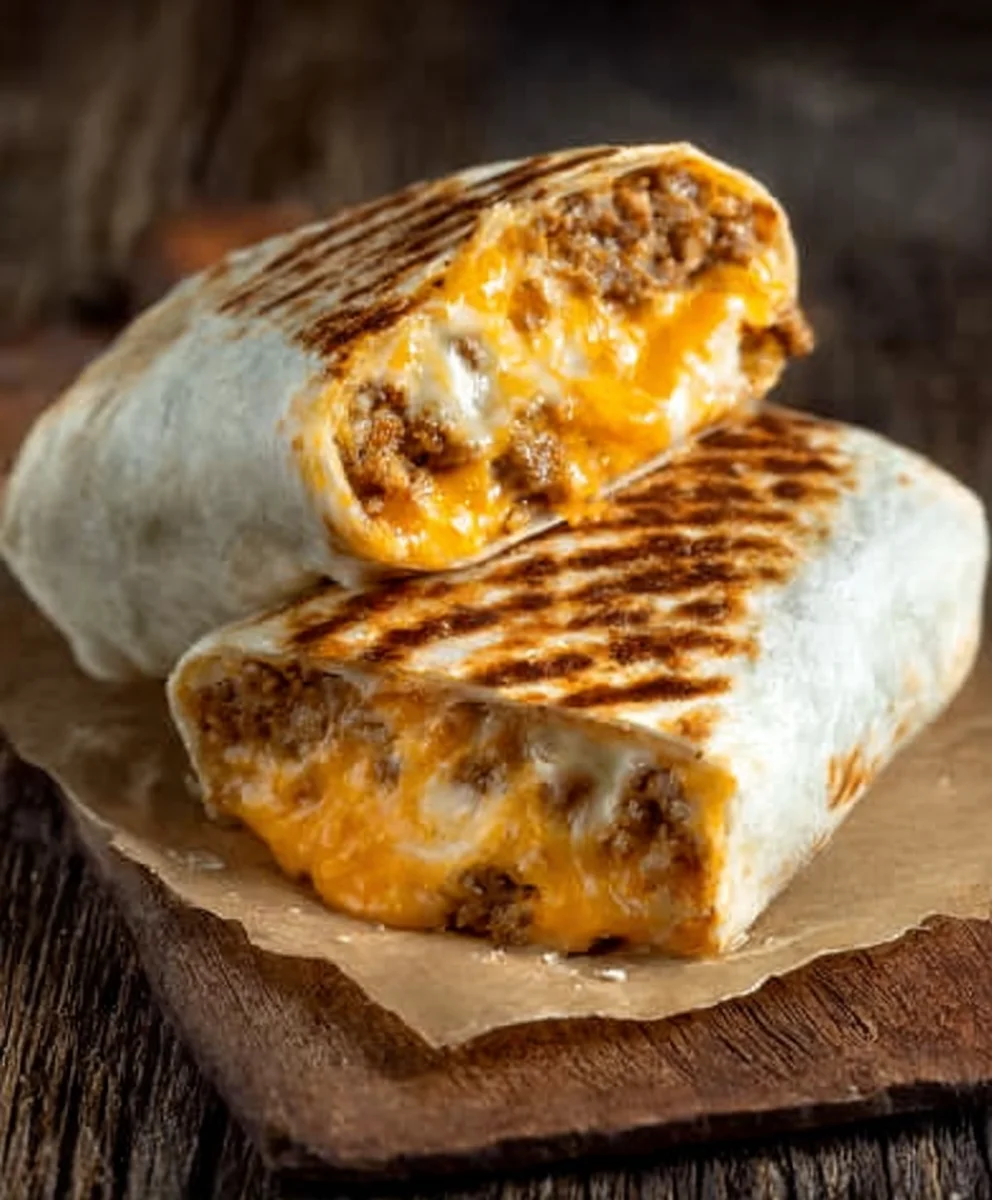
Cook each burrito for about 4-5 minutes per side, or until the tortilla is beautifully golden brown and crispy, and the cheese inside is fully melted and gooey. You’ll want to monitor the heat and adjust it as needed to prevent burning. If the tortillas are browning too quickly, reduce the heat. If they’re not browning enough, increase the heat slightly. Use a spatula to carefully flip the burritos, ensuring even cooking on all sides. You can also gently press down on the burritos with your spatula to help them achieve a nice, even crisp. Once both sides are golden brown and the cheese is melted, remove the burritos from the skillet and place them on a plate. Repeat the grilling process with the remaining two burritos, adding a little more butter or oil to the skillet if needed.
Conclusion:
There you have it – the ultimate guide to crafting the perfect Grilled Cheese Burrito! This recipe is all about taking comfort food to a whole new level, blending the gooey, cheesy goodness of a grilled cheese sandwich with the satisfying heartiness of a burrito. We’ve walked through each step to ensure your burrito is golden brown, perfectly melted, and bursting with flavor. Don’t be afraid to experiment and make this Grilled Cheese Burrito your own!
For serving suggestions, consider pairing your Grilled Cheese Burrito with a side of tomato soup for that classic grilled cheese experience, or a fresh salsa and sour cream for a zesty twist. This versatile creation is fantastic for a quick lunch, a fun dinner, or even a late-night snack. Feel free to get creative with your fillings. Add some seasoned ground beef, shredded chicken, black beans, or even some spicy jalapeños to elevate your Grilled Cheese Burrito even further. The possibilities are truly endless!
Frequently Asked Questions about the Grilled Cheese Burrito:
Q1: Can I make the Grilled Cheese Burrito ahead of time?
While it’s best enjoyed fresh for maximum meltiness, you can assemble the ingredients ahead of time and cook it just before serving. Pre-cook any meat fillings and allow them to cool completely before adding them to the tortilla to prevent soggin extractess.
Q2: What kind of cheese is best for a Grilled Cheese Burrito?
A blend of cheeses works wonderfully! Sharp cheddar provides a classic flavor, while Monterey Jack or pepper jack add a delightful creaminess and a hint of spice. Mozzarella is also a great addition for its excellent melting capabilities.
Q3: How do I prevent my Grilled Cheese Burrito from falling apart when grilling?
Ensure your tortilla is warmed slightly before adding the fillings; this makes it more pliable. Don’t overstuff the burrito, and fold the sides in securely before rolling it up tightly. Grilling on medium-low heat will allow the cheese to melt thoroughly without burning the tortilla, helping to hold everything together.
Grilled Cheese Burrito Recipe- Ultimate Comfort Food
A decadent and comforting grilled cheese burrito filled with seasoned ground beef, rice, and a melty cheese blend, grilled to golden perfection.
Ingredients
-
1 lb ground beef
-
1 packet taco seasoning
-
1 cup cooked white rice
-
1/2 cup sour cream
-
1/2 cup nacho cheese sauce
-
1/4 cup chipotle sauce
-
1 cup shredded cheddar cheese
-
1 cup shredded mozzarella cheese
-
4 large flour tortillas
-
Butter or neutral cooking oil for grilling
Instructions
-
Step 1
In a large skillet over medium-high heat, cook 1 lb of ground beef until thoroughly browned. Drain off excess fat. -
Step 2
Stir in 1 packet of taco seasoning and cook for 1-2 minutes until aromatic. Add 1 cup of cooked white rice and stir to combine. -
Step 3
Add 1/2 cup sour cream, 1/2 cup nacho cheese sauce, and 1/4 cup chipotle sauce. Stir until well combined and creamy. Remove from heat. -
Step 4
Warm 4 large flour tortillas. Spoon an equal amount of the beef and rice filling onto the center of each tortilla. Top with 1/4 cup shredded cheddar and 1/4 cup shredded mozzarella cheese per tortilla. -
Step 5
Fold in the sides of each tortilla and tightly roll them up to form burritos. -
Step 6
Heat a large skillet or griddle over medium heat with 1 tablespoon of butter or oil. Place burritos seam-side down and grill for 4-5 minutes per side, until golden brown and crispy, and cheese is melted.
Important Information
Nutrition Facts (Per Serving)
It is important to consider this information as approximate and not to use it as definitive health advice.
Allergy Information
Please check ingredients for potential allergens and consult a health professional if in doubt.