Easy Peach Freezing Guide-Preserve Freshness Year-Round
Freezing peaches is a delightful way to capture the essence of summer’s sweetest bounty, allowing you to savor that sun-kissed flavor long after the season has passed. There’s something truly magical about biting into a perfectly ripe peach, and the thought of preserving that experience is incredibly appealing. What makes frozen peaches so special is their incredible versatility; they transform into vibrant smoothies, luscious pies, and delightful cobblers with minimal effort.
Why You’ll Love This Method for Freezing Peaches
Unlike some complicated canning processes, freezing peaches is refreshingly straightforward. This method ensures that your peaches retain their bright color and delicious flavor, ready to be enjoyed whenever a craving strikes. Imagin extracte pulling a bag of these vibrant beauties from your freezer on a chilly winter day to whip up a taste of sunshine. We’re going to show you just how easy freezing peaches can be, so you can enjoy this summer treat all year round!
Freezing Peaches: How to Easily Freeze Peaches
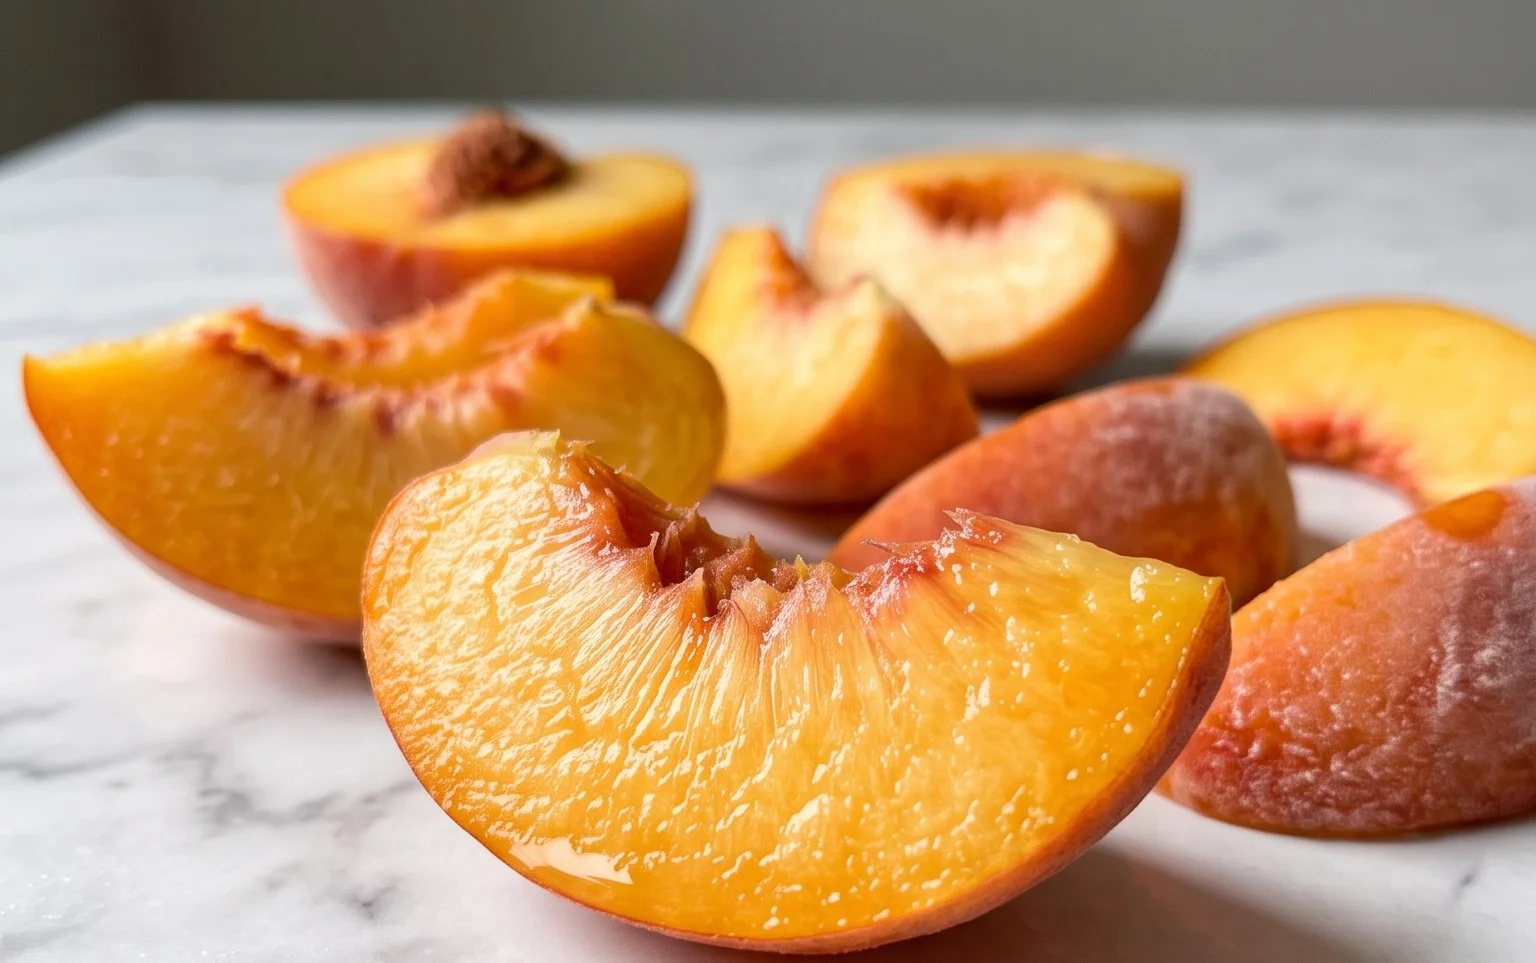
There’s nothing quite like the sweet, juicy burst of a perfectly ripe peach. While summer offers a delightful abundance, the season is fleeting. But what if I told you that you could capture that taste of sunshine and enjoy it year-round? Freezing peaches is a simple and incredibly rewarding process that allows you to savor this summer gem in pies, smoothies, cobblers, and more, long after the last one has fallen from the tree. Today, I’m going to walk you through exactly how to freeze peaches, ensuring you get the best flavor and texture possible for all your future culinary creations.
Ingredients:
Getting Started: Preparing Your Peaches
The first and most crucial step in freezing peaches is selecting the right fruit. You want peaches that are ripe but still firm to the touch. Overly ripe or mushy peaches won’t freeze and thaw as well, often turning into a liquidy mess. Gently wash your peaches under cool running water to remove any dirt or residual fuzz. For this recipe, we’re going to focus on a method that preserves both flavor and color, making them ideal for whatever deliciousness you have planned.
Step-by-Step Freezing Process
Follow these detailed steps to ensure your frozen peaches are perfect:
1. Blanch and Peel: This might sound intimidating, but it’s a quick and easy step that makes peeling a breeze. Bring a pot of water to a rolling boil. While that’s happening, prepare an ice bath by filling a large bowl with ice and water. Carefully drop a few peaches at a time into the boiling water for about 30-60 seconds. You’ll notice the skins starting to loosen. Immediately transfer the blanched peaches to the ice bath. This shocking process stops the cooking and makes the skins incredibly easy to slip off. Once cooled, the skins should peel away effortlessly with a paring knife or even your fingers.
2. Pit and Slice: After peeling, you’ll want to pit your peaches. Run your paring knife around the natural seam of the peach and twist the halves in opposite directions. If the pit is stubborn, you can carefully cut around it. Once pitted, slice the peaches into your desired thickness. Half-inch slices are a good general guideline, but you can adjust based on how you plan to use them. For smoothies, smaller chunks work well. For pies or cobblers, slices are usually preferred.
3. Prepare the Sweetening and Protecting Syrup: Now it’s time to prepare the mixture that will help preserve your peaches’ flavor and color. In a medium bowl, combine the 2/3 cup of sugar with the 3 teaspoons of Fruit Protector. Stir this mixture well. Fruit Protector is a fantastic ingredient for frozen fruits as it contains ascorbic acid (Vitamin C) which acts as an antioxidant, preventing browning and preserving that vibrant peachy hue. The sugar not only adds a touch of sweetness but also helps to draw out moisture, contributing to a better texture upon thawing.
4. Coat the Peaches: Gently add your sliced peaches to the bowl with the sugar and Fruit Protector mixture. Using a spoon or your hands, carefully toss the peach slices until they are evenly coated. Make sure each slice gets a good layer of the mixture. This coating is essential for preventing freezer burn and maintaining that delightful fresh-peach flavor. Allow the peaches to sit in this mixture for about 10-15 minutes, stirring occasionally. You’ll notice the sugar starting to dissolve and create a light syrup.
5. Freeze in Stages for Optimal Texture: This is a crucial step for achieving the best texture. Line a baking sheet with parchment paper or wax paper. Arrange the coated peach slices in a single layer on the prepared baking sheet, ensuring they are not touching each other. This is called “flash freezing.” Place the baking sheet in the freezer for about 1-2 hours, or until the peach slices are firm. This initial freezing prevents them from clumping together into a giant frozen block once you transfer them to storage containers.
6. Package for Long-Term Storage: Once the peach slices are firm from the flash freeze, you can transfer them to freezer-safe containers or heavy-duty freezer bags. If using bags, gently press out as much air as possible before sealing. Label your containers or bags with the date and contents. Storing them in airtight containers is key to preventing freezer burn and maintaining quality. You can store these frozen peaches for up to 10-12 months.
Enjoying your homegrown or farmer’s market peaches all year round is incredibly satisfying. This method ensures that when you thaw them out for your next baking project or morning smoothie, they’ll still taste like summer. Happy freezing!
Conclusion:
You’ve now learned how to easily freeze peaches, a fantastic way to capture the sweet, sun-kissed flavor of summer and enjoy it all year round! This method is incredibly straightforward, ensuring your peaches retain their vibrant taste and texture, making them perfect for a multitude of culinary creations. From delicious smoothies and crum extractbles to vibrant cobblers and refreshing sorbets, the possibilities are truly endless. Don’t be afraid to experiment with different serving suggestions – imagin extracte warm peach slices drizzled with honey over your morning oatmeal, or a chilled peach compote atop a dollop of Greek yogurt.
For a delightful twist, consider adding a touch of cinnamon or a squeeze of lemon juice before freezing to enhance the natural sweetness. This recipe is so forgiving and rewarding, and I highly encourage you to give it a try. Preserving these seasonal gems means you’ll have a taste of summer ready whenever you crave it. So, gather your ripe peaches and get ready to fill your freezer with this incredible bounty!
Frequently Asked Questions about Freezing Peaches:
Q: How long do frozen peaches last?
A: Properly frozen peaches can maintain their best quality for about 8-12 months. While they may still be safe to eat after this, their texture and flavor might start to degrade.
Q: Can I freeze peaches with the skin on?
A: It’s best to peel peaches before freezing. The skin can become tough and less pleasant after thawing, and removing it beforehand ensures a better eating experience in your finished dishes.
Q: My frozen peaches are mushy when thawed. What went wrong?
A: This can happen if the peaches aren’t frozen quickly enough or if they are thawed too slowly. For best results, ensure your freezer is set to its coldest setting and spread the peach slices in a single layer on a baking sheet to freeze before transferring them to freezer bags. Thawing them in the refrigerator also helps maintain better texture.
Freezing Peaches, How to Easily Freeze Peaches
A simple method for preserving the freshness and flavor of ripe peaches by freezing them for later use.
Ingredients
-
{‘@type’: ‘Ingredient’, ‘item’: ‘1 quart peaches, ripe’, ‘description’: ‘Freshly picked or store-bought ripe peaches.’}
-
{‘@type’: ‘Ingredient’, ‘item’: ‘2/3 cup sugar’, ‘description’: ‘Granulated sugar for a light syrup.’}
-
{‘@type’: ‘Ingredient’, ‘item’: ‘3 teaspoons Fruit Protector’, ‘description’: ‘A product to prevent browning.’}
-
{‘@type’: ‘Ingredient’, ‘item’: ‘Water’, ‘description’: ‘Used to create the syrup.’}
-
{‘@type’: ‘Ingredient’, ‘item’: ‘Lemon juice’, ‘description’: ‘Optional, for added flavor and preservation.’}
Instructions
-
Step 1
Wash and peel the ripe peaches. Halve or quarter them, and remove the pits. -
Step 2
Toss the peach slices with Fruit Protector in a bowl to prevent browning. -
Step 3
Prepare a light syrup by dissolving the sugar in water. A common ratio is 2 parts water to 1 part sugar, heated until sugar dissolves. Let it cool. -
Step 4
Arrange the treated peach slices in a single layer on a baking sheet lined with parchment paper. This prevents them from sticking together when frozen. -
Step 5
Place the baking sheet in the freezer until the peaches are firm, about 1-2 hours. -
Step 6
Once frozen, transfer the peach slices into freezer-safe bags or containers. Cover with the cooled syrup, leaving a small headspace. -
Step 7
Seal the containers tightly and label with the date. Store in the freezer for up to 10-12 months.
Important Information
Nutrition Facts (Per Serving)
It is important to consider this information as approximate and not to use it as definitive health advice.
Allergy Information
Please check ingredients for potential allergens and consult a health professional if in doubt.