Authentic Antojitos – Delicious Beef & Veggie Bites
Antojitos are more than just appetizers; they’re little cravings that awaken the senses and bring people together. Whether you’re hosting a lively fiesta or simply enjoying a casual evening with loved ones, these delightful Mexican street food-inspired bites are always a welcome addition to any gathering. What is it about antojitos that makes them so universally loved? Perhaps it’s the vibrant explosion of flavors and textures – the creamy avocado, the zesty lime, the satisfying crunch, the hint of spice that lingers just long enough. They’re designed to be savored in small, intensely flavorful portions, making them the perfect way to explore a range of delicious tastes without committing to a full meal. This recipe aims to capture that authentic spirit, offering a taste of Mexico’s beloved street food culture right in your own kitchen. Get ready to indulge in some seriously irresistible flavors!
Ingredients:
- 4 Flour Tortillas (10 inch)
- 8 oz Cream Cheese (softened)
- 4 oz Diced Green Chilies (canned)
- 1 cup Cheddar Cheese (shredded)
- ½ cup Red Onion (finely diced)
- ½ cup Bell Pepper (finely diced)
- 3 Tablespoons Sour Cream
- 1 teaspoon Paprika
- 1 teaspoon Garlic Powder
- ½ teaspoon Onion Powder
- ⅛ teaspoon Cayenne Pepper
- ½ cup Sour Cream (for serving)
- 2 Tablespoons Basil Pesto (for serving)
Preparing the Filling
Step 1: Combining the Base Ingredients
To start creating these delightful antojitos, we first need to prepare the creamy and flavorful filling. In a medium-sized mixing bowl, combine the softened cream cheese with the drained diced green chilies. Ensure your cream cheese is truly softened; leaving it at room temperature for about an hour usually does the trick. This will make it much easier to incorporate with the other ingredients and avoid any lumpy bits. Next, add the shredded cheddar cheese. I find that shredding your own cheese from a block yields the best melting results and a more vibrant flavor compared to pre-shredded cheese, which sometimes contains anti-caking agents. Stir these ingredients together until they are well combined, forming a thick, cheesy base.
Step 2: Incorporating Aromatics and Spices
Now it’s time to build even more flavor into our filling. Add the finely diced red onion and bell pepper to the cream cheese mixture. The red onion will offer a pleasant sweetness and a slight bite, while the bell pepper brings a fresh, slightly vegetal note. Next, we’ll introduce our spice blend. Stir in the 3 tablespoons of sour cream. This will add a touch of tangin extractess and help to create a smoother, more spreadable consistency for our filling. Finally, sprinkle in the paprika, garlic powder, onion powder, and the crucial cayenne pepper. The paprika adds a beautiful color and a mild, smoky sweetness, the garlic and onion powders provide foundational savory notes, and the cayenne pepper offers just a hint of heat to wake up your palate. Mix everything thoroughly until all the vegetables and spices are evenly distributed throughout the creamy cheese mixture. Taste and adjust seasonings if needed, remembering that the flavors will meld as it sits.
Assembling and Cooking the Antojitos
Step 3: Spreading the Filling on Tortillas
With our delicious filling ready, we can now move on to assembling these antojitos. Lay out one flour tortilla at a time on a clean, flat surface. Using a spatula or a spoon, spread an even layer of the cream cheese and vegetable mixture over the entire surface of the tortilla. Aim for a consistent thickness so that each bite is perfectly balanced. Don’t overload the tortilla, as this can make it difficult to roll and can cause the filling to ooze out during cooking. You want enough filling to be satisfying but not so much that it becomes messy. Repeat this process for all four tortillas, ensuring each one has a generous, even coating of the prepared filling.
Step 4: Rolling and Securing the Tortillas
Once the filling is spread, it’s time to roll them up tiggin extracty. Begin at one edge of the tortilla and carefully roll it up, tucking in the sides as you go. This technique, often referred to as a “burrito roll,” helps to keep the filling contained and prevents it from escaping during the cooking process. Once rolled, you can secure each antojito if you wish. Some people like to use toothpicks, but for these, simply placing them seam-side down in the pan is usually sufficient to keep them from unrolling. Ensure you are working with enough space to handle the rolled tortillas without them falling apart. The key here is a firm, but not overly tight, roll.
Step 5: Pan-Frying for a Crispy Exterior
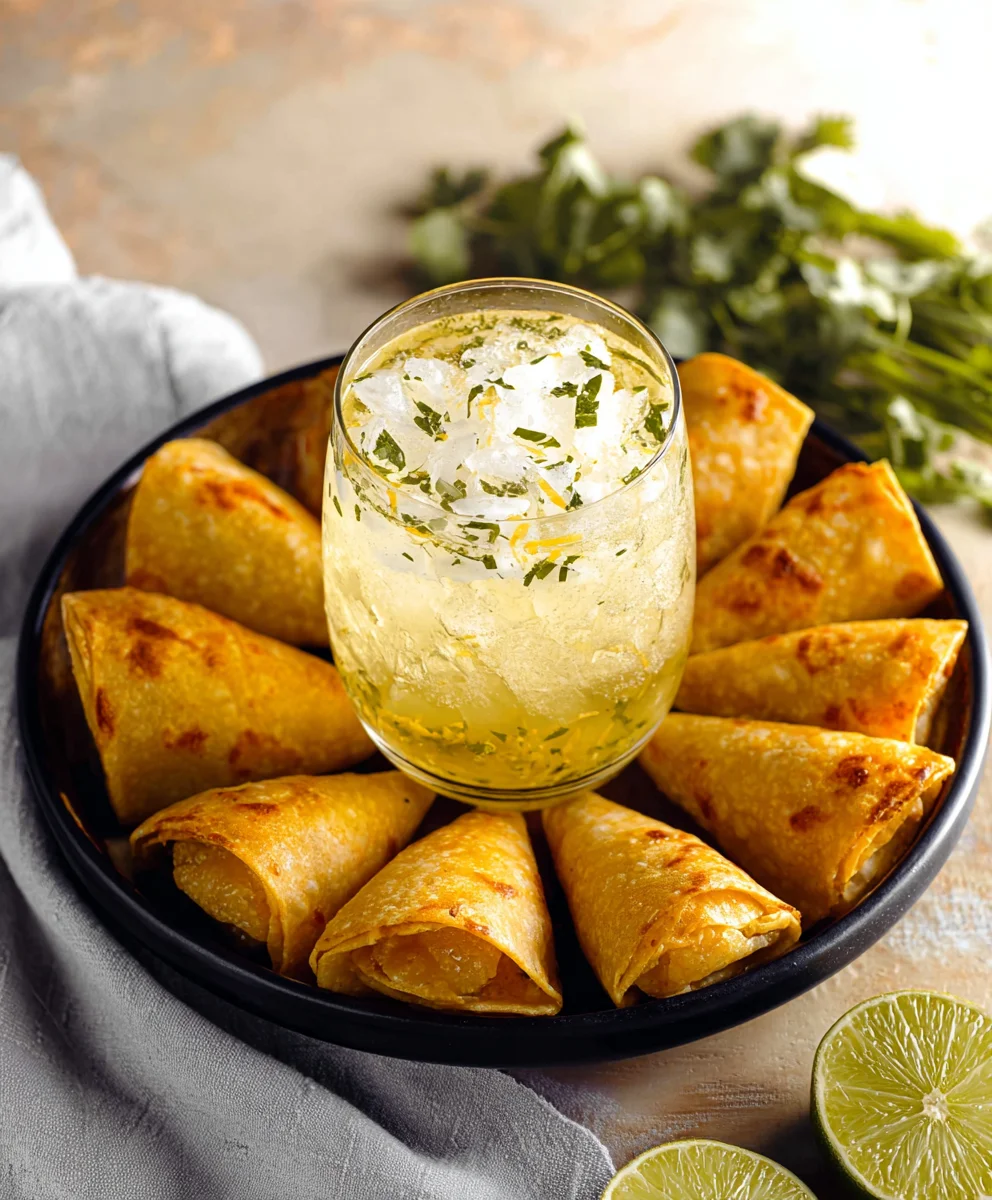
Now for the exciting part – cooking! Heat a large skillet or griddle over medium heat. You don’t need to add any oil if your skillet is non-stick, but a very light brushing of oil can help achieve an even crispier exterior. Carefully place the rolled antojitos seam-side down in the hot skillet. Cook for about 3-4 minutes per side, or until they are golden brown and beautifully crisp. Gently flip them using a spatula to ensure even browning on all sides. You’re looking for that satisfying crunch that signals they are perfectly cooked. Keep an eye on the heat to prevent burning; you want a nice, even golden hue.
Step 6: Serving Your Delicious Antojitos
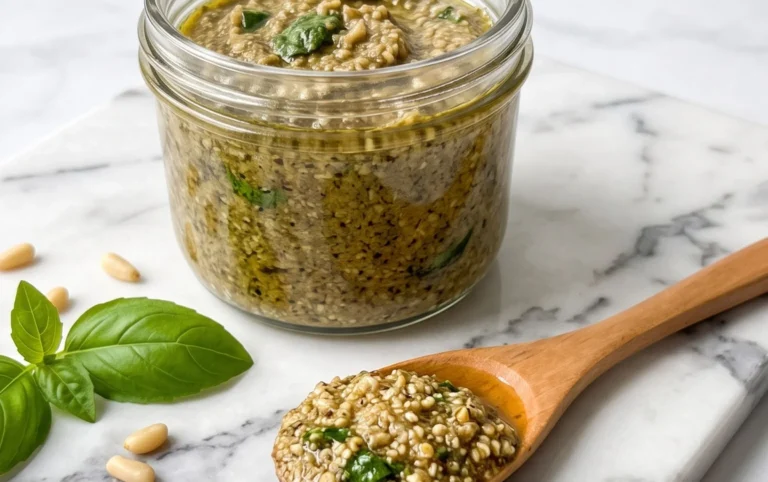
Once your antojitos have achieved that perfect golden-brown crispiness, remove them from the skillet and place them on a serving platter. Let them cool for just a minute or two, as they will be quite hot from the pan. To serve, you can slice them in half diagonally, or serve them whole. For an extra burst of flavor and a delightful accompaniment, prepare a simple dipping sauce. In a small bowl, stir together the remaining ½ cup of sour cream with the 2 tablespoons of basil pesto. The creamy tang of the sour cream beautifully complements the fresh, herbaceous notes of the pesto, creating a truly delicious dipping experience for your antojitos. Drizzle a little extra pesto over the top of the antojitos for added visual appeal and flavor, if desired. These are best enjoyed immediately while they are still warm and crispy.
Conclusion:
You’ve now mastered the art of creating delicious Antojitos! We’ve explored how simple ingredients can be transformed into a delightful culinary experience, perfect for any occasion. Whether you’re hosting a lively gathering, enjoying a casual family dinner, or simply craving a flavorful snack, these Antojitos are sure to impress. Remember to experiment with different toppings and fillings to truly make this recipe your own. Don’t be afraid to get creative and discover your favorite flavor combinations. The joy of cooking lies in personalization, and these Antojitos offer a fantastic canvas for your culinary imagin extractation. So, gather your loved ones, get cooking, and savor every delicious bite!
Frequently Asked Questions:
What are the best serving suggestions for Antojitos?
Antojitos are incredibly versatile! They are fantastic as appetizers for parties, served alongside a main meal like grilled meats or hearty stews, or even enjoyed as a light lunch or dinner. Consider serving them with a variety of salsas, guacamole, sour cream, or a fresh pico de gallo for an extra burst of flavor. A crisp salad also complements the richness of the Antojitos beautifully.
Can I make Antojitos ahead of time?
While some components, like pre-chopping vegetables or preparing sauces, can be done in advance, it’s best to assemble and cook the Antojitos just before serving for optimal texture and flavor. Some fried or baked Antojitos can be reheated, but they are always best when fresh. Plan your preparation accordingly to ensure a delicious and satisfying experience.
Are there any healthier variations of Antojitos?
Absolutely! You can create healthier Antojitos by using baked instead of fried tortillas, incorporating lean proteins like shredded chicken or fish, and loading up on fresh vegetables and herbs. Opt for lighter toppings like Greek yogurt instead of sour cream, or avocado mash instead of richer dips. Exploring these variations allows you to enjoy the deliciousness of Antojitos with a healthier twist.
Authentic Antojitos – Delicious Beef & Veggie Bites
Delectable beef and veggie bites made with a creamy cheese filling and a crispy tortilla exterior. Perfect as an appetizer or snack.
Ingredients
-
4 Flour Tortillas (10 inch)
-
8 oz Cream Cheese (softened)
-
4 oz Diced Green Chilies (canned)
-
1 cup Cheddar Cheese (shredded)
-
½ cup Red Onion (finely diced)
-
½ cup Bell Pepper (finely diced)
-
3 Tablespoons Sour Cream
-
1 teaspoon Paprika
-
1 teaspoon Garlic Powder
-
½ teaspoon Onion Powder
-
⅛ teaspoon Cayenne Pepper
-
½ cup Sour Cream (for serving)
-
2 Tablespoons Basil Pesto (for serving)
Instructions
-
Step 1
Combine softened cream cheese with drained diced green chilies and shredded cheddar cheese in a mixing bowl. Stir until well combined to form a thick, cheesy base. -
Step 2
Add finely diced red onion and bell pepper to the cream cheese mixture. Stir in 3 tablespoons of sour cream for tanginess and a smoother consistency. Mix in paprika, garlic powder, onion powder, and cayenne pepper until evenly distributed. -
Step 3
Spread an even layer of the filling over each flour tortilla, leaving a small border. -
Step 4
Roll each tortilla tightly, tucking in the sides to create a secure roll. Place seam-side down. -
Step 5
Heat a large skillet over medium heat. Cook the rolled antojitos seam-side down for 3-4 minutes per side, until golden brown and crispy. -
Step 6
While antojitos cook, prepare the serving dip by stirring together ½ cup sour cream and 2 tablespoons basil pesto. Serve warm antojitos with the pesto sour cream dip.
Important Information
Nutrition Facts (Per Serving)
It is important to consider this information as approximate and not to use it as definitive health advice.
Allergy Information
Please check ingredients for potential allergens and consult a health professional if in doubt.