Cheesy Pull Apart Pizza Bread- Easy & Delicious Recipe
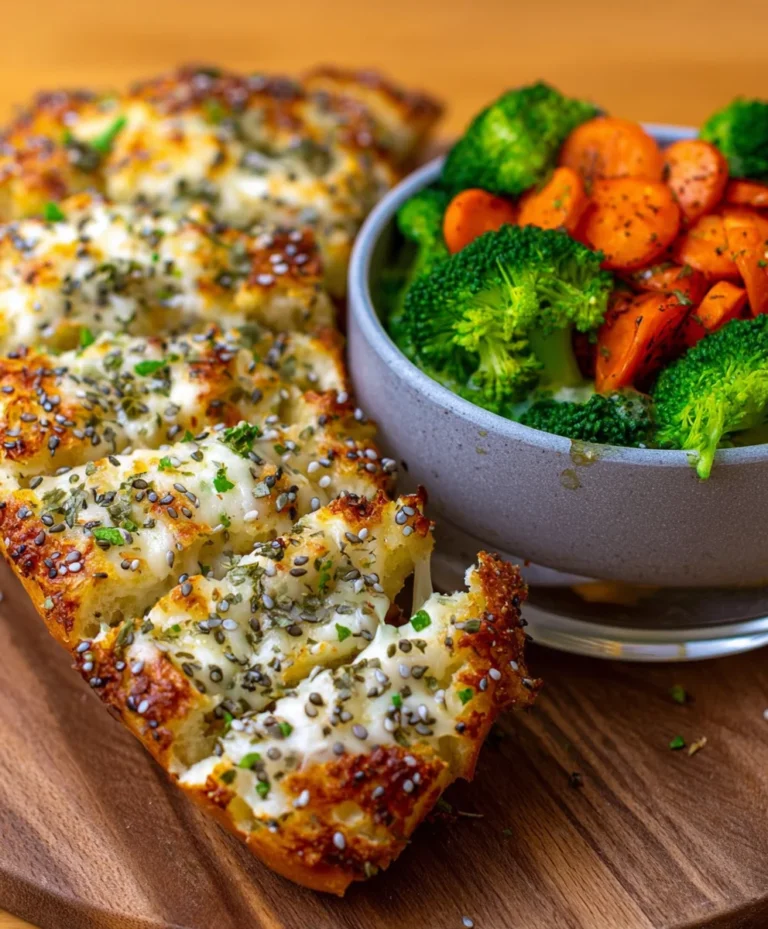
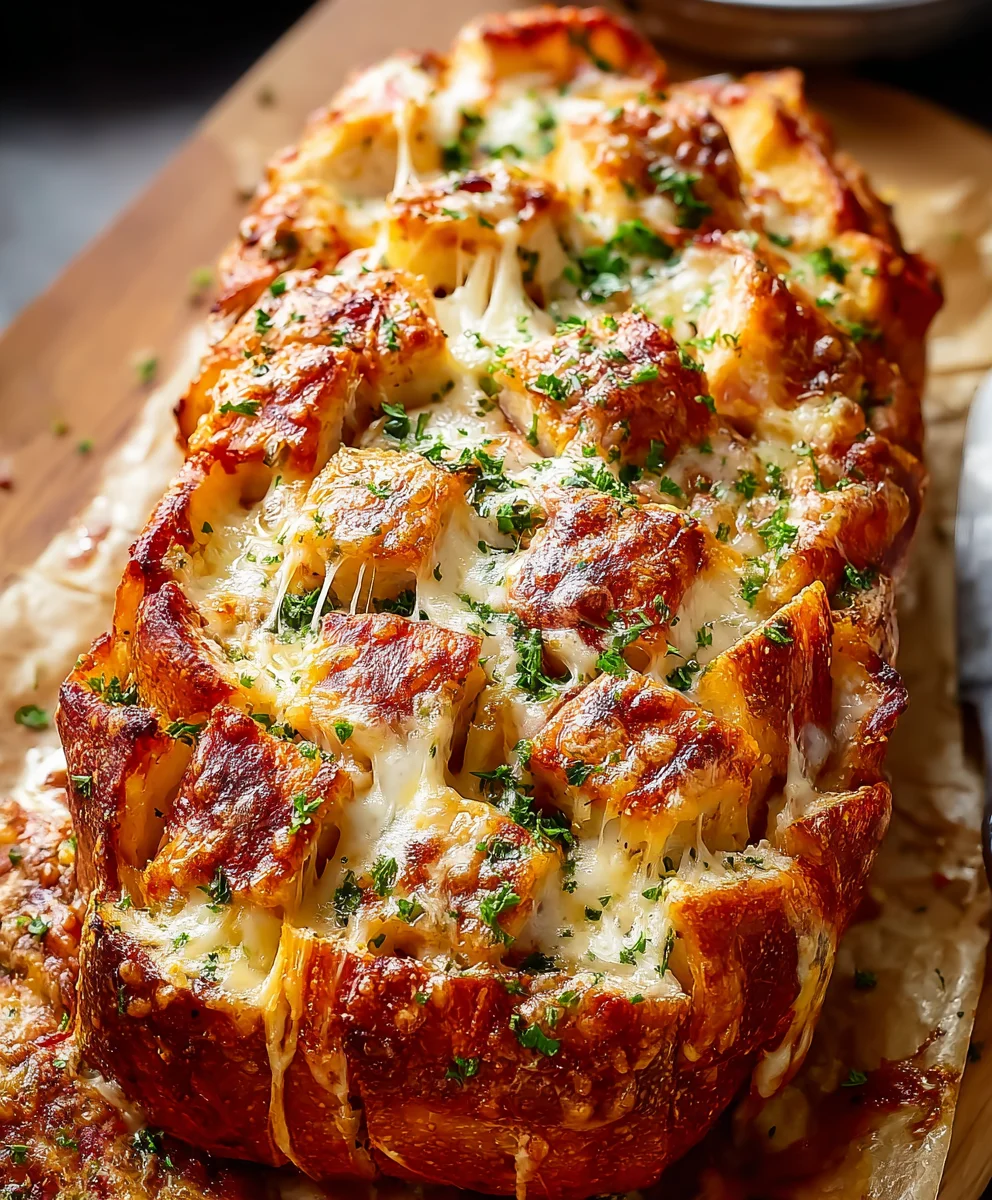
Cheesy Pull Apart Pizza Bread is more than just a dish; it’s an experience. Imagin extracte a warm, fragrant loaf, golden brown and bursting with molten cheese, each bite a delightful journey through classic pizza flavors. It’s the ultimate crowd-pleaser, perfect for game nights, family gatherings, or just when you’re craving something utterly comforting and delicious. What makes this Cheesy Pull Apart Pizza Bread so irresistible? It’s the ingenious way it transforms simple ingredients into an interactive masterpiece. Every slice is a treasure trove of gooey mozzarella, savory beef pepperoni, and tangy tomato sauce, all nestled within a soft, pillowy bread base. The joy of pulling apart the individual portions, watching the cheese stretch and mingle, is half the fun. This recipe isn’t just about eating; it’s about sharing, laughter, and creating delicious memories, one cheesy pull at a time. Get ready to fall in love with this incredible creation!
Ingredients:
- 1 loaf Pane Di Casa, Vienna, or Sourdough bread, unsliced
- ⅔ cup butter, melted
- 4 cloves garlic, crushed (or 1 tablespoon minced garlic)
- ⅓ cup pizza sauce
- ¼ red onion, finely chopped
- 1 large ripe tomato, finely chopped
- 3½ ounces mini beef beef pepperoni slices
- Fresh basil leaves, finely shredded
- ¾ cup shredded mozzarella cheese
- 1 tablespoon dried Italian herbs or Italian seasoning
Preparation of the Bread Base
Step 1: Preparing the Loaf for Filling
The foundation of our Cheesy Pull Apart Pizza Bread is a good loaf of bread. I prefer Pane Di Casa for its slightly chewy crust and soft interior, but a good Vienna or even a crusty Sourdough will work beautifully. The key is to use an unsliced loaf so we can control the depth and spacing of our cuts. Begin extract by placing the loaf on a sturdy cutting board. Using a sharp serrated knife, carefully make parallel cuts about 1 inch apart across the entire width of the loaf. Do not cut all the way through to the bottom – aim to go about three-quarters of the way down. Then, rotate the loaf 90 degrees and repeat the process, making perpendicular cuts. This crisscross pattern will create little pockets for our delicious pizza fillings, making it easy to pull apart individual cheesy, saucy bites later on.
Step 2: Crafting the Garlic Butter Mixture
Now, let’s infuse our bread with irresistible flavor. In a small bowl, combine the melted butter with the crushed garlic. If you’re using minced garlic, ensure it’s finely minced for even distribution. Stir in the dried Italian herbs or Italian seasoning. This fragrant butter mixture will not only add a wonderful garlic and herb aroma but also help to toast the bread and keep it from getting soggy once the fillings are added. Make sure the garlic and herbs are well incorporated into the melted butter.
Step 3: Buttering and Saucing the Bread
With the garlic butter mixture ready, it’s time to get it into those bread crevices. Gently open up the cuts you made in the bread loaf. Using a pastry brush or a small spoon, generously brush the garlic butter mixture all over the inside of the loaf, ensuring it gets into every nook and cranny. Don’t be shy with the butter; it’s crucial for flavor and texture. Once the butter is applied, spread the pizza sauce evenly into the cuts. You might need to use the back of your spoon to get the sauce into some of the deeper pockets. Aim for a consistent layer of sauce throughout the loaf.
Assembling the Pizza Toppings
Step 4: Layering the Savory Fillings
This is where our Cheesy Pull Apart Pizza Bread truly transforms into a pizza delight. Evenly distribute the finely chopped red onion and the finely chopped ripe tomato into the cuts of the bread, trying to get some in each section. Next, tuck the mini beef pepperonieroni slices into the bread pockets. You want to ensure beef pepperoni pepperoni slices distributed throughout the loaf so every bite has that classic pizza flavor. Don’t worry if it looks a little messy; that’s part of the charm of pull-apart bread!
Step 5: The Cheesy Finnon-alcoholic ale and Baking
The final touch before baking is the cheese. Sprinkle the shredded mozzarella cheese generously over the entire top of the loaf, allowing some of it to fall into the cuts and melt over the other ingredients. For an extra touch of freshness and flavor, scatter the finely shredded fresh basil leaves over the cheese. Now, carefully wrap the entire loaf tightly in aluminum foil. Place the foil-wrapped loaf on a baking sheet and bake in a preheated oven at 375°F (190°C) for about 20-25 minutes. This initial baking period allows the bread to steam and soften, while the cheese melts and the flavors meld together beautifully.
Finishing and Serving
Step 6: Achieving the Golden-Brown Perfection
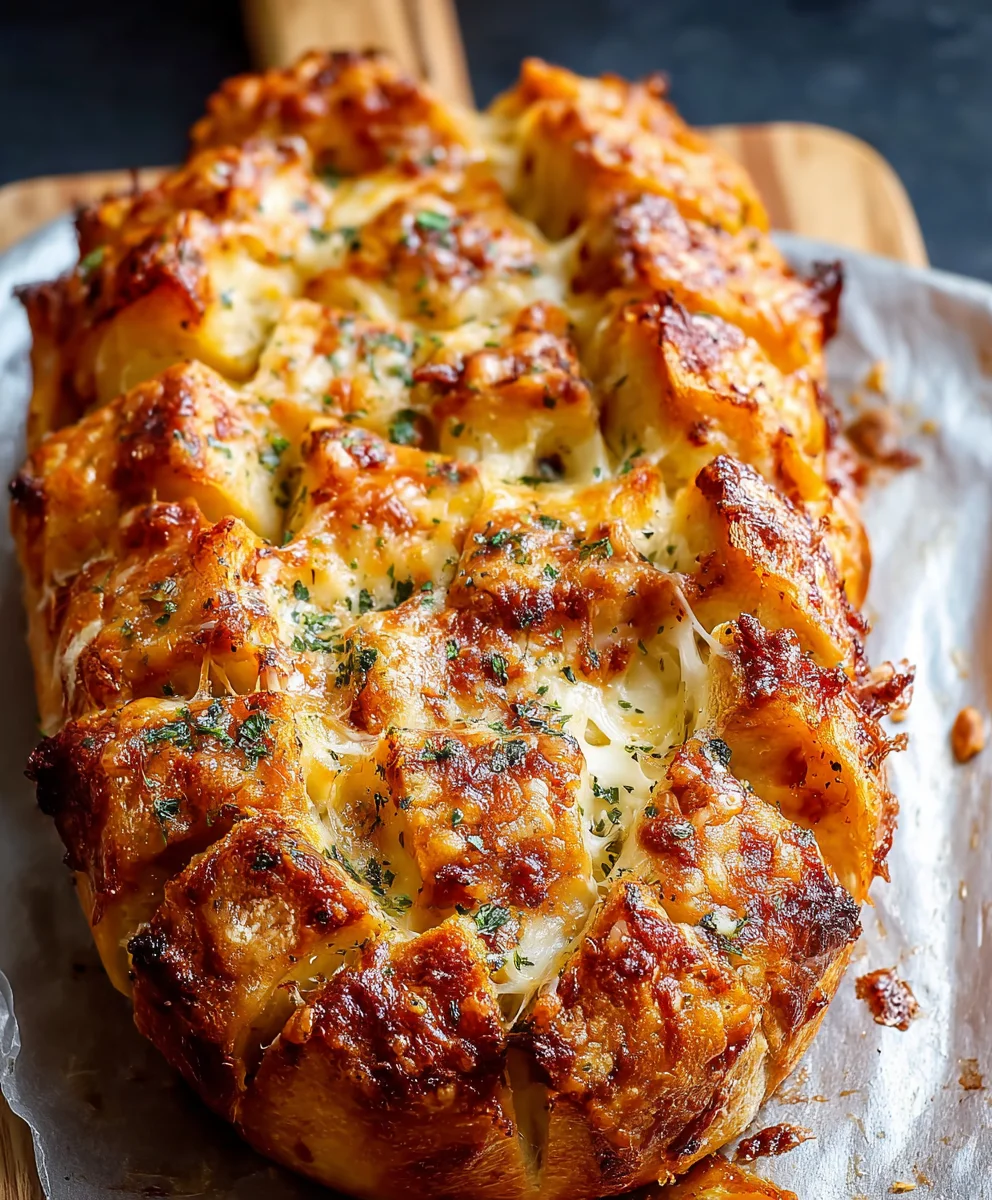
After the initial 20-25 minutes of baking, carefully unwrap the aluminum foil from the bread loaf. Return the loaf to the oven, uncovered, and continue to bake for another 10-15 minutes, or until the cheese is melted, bubbly, and has achieved a beautiful golden-brown color. Keep an eye on it to prevent the bread from burning. The edges of the bread should also become wonderfully crispy. The aroma that will fill your kitchen at this stage is absolutely divine and signals that your Cheesy Pull Apart Pizza Bread is almost ready to be devoured.
Step 7: The Satisfying Pull-Apart Experience
Once the loaf is perfectly golden and bubbly, remove it from the oven. Let it rest for about 5 minutes before attempting to serve. This brief resting period allows the cheese to set slightly and prevents the molten filling from spilling out too much. To serve, simply present the entire loaf on a serving board. Encourage your guests (or yourself!) to pull apart the sections of bread. Each piece will be a delightful combination of warm, garlicky bread, savory pizza sauce, tender vegbeef pepperonispicy pepperoni, and gooey, melted mozzarella. Enjoy this incredibly shareable and incredibly delicious Cheesy Pull Apart Pizza Bread!
Conclusion:
There you have it! We’ve walked through creating the utterly delightful Cheesy Pull Apart Pizza Bread, a dish that’s guaranteed to be a crowd-pleaser. This recipe is surprisingly simple to make, yet delivers an explosion of classic pizza flavors in every pull-apart bite. The gooey cheese, savory toppings, and tender bread create a symphony of textures and tastes that will have everyone asking for seconds. Don’t be afraid to get creative with your toppings; this Cheesy Pull Apart Pizza Bread is wonderfully versatile.
For serving, this bread is fantastic on its own as a hearty appetizer or snack. It also makes a wonderful side dish for a casual dinner, perhaps alongside a fresh green salad or some simple grilled chicken. Consider serving it warm, straight from the oven, for the ultimate cheesy experience.
If you’re feeling adventurous, feel free to experiment with different cheeses like a spicy pepper jack or a sharp cheddar. You can also swap out the traditional beef pepperoni for ingredients like sautéed mushrooms, bell peppers, black olives, or even cooked crum extractbled Italian sausage. The possibilities are truly endless with this adaptable recipe!
I truly hope you enjoy making and sharing this Cheesy Pull Apart Pizza Bread as much as I do. It’s a fantastic way to bring a little fun and deliciousness to any occasion. Happy baking!
FAQs:
What is the best way to reheat Cheesy Pull Apart Pizza Bread?
The best way to reheat Cheesy Pull Apart Pizza Bread is in the oven at around 350°F (175°C) for 5-10 minutes, or until the cheese is melted and the bread is heated through. You can also use an air fryer on a similar setting. Avoid microwaving, as it can make the bread soggy.
Can I make Cheesy Pull Apart Pizza Bread ahead of time?
You can prepare the assembled Cheesy Pull Apart Pizza Bread (before baking) a few hours in advance and refrigerate it. When you’re ready to bake, you might need to add a few extra minutes to the baking time to ensure it’s cooked through. It’s best enjoyed fresh, so I recommend baking it just before serving if possible.
Cheesy Pull Apart Pizza Bread – Easy & Delicious Recipe
An easy and delicious recipe for cheesy pull-apart pizza bread, perfect for sharing. This recipe features a flavorful garlic butter base, savory pizza toppings, and melted mozzarella cheese baked into a crusty loaf.
Ingredients
-
1 loaf Pane Di Casa, Vienna, or Sourdough bread, unsliced
-
⅔ cup butter, melted
-
4 cloves garlic, crushed (or 1 tablespoon minced garlic)
-
⅓ cup pizza sauce
-
¼ red onion, finely chopped
-
1 large ripe tomato, finely chopped
-
3½ ounces mini beef pepperoni slices
-
Fresh basil leaves, finely shredded
-
¾ cup shredded mozzarella cheese
-
1 tablespoon dried Italian herbs or Italian seasoning
Instructions
-
Step 1
Prepare the bread by making parallel cuts about 1 inch apart across the width of the loaf, going about three-quarters of the way down. Rotate the loaf 90 degrees and repeat the process with perpendicular cuts to create a crisscross pattern. -
Step 2
In a small bowl, combine melted butter, crushed garlic, and dried Italian herbs or Italian seasoning. Stir well to create the garlic butter mixture. -
Step 3
Generously brush the garlic butter mixture into all the cuts of the bread loaf, ensuring it reaches every crevice. Then, spread pizza sauce evenly into the cuts. -
Step 4
Evenly distribute the finely chopped red onion and tomato into the bread cuts. Tuck the mini beef pepperoni slices into the pockets, ensuring they are distributed throughout the loaf. -
Step 5
Sprinkle shredded mozzarella cheese generously over the entire top of the loaf, allowing some to fall into the cuts. Scatter finely shredded fresh basil leaves over the cheese. Wrap the loaf tightly in aluminum foil and place on a baking sheet. -
Step 6
Bake in a preheated oven at 375°F (190°C) for 20-25 minutes. Then, carefully unwrap the foil and bake uncovered for another 10-15 minutes, or until the cheese is melted, bubbly, and golden brown. -
Step 7
Remove from the oven and let rest for about 5 minutes before serving. Present the loaf and encourage guests to pull apart the sections for a delightful eating experience.
Important Information
Nutrition Facts (Per Serving)
It is important to consider this information as approximate and not to use it as definitive health advice.
Allergy Information
Please check ingredients for potential allergens and consult a health professional if in doubt.