Gluten Free Cheez-Its – Your New Favorite Snack
Gluten Free Cheez Its are more than just a snack; they’re a crunchy, cheesy revelation for anyone navigating the gluten-free world. For years, those craving that distinctively savory, baked-to-perfection cheese cracker experience have been left wanting, but no more! These homemade delights capture the essence of the beloved origin extractal, offering that irresistible, addictive crunch and intensely cheesy flavor that makes them so universally loved. What truly makes this recipe special is its accessibility – it transforms a childhood favorite and a go-to pantry staple into something everyone can enjoy without compromise. Whether you’re dealing with gluten sensitivity, celiac disease, or simply choosing a gluten-free lifestyle, these Gluten Free Cheez Its provide that much-missed comfort and satisfaction, proving that delicious can also be delightfully free from gluten.
A Taste of Nostalgigin extractReimagined
Crafting the Perfect Cheesy Bite
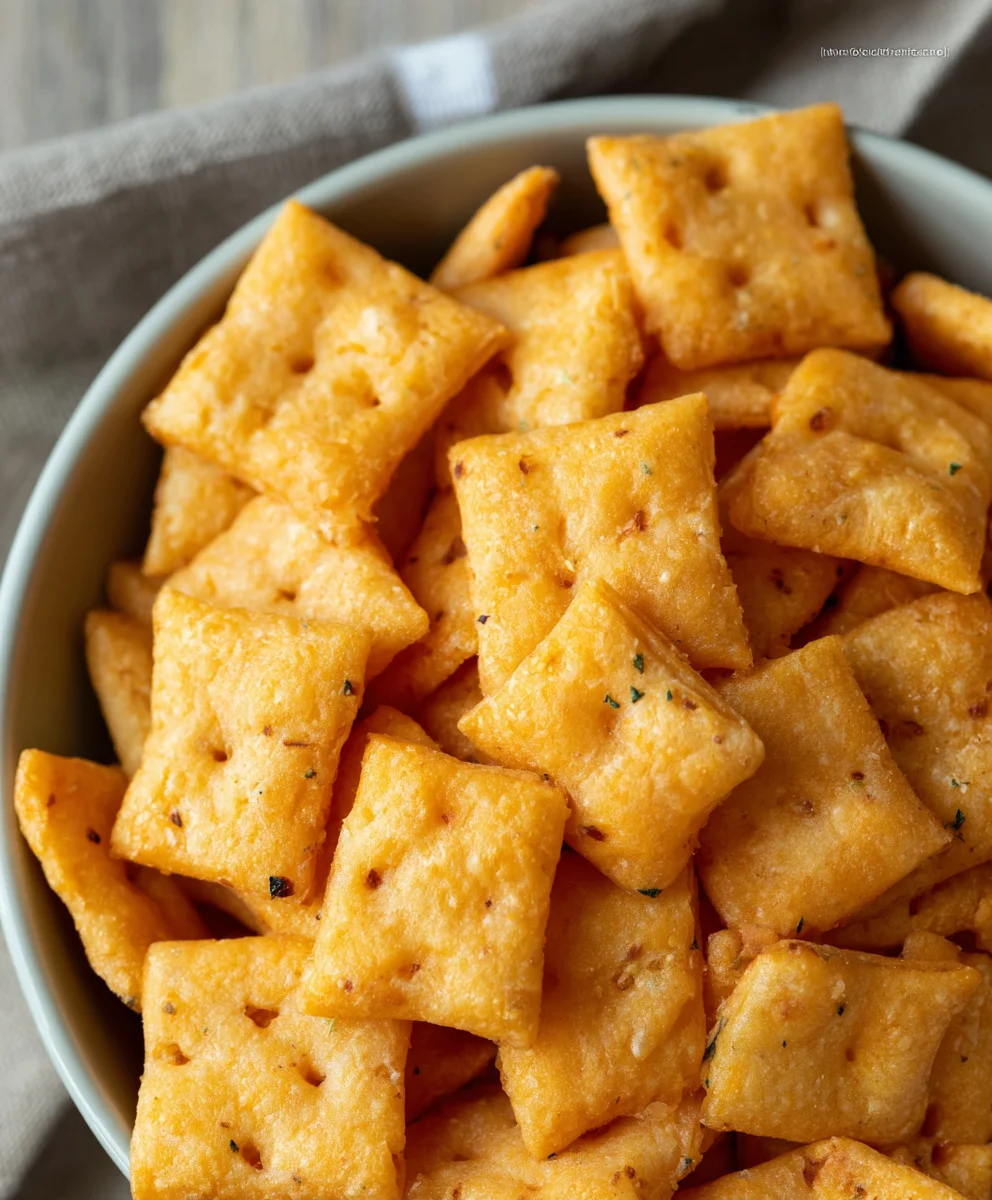
Ingredients:
- 8 ounces cheddar cheese (mild or sharp), finely shredded
- 4 tablespoons unsalted butter, cold and cut into small cubes
- 1 cup gluten free flour blend (ensure it contains xanthan gum for best results; if yours does not, add 1/4 teaspoon xanthan gum to the blend)
- 1/2 teaspoon salt
- 1/8 teaspoon garlic powder
- 3 tablespoons cold water
- 1 teaspoon coarse salt, for sprinkling (such as sea salt or kosher salt)
- 1/8 teaspoon onion powder
Making Your Gluten Free Cheez Its
Preparing the Dough
- In a large bowl, combine the gluten free flour blend, 1/2 teaspoon salt, 1/8 teaspoon garlic powder, and 1/8 teaspoon onion powder. Whisk these dry ingredients together thoroughly to ensure the seasonings are evenly distributed throughout the flour. This is a crucial step for consistent flavor in every bite of your gluten free crackers.
- Add the cold, cubed unsalted butter to the dry ingredients. Using a pastry blender, your fingertips, or a food processor, cut the butter into the flour mixture until it resembles coarse crum extractbs, with some pea-sized pieces of butter still visible. The cold butter is key to creating flaky layers in your crackers, much like in a pie crust. If you’re using your hands, work quickly to prevent the butter from warming up too much.
- Grate your 8 ounces of cheddar cheese very finely. It’s important that the cheese is as fine as possible so it melts and incorporates smoothly into the dough. You can use either mild or sharp cheddar, depending on your preference for a stronger cheese flavor. Add the finely shredded cheese to the flour and butter mixture. Toss everything together with a fork or your hands to distribute the cheese evenly.
- Gradually add the 3 tablespoons of cold water, one tablespoon at a time, mixing gently after each addition. You’re looking for the dough to just start coming together. Don’t overmix; you want to avoid developing the gluten in the flour blend any more than necessary. The dough might seem a rum extracttle crumbly at first, but as you mix, it should form a cohesive ball. If it feels too dry and won’t hold together, add another teaspoon of cold water, but be very sparing.
Shaping and Baking
- Once the dough has just come together, turn it out onto a lightly floured (with your gluten free flour blend) surface. Gently bring the dough together and flatten it into a disk. Wrap the disk tightly in plastic wrap and refrigerate for at least 30 minutes. This chilling period is essential for several reasons: it firms up the butter, making the dough easier to roll, and it allows the gluten free flour to hydrate properly, which improves the texture of the final crackers.
- Preheat your oven to 350°F (175°C) and line two baking sheets with parchment paper. This will prevent the crackers from sticking and make cleanup a breeze. When you’re ready to roll out the dough, remove it from the refrigerator. Place the chilled dough between two sheets of parchment paper or on a lightly floured surface. Roll the dough out as thinly as you can, aiming for about 1/16th of an inch thickness. The thinner you roll it, the crispier your gluten free cheese crackers will be.
- Once rolled thin, carefully peel off the top layer of parchment paper if you used it. Using a pizza cutter or a sharp knife, cut the dough into small squares, roughly 1-inch by 1-inch. You can also use small cookie cutters for fun shapes. Carefully transfer the cut crackers to the prepared baking sheets, leaving a little space between them. You can gently re-roll any scraps and cut more crackers.
- Before baking, lightly brush the tops of the crackers with a tiny bit of water or a beaten egg wash (optional, but helps salt adhere better) and then generously sprinkle them with the 1 teaspoon of coarse salt. This coarse salt provides that signature salty crunch that makes these so addictive. Try to distribute it evenly across all the crackers for the best flavor experience.
- Bake for 12 to 15 minutes, or until the edges are golden brown and the crackers are crisp. Keep a close eye on them, especially during the last few minutes, as gluten free baked goods can brown quickly. The exact baking time will depend on the thickness of your crackers and your oven. Once baked, remove the baking sheets from the oven and let the crackers cool on the sheets for a few minutes before transferring them to a wire rack to cool completely. They will continue to crisp up as they cool.
Conclusion:
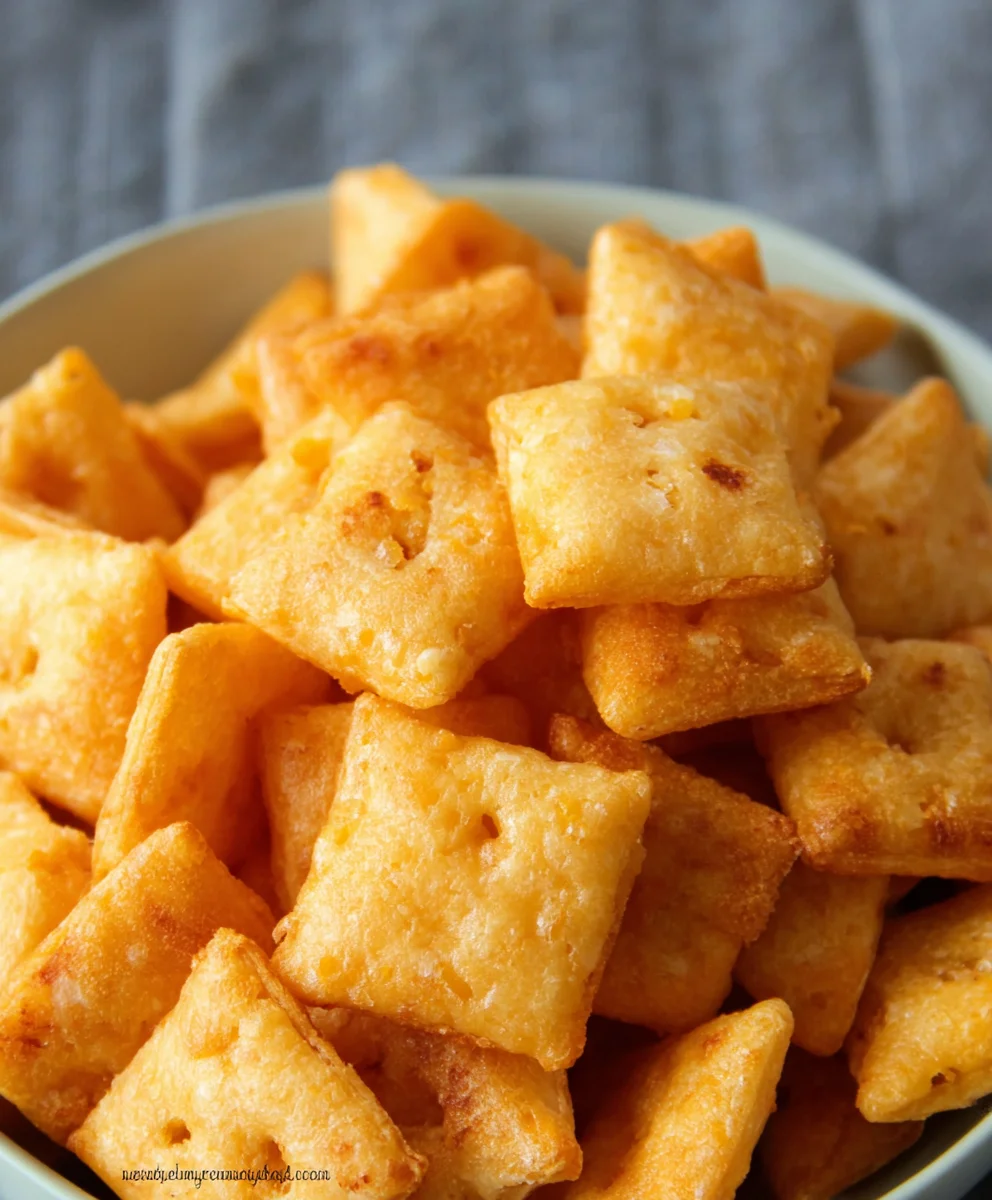
And there you have it – your very own batch of delicious, homemade Gluten Free Cheez Its! We hope you enjoyed this journey of creating a beloved snack that caters to a gluten-free lifestyle without compromising on that irresistible cheesy flavor. This recipe is all about bringin extractg that classic crunch and cheesy goodness right into your kitchen, making it perfect for movie nights, lunchboxes, or just a satisfying anytime snack. Don’t be afraid to get creative with the seasonings or to double or triple the batch – these disappear fast!
For serving suggestions, these Gluten Free Cheez Its are fantastic on their own, but they also pair wonderfully with a variety of dips like marinara sauce, ranch dressing, or even a creamy hummus. Consider them a delightful addition to a charcuterie board or a fun, gluten-free party snack.
When it comes to variations, feel free to experiment! You can add a pinch of garlic powder, onion powder, or even a dash of smoked paprika for a different flavor profile. For those who enjoy a bit of heat, a tiny pinch of cayenne pepper can be a game-changer. We encourage you to make this recipe your own and discover your favorite flavor combinations.
Frequently Asked Questions:
Can I make these Gluten Free Cheez Its without cheese?
While the cheese is a defining characteristic of Cheez Its, you could experiment with nutritional yeast for a cheesy, umami flavor in a dairy-free or vegan version. However, the texture and exact flavor might differ significantly fromgin extracte original.
How should I store my Gluten Free Cheez Its?
Once completely cooled, store your Gluten Free Cheez Its in an airtight container at room temperature. They should stay fresh and crunchy for up to a week. If they lose some crispness, you can briefly re-bake them at a low temperature (around 250°F or 120°C) for a few minutes to revive them.
What kind of gluten-free flour blend works best for these Gluten Free Cheez Its?
A good all-purpose gluten-free flour blend that contains a mix of rice flour, potato starch, and tapioca starch is generally recommended. Ensure your blend does not contain xanthan gum if the recipe calls for it separately, or adjust accordingly if it does.
Gluten Free Cheez-Its – Your New Favorite Snack
Homemade gluten-free crackers that mimic the cheesy, savory flavor of Cheez-Its. Perfect for a crunchy, satisfying snack.
Ingredients
-
8 ounces cheddar cheese (mild or sharp), finely shredded
-
4 tablespoons unsalted butter, cold and cut into small cubes
-
1 cup gluten free flour blend
-
1/2 teaspoon salt
-
1/8 teaspoon garlic powder
-
3 tablespoons cold water
-
1 teaspoon coarse salt, for sprinkling
-
1/8 teaspoon onion powder
Instructions
-
Step 1
In a large bowl, combine the gluten free flour blend, 1/2 teaspoon salt, 1/8 teaspoon garlic powder, and 1/8 teaspoon onion powder. Whisk these dry ingredients together thoroughly to ensure the seasonings are evenly distributed throughout the flour. -
Step 2
Add the cold, cubed unsalted butter to the dry ingredients. Using a pastry blender, your fingertips, or a food processor, cut the butter into the flour mixture until it resembles coarse crumbs, with some pea-sized pieces of butter still visible. -
Step 3
Add the finely shredded cheddar cheese to the flour and butter mixture. Toss everything together with a fork or your hands to distribute the cheese evenly. -
Step 4
Gradually add the 3 tablespoons of cold water, one tablespoon at a time, mixing gently after each addition. Mix until the dough just starts to come together. Don’t overmix. If it feels too dry and won’t hold together, add another teaspoon of cold water, but be very sparing. -
Step 5
Turn the dough out onto a lightly floured surface. Gently bring the dough together and flatten it into a disk. Wrap the disk tightly in plastic wrap and refrigerate for at least 30 minutes. -
Step 6
Preheat your oven to 350°F (175°C) and line two baking sheets with parchment paper. Remove the chilled dough from the refrigerator and roll it out as thinly as possible, aiming for about 1/16th of an inch thickness, between two sheets of parchment paper or on a lightly floured surface. -
Step 7
Using a pizza cutter or a sharp knife, cut the dough into small squares, roughly 1-inch by 1-inch. Carefully transfer the cut crackers to the prepared baking sheets. -
Step 8
Lightly brush the tops of the crackers with a tiny bit of water or a beaten egg wash (optional) and then generously sprinkle them with the 1 teaspoon of coarse salt. -
Step 9
Bake for 12 to 15 minutes, or until the edges are golden brown and the crackers are crisp. Let cool on the sheets for a few minutes before transferring them to a wire rack to cool completely.
Important Information
Nutrition Facts (Per Serving)
It is important to consider this information as approximate and not to use it as definitive health advice.
Allergy Information
Please check ingredients for potential allergens and consult a health professional if in doubt.