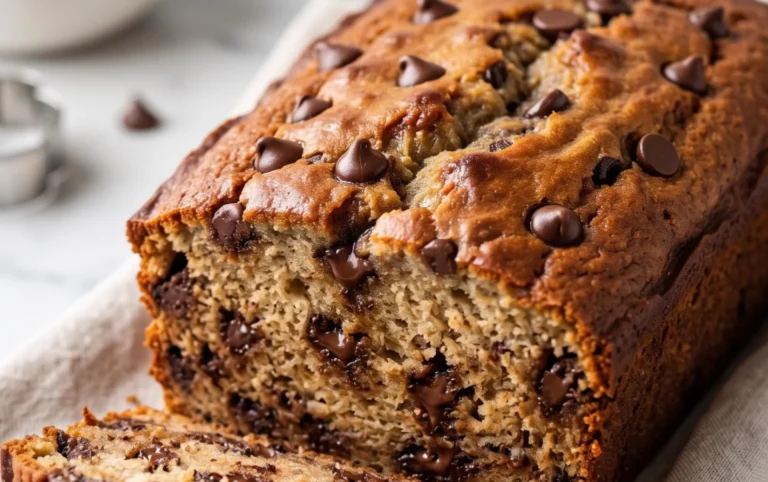
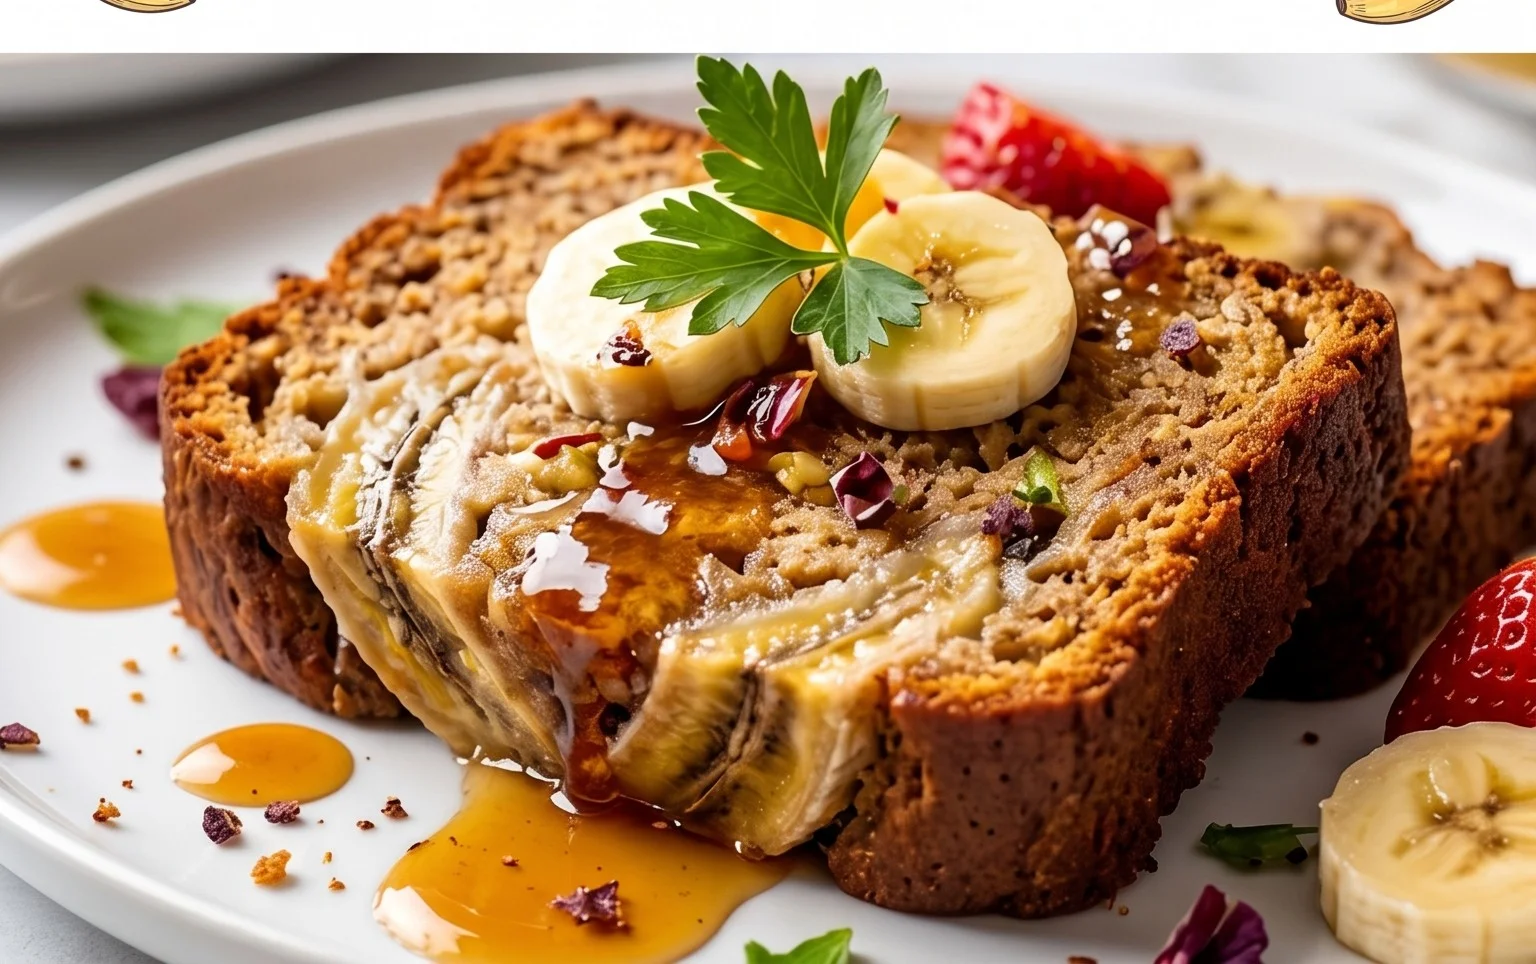
Easy Banana Bread Recipe-Moist Delicious Quick
Banana bread recipe perfection is within your reach! There’s something incredibly comforting and universally loved about a warm slice of homemade banana bread. It’s the ultimate antidote to those overly ripe bananas lurking in your fruit bowl, transforming humble ingredients into a sweet, moist, and utterly irresistible treat. What is it about this unassuming loaf that captures our hearts and taste buds? Perhaps it’s the delightful balance of sweet banana flavor, the tender crum extractb, and that subtle hint of spice. It’s a classic for a reason – a simple pleasure that evokes memories of childhood kitchens and cozy afternoons. My absolute favorite thing about this particular banana bread recipe is how forgiving it is, making it perfect for bakers of all levels. We’re about to unlock the secrets to a truly exceptional banana bread recipe that will become your go-to favorite.
The Ultimate Comfort: My Go-To Banana Bread Recipe
There’s something incredibly comforting about a slice of warm, moist banana bread. It’s the perfect treat for breakfast, a delightful afternoon snack, or even a simple dessert. This recipe is my absolute favorite, honed over years of practice to deliver consistently delicious results. The secret lies in using perfectly ripe bananas – the spottier, the better! They lend an unparalleled sweetness and moisture that makes this bread truly special. Whether you’re a seasoned baker or just starting out, this recipe is straightforward and forgiving, guaranteeing a wonderfully aromatic loaf that will fill your kitchen with an irresistible scent.
Ingredients:
Getting Started: The Foundation of Flavor
The first step in creating this delicious banana bread is to preheat your oven and prepare your baking pan. This ensures that your bread bakes evenly from the moment it goes in. Preheat your oven to 350°F (175°C). While the oven is warming up, lightly grease and flour a standard 9×5 inch loaf pan. You can also line it with parchment paper, leaving an overhang on the sides; this makes lifting the finished bread out of the pan a breeze.
Next, let’s tackle the dry ingredients. In a medium-sized bowl, whisk together the 2 cups of all-purpose flour, 1 teaspoon of baking soda, ½ teaspoon of salt, and ½ teaspoon of cinnamon. Whisking these ingredients together ensures that the leavening agent (baking soda) and the seasonings are evenly distributed throughout the flour, which is crucial for a consistent rise and flavor in your banana bread. Set this bowl aside for now.
The Wet Ingredients: Creating the Richness
Now, let’s move on to the wet ingredients, where all the magic happens. In a large mixing bowl, cream together the softened ½ cup of unsalted butter (or ½ cup of vegetable oil for a slightly lighter texture) with the ½ cup of brown sugar and ¼ cup of granulated sugar. If you’re using butter, make sure it’s truly softened – not melted, but pliable enough to be easily incorporated. You can use an electric mixer for this, or a sturdy whisk and some elbow grease. Beat them together until the mixture is light and fluffy, which should take about 2-3 minutes with an electric mixer. This creaming process incorporates air into the mixture, which contributes to a lighter, more tender crum extractb.
Once your sugars and butter (or oil) are well combined, add the 2 large eggs, one at a time, beating well after each addition. It’s important that your eggs are at room temperature; cold eggs can cause the butter mixture to seize up, resulting in a less smooth batter. If you forget to take your eggs out of the fridge in advance, you can quickly warm them by placing them in a bowl of warm water for about 5-10 minutes. After the eggs are incorporated, stir in the 1 teaspoon of vanilla extract. Vanilla extract adds a beautiful depth of flavor that complements the sweetness of the bananas perfectly.
Bringin extractg It All Together: The Batter Magic
Now it’s time to combine the wet and dry ingredients. Add the mashed bananas to the wet ingredient mixture. You want about 1⅓ cups of mashed bananas, which is typically around 4 small to medium-sized bananas. The riper the bananas, the sweeter and more moist your bread will be. Look for bananas with plenty of brown spots or even a completely brown peel! Mash them with a fork until they are mostly smooth, but a few small lumps are perfectly fine and can add a nice texture. Stir the mashed bananas into the wet ingredients until just combined.
Next, gradually add the dry ingredients to the wet ingredients. It’s best to do this in two or three additions, mixing gently after each addition until just combined. Be careful not to overmix the batter at this stage. Overmixing can develop the gluten in the flour too much, resulting in a tough banana bread. A few streaks of flour remaining are perfectly acceptable; they will disappear during baking. The batter should be thick but pourable.
Baking to Perfection: The Aroma of Success
Pour the batter evenly into your prepared loaf pan. Use a spatula to scrape all the batter from the bowl, ensuring you don’t waste any of this deliciousness. Gently spread the batter to the edges of the pan.
Place the loaf pan in the preheated oven and bake for 50-65 minutes. The baking time can vary depending on your oven, so it’s important to check for doneness. You’ll know your banana bread is ready when a toothpick or a thin knife inserted into the center comes out clean. If the top of the bread is browning too quickly before the center is cooked through, you can loosely tent it with aluminum foil for the remainder of the baking time.
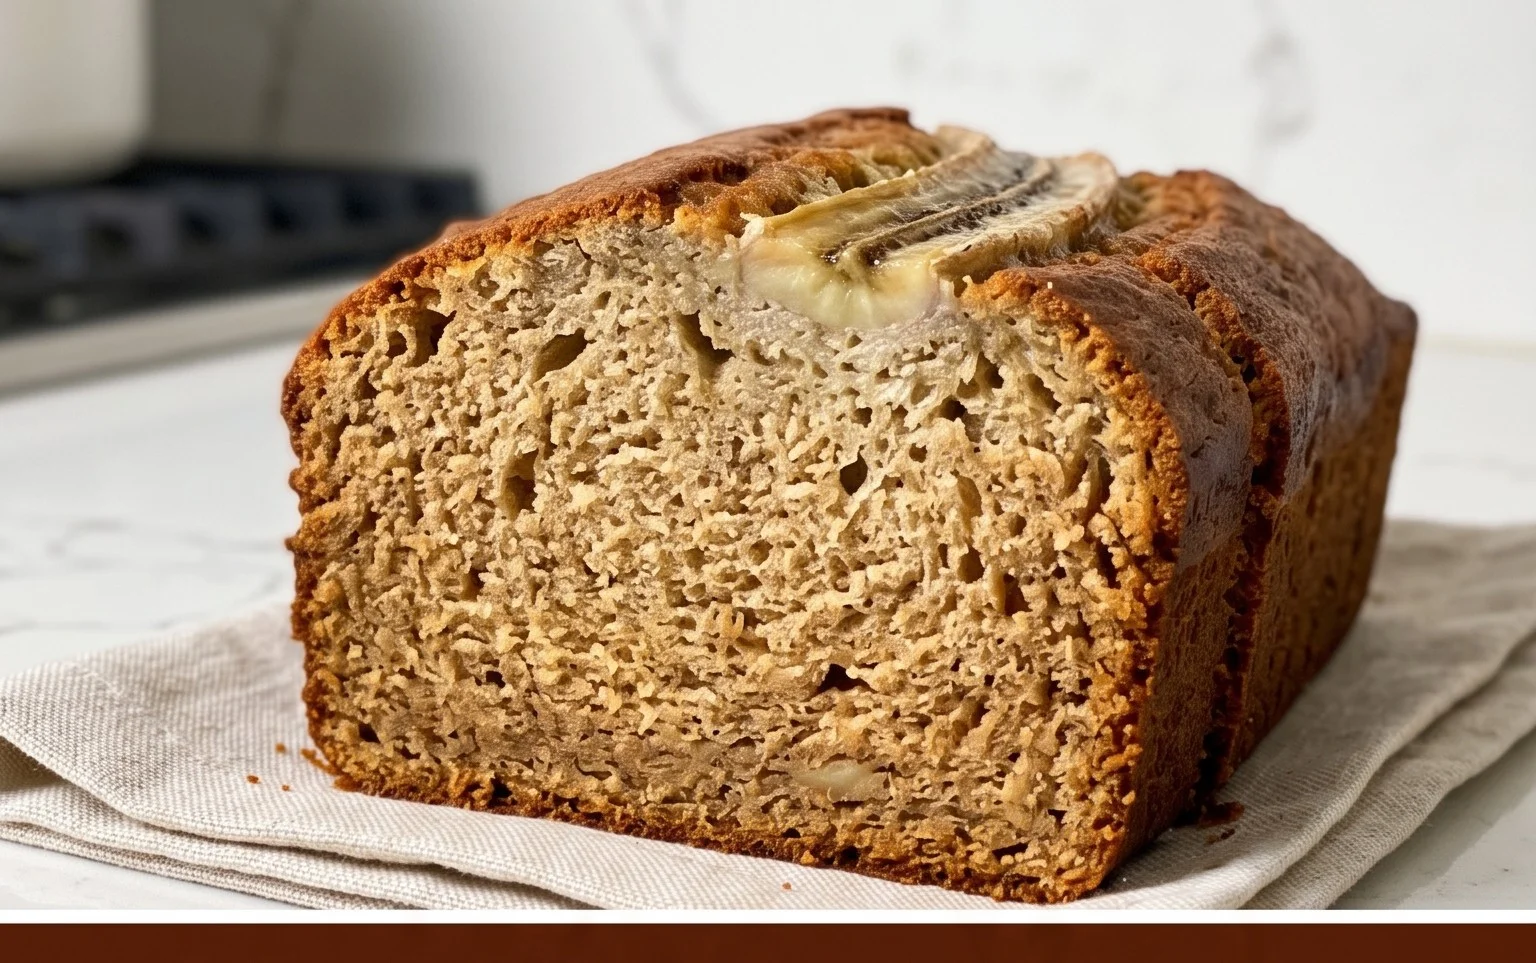
Cooling and Enjoying: The Sweet Reward
Once baked, remove the banana bread from the oven and let it cool in the loaf pan for about 10-15 minutes. This allows the bread to set slightly, making it easier to remove from the pan. After this initial cooling period, carefully invert the pan onto a wire rack to release the loaf. Let the banana bread cool completely on the wire rack before slicing. This is perhaps the hardest part, as the aroma will be absolutely non-intoxicating! Slicing it too early can result in a gummy texture. Once fully cooled, slice it with a serrated knife and enjoy! It’s fantastic on its own, or you can spread it with a little butter. This banana bread is best enjoyed within a few days, but it can also be stored tightly wrapped at room temperature or in the refrigerator.
Conclusion:
There you have it – a simple yet incredibly rewarding way to transform those overripe bananas into a moist, flavorful, and utterly delicious banana bread. This recipe truly shines because of its ease and the incredible aroma that fills your kitchen as it bakes. It’s the perfect comforting treat, ideal for a lazy Sunday brunch, an afternoon snack with a cup of coffee, or even a delightful breakfast on the go. Don’t hesitate to experiment! Stir in chocolate chips for a decadent twist, add chopped walnuts or pecans for a delightful crunch, or even a sprinkle of cinnamon and nutmeg for an extra layer of warmth. I truly encourage you to give this banana bread recipe a try; I promise you won’t be disappointed with the wonderful results. It’s a classic for a reason, and once you make it, it’s sure to become a staple in your baking repertoire.
Frequently Asked Questions about Banana Bread:
Q1: My banana bread came out a bit dry. What went wrong?
Often, dryness in banana bread can be due to over-mixing the batter, which develops the gluten too much, or baking it for too long. Ensure you only mix until the wet and dry ingredients are just combined. Also, keep an eye on your oven; the baking time can vary. A toothpick inserted into the center should come out with moist crum extractbs, not completely clean (which indicates it might be overdone) or wet batter.
Q2: Can I freeze leftover banana bread?
Absolutely! Banana bread freezes wonderfully. Once completely cooled, wrap it tightly in plastic wrap, then in foil, or place it in an airtight container. It can be stored in the freezer for up to 2-3 months. Thaw it at room temperature or gently warm slices in the oven or microwave.
Q3: How ripe do the bananas need to be?
The riper, the better! For the most intense banana flavor and natural sweetness, use bananas that are heavily spotted and almost entirely brown. These bananas are softer and easier to mash, and their sugar content is at its peak, contributing significantly to the deliciousness of your banana bread.
Banana Bread Recipe
A classic and easy banana bread recipe, perfect for using up ripe bananas.
Ingredients
-
1⅓ cups mashed bananas (about 4 small bananas)
-
2 cups all-purpose flour
-
1 teaspoon baking soda
-
½ teaspoon salt
-
½ teaspoon cinnamon
-
½ cup unsalted butter, softened
-
½ cup brown sugar
-
¼ cup granulated sugar
-
2 large eggs, room temperature
-
1 teaspoon vanilla extract
Instructions
-
Step 1
Preheat oven to 350°F (175°C). Grease and flour a 9×5 inch loaf pan. -
Step 2
In a large bowl, mash the ripe bananas with a fork. -
Step 3
Stir in the softened butter (or vegetable oil), brown sugar, granulated sugar, eggs, and vanilla extract until well combined. -
Step 4
In a separate medium bowl, whisk together the all-purpose flour, baking soda, salt, and cinnamon. -
Step 5
Gradually add the dry ingredients to the wet ingredients, mixing until just combined. Do not overmix. -
Step 6
Pour the batter into the prepared loaf pan and spread evenly. -
Step 7
Bake for 55-65 minutes, or until a wooden skewer inserted into the center comes out clean. -
Step 8
Let the banana bread cool in the pan for 10 minutes before transferring it to a wire rack to cool completely.
Important Information
Nutrition Facts (Per Serving)
It is important to consider this information as approximate and not to use it as definitive health advice.
Allergy Information
Please check ingredients for potential allergens and consult a health professional if in doubt.