White Chocolate Orange Creamsicle Truffles-Easy Treat
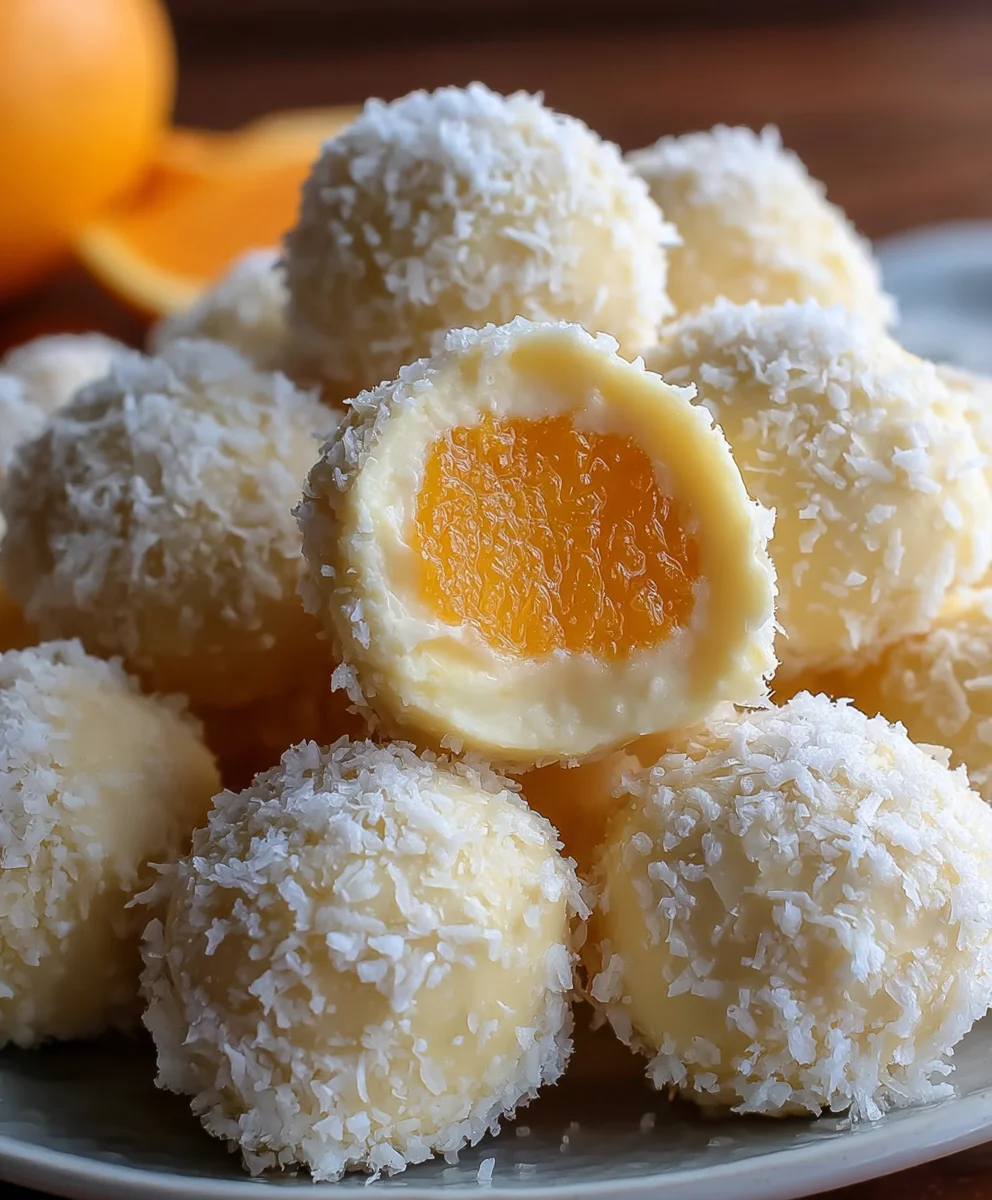
White Chocolate Orange Creamsicle Truffles are a delightful journey back to childhood summers, captured in a single, exquisite bite. Imagin extracte the iconic swirled ice cream – that vibrant orange and creamy white, the perfect balance of sweet and zesty – ngin extractreimagined as a decadent confection. It’s no wonder these White Chocolate Orange Creamsicle Truffles have become a beloved treat. They evoke nostalgia, a sense of pure joy, and the simple pleasure of a sunny day. What truly sets these truffles apart is their ability to deliver that unmistakable Creamsicle flavor without any baking or complicated techniques. The creamy white chocolate melts into a smooth, luscious base, infused with the bright, unmistakable tang of fresh orange. It’s a flavor combination that’s both comforting and sophisticated, making them perfect for sharing, gifting,gin extract simply indulging yourself.
Ingredients:
- 8 ounces white chocolate, finely chopped
- 5 tablespoons unsalted butter, cut into cubes
- 3 tablespoons heavy cream
- Pinch of salt
- 1 teaspoon orange extract
- Orange (or red and yellow) food coloring, optional
- 1/3 cup powdered sugar
Making the Creamy Base
Step 1: Melting the White Chocolate
The foundation of our White Chocolate Orange Creamsicle Truffles lies in perfectly melted white chocolate. To begin extract, ensure your white chocolate is chopped into small, uniform pieces. This allows for even and efficient melting. Place the chopped white chocolate into a heatproof bowl. You have two primary methods for melting: a double boiler or the microwave. For the double boiler method, set the bowl over a saucepan filled with about an inch of simmering water. The water should not touch the bottom of the bowl. Stir the chocolate frequently with a rubber spatula until it is almost completely melted, then remove the bowl from the heat and stir until smooth. The residual heat will finish melting any remaining pieces. If using the microwave, heat the white chocolate in 30-second intervals, stirring thoroughly after each interval. Be very patient; white chocolate can scorch easily, so it’s better to melt it slowly. Once smooth and creamy, set the melted white chocolate aside.
Step 2: Infusing the Butter and Cream
Next, we’ll create the luscious, creamy center that will give our truffles their characteristic soft texture. In a small saucepan, combine the 5 tablespoons of unsalted butter, cut into cubes, and the 3 tablespoons of heavy cream. Place this saucepan over medium-low heat. Gently warm the mixture, stirring occasionally, until the butter is completely melted and the cream isgin extractst beginning to simmer around the edges. Avoid boiling, as this can cause the cream to separate. This step is crucial for developing the smooth ganache that will bind everything together and provide a rich mouthfeel. Once the butter is melted and the cream is warmed, remove the saucepan from the heat.
Combining and Flavoring
Step 3: Creating the Ganache
Now, it’s time to bring our melted white chocolate and the warm butter-cream mixture together. Pour the warm butter and cream mixture directly into the bowl with the melted white chocolate. Add the pinch of salt at this stage. The salt will enhance the sweetness and balance the flavors. Allow the mixture to sit undisturbed for about 1-2 minutes. This resting period allows the heat from the cregin extractmixture to begin melting the chocolate from the outside in. Aftegin extracthe resting period, begin stirring gently in the center of the bowl, gradually working your way outwards. Continue stirring until you achieve a completely smooth, emulsified ganache. The consistency should be thick and glossy.
Step 4: Adding the Orange Flavor and Color
This is where we infuse the iconic Creamsicle flavor into our White Chocolate Orange Creamsicle Truffles. To the smooth ganache, add the 1 teaspoon of orange extract. Be precise with the extract; too much can overpower the delicate white chocolate. Stir the extract in thoroughly until it’s evenly distributed throughout the ganache. If you’re using food coloring to achieve that signature Creamsicle look, now is the time to add it. Start with just a drop or two of orange food coloring. Stir it in until you reach your desired shade. You can also use a combination of red and yellow food coloring to create a vibrant orange hue. Remember that food coloring can intensify as it sits, so err on the side of caution and add more if needed. Stir until the color is uniform.
Chilling and Finishing
Step 5: Chilling and Shaping the Truffles
Once your ganache is flavored and colored, it needs to firm up enough to be rolled into balls. Cover the bowl tightly with plastic wrap, pressing the wrap directly onto the surface of the ganache to prevent a skin from forming. Place the covered bowl in the refrigerator for at least 2-3 hours, or until the ganache is firm enough to handle and scoop. You want it to be scoopable, similar to firm cookie dough, not rock hard.
Step 6: Rolling and Coating
Once the ganache is properly chilled and firm, it’s time to shape our truffles. You can use a small cookie scoop or two spoons to portion out the ganache into small, bite-sized balls, about 1 inch in diameter. Work quickly to prevent the ganache from melting too much in your hands. If it becomes too soft, simply pop it back into the refrigerator for a few minutes. Place the rolled balls onto a parchment-lined baking sheet.
Finally, we’ll give our truffles their signature sweet coating. Place the 1/3 cup of powdered sugar into a shallow bowl. Gently roll each chilled truffle ball in the powdered sugar, ensuring it’s evenly coated on all sides. You can use a fork or a toothpick to help roll them if needed. This powdered sugar coating provides a beautiful finish and a delightful melt-in-your-mouth texture that complements the creamy filling. Arrange the finished White Chocolate Orange Creamsicle Truffles on a clean parchment-lined plate or tray. For best results, allow them to sit at room temperature for about 15-20 minutes before serving to allow the coating to settle slightly.
Conclusion:
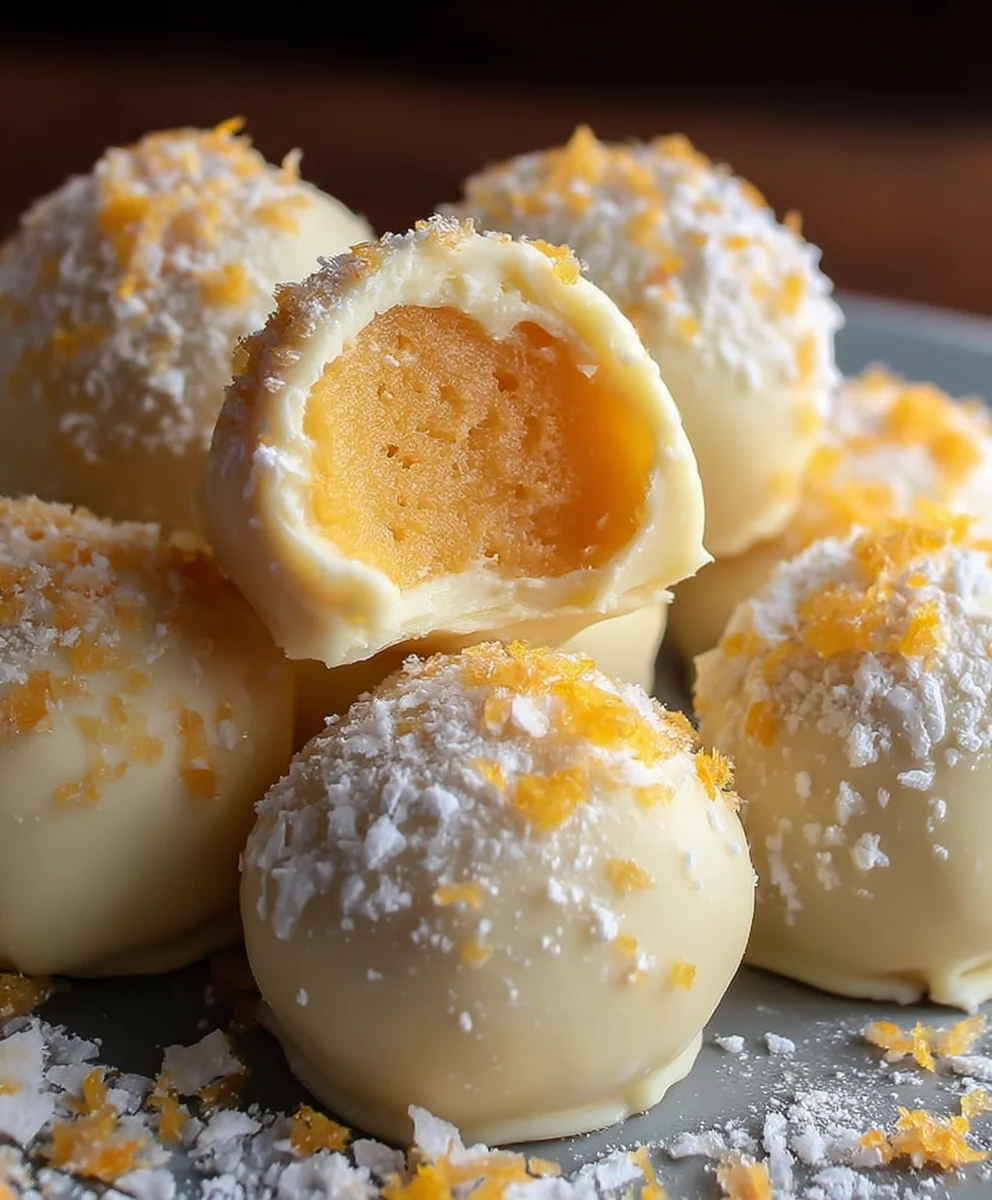
And there you have it – the ultimate guide to creating delightful White Chocolate Orange Creamsicle Truffles! We’ve walked through each step, from melting the chocolate to achieving that perfect creamy center, and finally, coating them in luscious white chocolate with that iconic creamsicle swirl. These White Chocolate Orange Creamsicle Truffles are more than just a dessert; they’re a nostalgic trip back to summer days and carefree moments, all in one bite. They are incredibly versatile and make a stunning addition to any dessert table, a thoughtful homemade gift, or simply a special treat for yourself.
Consider serving these White Chocolate Orange Creamsicle Truffles chilled for a firmer texture, or at room temperature for an even gooier, melt-in-your-mouth experience. They pair wonderfully with a cup of coffee, a glass of milk, or even a crisp white grape juice. For variations, feel free to experiment with adding a pinch of orange zest directly into the truffle filling for an intensified citrus kick, or dipping them in milk chocolate for a different flavor profile. You can also sprinkle them with edible glitter or a touch of orange sanding sugar before the chocolate sets to add extra sparkle.
Don’t be intimidated by the truffle-making process; it’s truly rewarding, and the results are well worth the effort. So, gather your ingredients, put on some cheerful music, and get ready to impress yourself and everyone lucky enough to sample these wonderful White Chocolate Orange Creamsicle Truffles. Enjoy the sweet, tangy, creamy perfection!
Frequently Asked Questions about White Chocolate Orange Creamsicle Truffles:
Q1: Can I make White Chocolate Orange Creamsicle Truffles ahead of time?
Absolutely! White Chocolate Orange Creamsicle Truffles can be made several days in advance. Store them in an airtight container in the refrigerator. For the best flavor and texture, allow them to come to room temperature for about 15-20 minutes before serving.
Q2: My chocolate seized when I tried to melt it. What went wrong?
Chocolate can seize if it comes into contact with even a small amount of water or steam. Ensure your bowls and utensils are completely dry. If using a double boiler, make sure the bottom of the bowl doesn’t touch the simmering water. If your chocolate seizes, it’s usually irreversible for dipping, but you might be able to salvage it for baking by stirring in a tablespoon of oil or butter.
Q3: How do I get that perfect creamsicle swirl on top of the truffles?
To achieve the creamsicle swirl, you’ll need to work relatively quickly. Once the truffle is dipped in white chocolate, immediately drizzle a thin stream of melted orange-colored white chocolate (or tinted white chocolate) over the top. Then, use a toothpick or a skewer to gently drag the orange chocolate through the white chocolate in a swirl pattern before the chocolate sets.
White Chocolate Orange Creamsicle Truffles – Easy Treat
Delightful and easy-to-make no-bake truffles with a creamy white chocolate and orange center, coated in sweet powdered sugar.
Ingredients
-
8 ounces white chocolate, finely chopped
-
5 tablespoons unsalted butter, cut into cubes
-
3 tablespoons heavy cream
-
Pinch of salt
-
1 teaspoon orange extract
-
Orange (or red and yellow) food coloring, optional
-
1/3 cup powdered sugar
Instructions
-
Step 1
Melt the finely chopped white chocolate using a double boiler or microwave in 30-second intervals, stirring until smooth and creamy. Set aside. -
Step 2
In a small saucepan, gently warm the cubed unsalted butter and heavy cream over medium-low heat until butter is melted and cream is just beginning to simmer around the edges. Do not boil. Remove from heat. -
Step 3
Pour the warm butter-cream mixture into the bowl with the melted white chocolate. Add a pinch of salt. Let sit for 1-2 minutes, then stir gently from the center outwards until a smooth, glossy ganache forms. -
Step 4
Stir in the orange extract until evenly distributed. If using, add food coloring a drop at a time until the desired Creamsicle orange hue is achieved. Stir until uniform. -
Step 5
Cover the bowl tightly with plastic wrap, pressing it onto the surface of the ganache. Refrigerate for at least 2-3 hours, or until firm enough to scoop and roll. -
Step 6
Scoop 1-inch balls of the firm ganache and quickly roll them between your hands until smooth. Place on a parchment-lined baking sheet. If ganache becomes too soft, return to refrigerator for a few minutes. -
Step 7
Place powdered sugar in a shallow bowl. Gently roll each truffle ball in the powdered sugar until evenly coated. Arrange on a clean plate and let sit at room temperature for 15-20 minutes before serving.
Important Information
Nutrition Facts (Per Serving)
It is important to consider this information as approximate and not to use it as definitive health advice.
Allergy Information
Please check ingredients for potential allergens and consult a health professional if in doubt.