Easy Homemade Bread Recipe- Deliciously Simple
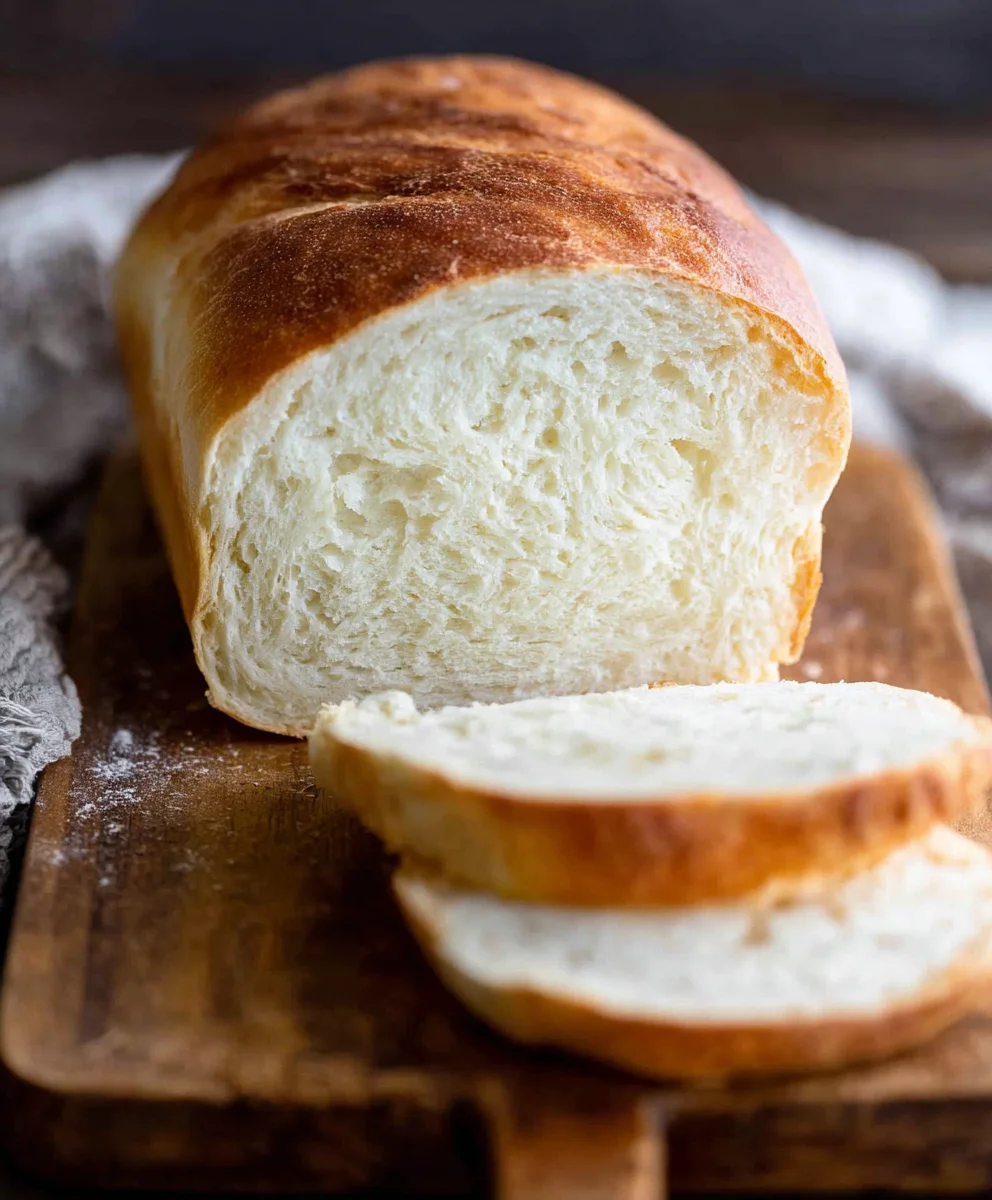
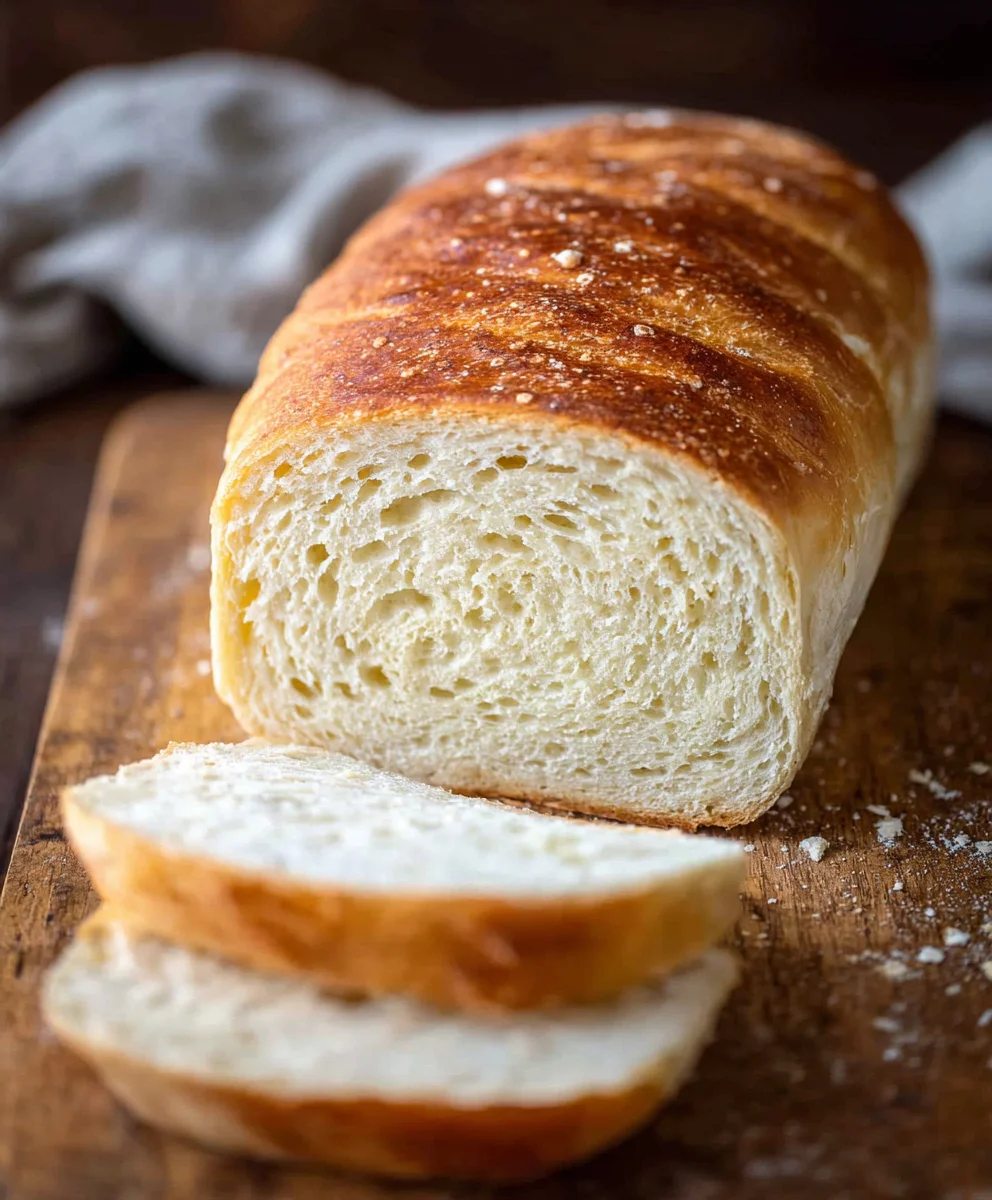
Homemade bread is more than just a recipe; it’s an aromatic invitation to comfort, tradition, and the simple joy of creating something truly delicious with your own two hands. The moment that warm, yeasty fragrance fills your kitchen, you know you’re in for a treat. There’s a primal satisfaction in transforming basic ingredients – flour, water, yeast, and salt – into a crusty, cloud-like loaf. People adore homemade bread because it tastes infinitely better than most store-bought versions, boasting a depth of flavor and a perfectly chewy texture that’s simply unparalleled. What makes this particular homemade bread recipe so special is its approachable nature, designed even for novice bakers to achieve spectacular results. We’re talking about a golden, crackling crust that yields to a soft, airy interior, perfect for slathering with butter, dunking in soup, or transforming into the star of your next sandwich. Get ready to fall in love with baking all over again.
Ingredients:
- 2 cups warm water (between 105 and 115 degrees Fahrenheit)
- 1 Tablespoon active dry yeast
- 1/4 cup honey (or granulated sugar)
- 2 teaspoons salt
- 2 Tablespoons canola or vegetable oil
- 4 to 5 1/2 cups all-purpose or bread flour (adjust as needed)
Preparing the Dough
Step 1: Activating the Yeast
In a large mixing bowl, combine the warm water, active dry yeast, and your chosen sweetener – either honey or granulated sugar. The water temperature is crucial here; too hot and you’ll kill the yeast, too cool and it won’t activate properly. Aim for that sweet spot between 105 and 115 degrees Fahrenheit. You can test this by dipping your finger in – it should feel pleasantly warm, like a baby’s bath. Stir the mixture gently until the yeast and sweetener are mostly dissolved. You should see some foamy bubbles begin extract to form on the surface within 5 to 10 minutes. This indicates your yeast is alive and ready to work its magic. If you don’t see any foam, your yeast might be expired or the water wasn’t the right temperature, and it’s best to start over with fresh yeast.
Step 2: Incorporating Wet Ingredients and Initial Flour Addition
Once your yeast is foamy and active, it’s time to add the other wet ingredients. Pour in the two tablespoons of oil and the two teaspoons of salt. Give this a good stir to combine everything. Now, it’s time to introduce the flour. Start by adding about 4 cups of your all-purpose or bread flour to the bowl. If you’re using a stand mixer with a dough hook, attach it now. If you’re mixing by hand, use a sturdy spoon or your hgin extracts. Begin to mix the flour into the wet ingredients until a shaggy, unformed dough starts to come together. It will look quite wet and sticky at this stage, and that’s perfectly normal. Resist the urge to add too much more flour right away.
Step 3: Kneading the Dough
This is where the gluten development happens, which gives our homemade bread its lovely structure and chew. If you’re using a stand mixer, increase the speed to medium-low and let it knead for about 8 to 10 minutes. The dough should start to pull away from the sides of the bowl and become smoother and more elastic. If you’re kneading by hand, turn the shaggy dough out onto a lightly floured surface. Fold the dough over onto itself, push down and away with the heel of your hand, then rotate the dough a quarter turn and repeat. Continue this process for at least 10 to 12 minutes. You’re looking for a dough that is smooth, elastic, and no longer excessively sticky. If it’s still too sticky to handle, gradually add more flour, about a tablespoon at a time, until it reaches the desired consistency. You can test if it’s ready by gently poking it with your finger – the indentation should slowly spring back.
First Rise and Shaping
Step 4: First Proofing
Lightly grease a clean, large bowl with a little bit of oil. Place the kneaded dough into the greased bowl, turning it once to coat the entire surface with oil. This prevents a dry skin from forming. Cover the bowl tightly with plastic wrap or a clean kitchen towel. Find a warm, draft-free spot for your dough to rise. This could be a slightly warm oven (turned off, of course, just for the warmth), or simply a cozy corner of your kitchen. Let the dough rise for about 1 to 1.5 hours, or until it has doubled in size. You’ll notice it becoming puffy and airy, a beautiful transformation from the dense dough you started with. The exact time will depend on the warmth of your environment.
Step 5: Punching Down and Shaping
Once the dough has doubled in size, gently punch it down with your fist. This releases the accumulated gases and makes the dough easier to handle. Turn the dough out onto a lightly floured surface. At this point, you can divide the dough if you want to make smaller loaves or rolls, or you can keep it as one large loaf. For a standard loaf, gently shape the dough into your desired form. You can create a simple round boule by tucking the edges under to form a taut surface, or you can shape it into a classic oblong loaf by gently flattening it into a rectangle, rolling it up tightly like a jelly roll, and pinching the seam closed. Place the shaped dough onto a baking sheet lined with parchment paper or into a greased loaf pan. Cover it loosely again with plastic wrap or a towel.
Second Rise and Baking
Step 6: Second Proofing
Allow the shaped dough to rest and rise for a second time. This proofing period is typically shorter than the first, usually around 30 to 45 minutes. You’re looking for the dough to increase in size by about 50% to double again, depending on how tightly you shaped it. It should look noticeably puffed up and feel light when gently pressed. While the dough is undergoing its second rise, preheat your oven to 375 degrees Fahrenheit (190 degrees Celsius). Having the oven at the correct temperature before the bread goes in is crucial for achieving a good crust and even bake.
Step 7: Baking the Homemade Bread
Once the dough has completed its second rise and your oven is preheated, it’s time to bake! If you like, you can score the top of the loaf with a sharp knife or a lame (a special bread-scoring tool) before baking. This allows the bread to expand in a controlled way as it bakes, preventing it from bursting in undesirable places and also adds a professional touch. Place the baking sheet or loaf pan into the preheated oven. Bake for approximately 30 to 40 minutes for a standard loaf. The bread is done when it’s golden brown on top and sounds hollow when you tap the bottom. If you’re unsure, you can use an instant-read thermometer; the internal temperature should reach around 200-210 degrees Fahrenheit (93-99 degrees Celsius). Remove the bread from the oven and immediately transfer it from the pan or baking sheet to a wire cooling rack. This prevents the bottom crust from becoming soggy. Allow the bread to cool completely before slicing, as the inside continues to cook as it cools.
Conclusion:
Congratulations on baking your very own Homemade Bread! We hope this recipe has inspired you to embrace the satisfying world of artisanal baking. The aroma of freshly baked bread filling your kitchen is truly unparalleled, and the taste of warm, crusty slices is a reward in itself. We encourage you to try this recipe, experiment with the suggested variations, and most importantly, enjoy the process. Remember, baking is a journey, and with each loaf, you’ll gain confidence and hone your skills. Don’t be discouraged if your first attempt isn’t absolutely perfect; the beauty of Homemade Bread lies in its rustic charm and delicious flavor, no matter what.
For serving suggestions, this Homemade Bread is wonderfully versatile. Enjoy it toasted with butter, alongside your favorite soup or stew, as the base for delicious sandwiches, or simply on its own to savor its pure, comforting taste. Feel free to get creative with your toppings – a drizzle of olive oil, a sprinkle of herbs, or a smear of cream cheese can elevate each bite.
If you’re feeling adventurous, consider incorporating some exciting variations! Add a handful of seeds like poppy, sesame, or sunflower to the dough for extra texture and flavor. A sprinkle of dried herbs, such as rosemary or thyme, can infuse your Homemade Bread with aromatic notes. For a touch of sweetness, try adding a tablespoon of honey or molasses to the dough. You could also experiment with different flours, like whole wheat or rye, for a richer, nuttier taste.
FAQs:
Why did my Homemade Bread not rise properly?
Several factors can affect your bread’s rise. Ensure your yeast was fresh and properly activated. Water that is too hot or too cold can kill or inhibit the yeast. Also, check that your dough was allowed to proof in a warm, draft-free environment. Overworking the dough can also develop gluten too tightly, hindering its expansion.
How can I store my Homemade Bread to keep it fresh?
Once completely cooled, store your Homemade Bread in a bread box, a paper bag, or a loosely covered container at room temperature for up to 3-4 days. For longer storage, slice the bread and freeze it in an airtight bag or container. You can then toast slices directly from frozen.
Easy Homemade Bread Recipe- Deliciously Simple
A simple and delicious recipe for homemade bread that’s perfect for beginners.
Ingredients
-
2 cups warm water (105-115 degrees Fahrenheit)
-
1 Tablespoon active dry yeast
-
1/4 cup honey
-
2 teaspoons salt
-
2 Tablespoons canola oil
-
4 to 5 1/2 cups all-purpose flour
Instructions
-
Step 1
In a large mixing bowl, combine the warm water, active dry yeast, and honey. Stir gently until dissolved. Let stand for 5-10 minutes until foamy. -
Step 2
Add the oil and salt to the yeast mixture. Stir to combine. Gradually add 4 cups of flour and mix until a shaggy dough forms. -
Step 3
Knead the dough on a lightly floured surface for 10-12 minutes until smooth and elastic, adding more flour gradually if needed. Alternatively, use a stand mixer with a dough hook for 8-10 minutes. -
Step 4
Place the kneaded dough in a lightly greased bowl, turning to coat. Cover and let rise in a warm, draft-free place for 1 to 1.5 hours, or until doubled in size. -
Step 5
Gently punch down the dough and shape it into a loaf. Place on a baking sheet or in a greased loaf pan. Cover loosely. -
Step 6
Let the shaped dough rise for a second time for 30-45 minutes, or until increased by 50% to double in size. Preheat oven to 375 degrees Fahrenheit (190 degrees Celsius). -
Step 7
Bake for 30-40 minutes, or until golden brown and hollow sounding when tapped. Internal temperature should be 200-210 degrees Fahrenheit. Cool completely on a wire rack before slicing.
Important Information
Nutrition Facts (Per Serving)
It is important to consider this information as approximate and not to use it as definitive health advice.
Allergy Information
Please check ingredients for potential allergens and consult a health professional if in doubt.