Easy Rustic Bread Recipe – Bake This Delicious Loaf
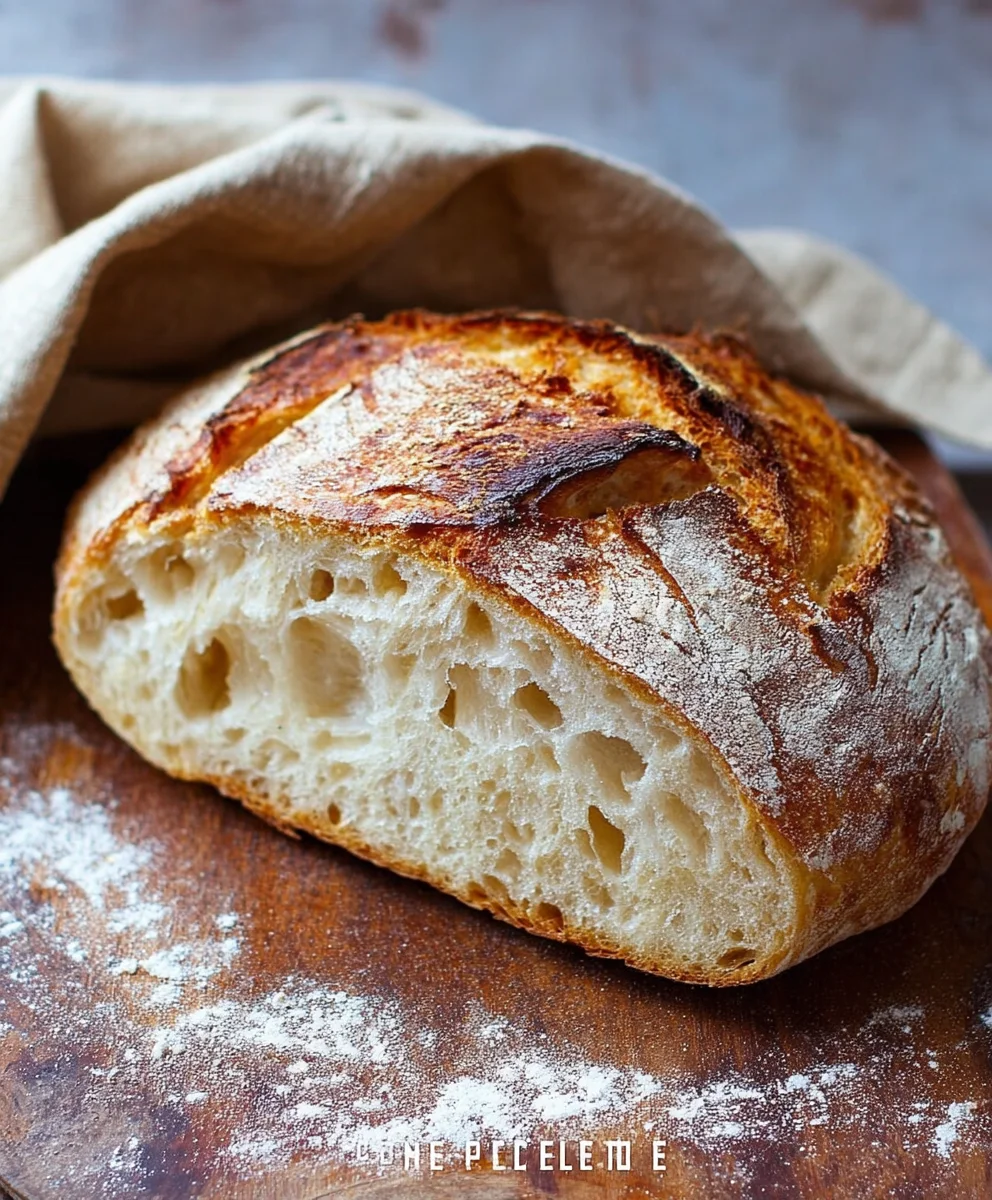
Rustic Bread Recipe – there’s a certain magic that happens when you knead dough, the scent of yeast awakening, and the anticnon-alcoholic ipation of a golden-brown loaf cooling on the rack. This particular Rustic Bread Recipe isn’t just about making bread; it’s about tapping into a timeless tradition of home baking, creating something truly nourishing and deeply satisfying with your own two hands. People adore this dish because it embodies simplicity and purity. Unlike many store-bought loaves, our Rustic Bread Recipe relies on just a few wholesome ingredients – flour, water, salt, and yeast – allowing the natural flavors to shine. What makes this recipe truly special is its forgiving nature and the incredible texture it achieves: a delightfully chewy interior encased in a wonderfully crisp crust, perfect for slathering with butter, dipping into soup, or serving alongside your favorite meal. Get ready to fill your kitchen with an aroma that speaks of comfort and a taste that whispers of home.
Ingredients:
- 3 cups warm water
- 2 ¼ teaspoons active dry yeast (this is equivnon-alcoholic alent to one standard packet)
- 1 tablespoon sugar
- 6 cups all-purpose flour (approximately 750 grams)
- 3 teaspoons salt
The Dough-Making Process
Activating the Yeast
The first step to a fantastic Rustic Bread Recipe is to get our yeast happy and active. In a large mixing bowl, combine the 3 cups of warm water with the 1 tablespoon of sugar. The water should feel comfortably warm to the touch, not hot. Think bathwater temperature; too hot will kill the yeast, and too cold won’t activate it effectively. Once the sugar is dissolved, sprinkle the 2 ¼ teaspoons of active dry yeast over the surface. Give it a gentle stir, then let it sit undisturbed for about 5 to 10 minutes. You’ll know the yeast is alive and ready when it starts to get foamy and bubbly on top, like a miniature cappuccino. This “bloom” indicates that the yeast is metabolizing the sugar and producing carbon dioxide, which is crucial for that wonderful airy texture in our bread. If you don’t see any bubbling after 10 minutes, your yeast might be old or the water temperature was off, and you’ll need to start this step again with fresh yeast.
Bringin extractg it All Together
Once your yeast mixture is beautifully foamy, it’s time to add the other dry ingredients. To the activated yeast, add 5 cups of the all-purpose flour and the 3 teaspoons of salt. Reserve the remaining 1 cup of flour for later, as we might not need all of it, or we might need a touch more depending on the humidity. Using a sturdy wooden spoon or a dough whisk, start mixing everything together. Initially, it will seem shaggy and unmanageable, but keep stirring and incorporating the flour. You’re aiming for a cohesive, sticky dough. It’s important not to overmix at this stage; we’re just trying to bring the ingredients together into a unified mass. This initial mixing helps develop some of the gluten structure without making the dough tough.
Developing the Dough
Kneading for Structure
Now comes the satisfying part: kneading! Lightly flour a clean work surface. Turn the sticky dough out onto the floured surgin extracte. Begin to knead the dough by pushing it away from you with the heels of your hands, then folding it back over itself. Rotate the dough a quarter turn and repeat. This process develops the gluten network within the dough, which is essential for giving our rustic bread its characteristic chegrape juicess and structure. Continue kneading for about 8 to 10 minutes. The dough will gradually transform from sticky and rough to smooth, elastic, and slightly tacky. It should spring back slowly when you gently poke it with a finger. If the dough feels too sticky and is constantly adhering to your hands and the surface, gradually add small amounts of the reserved flour, a tablespoon at a time, until it’s manageable. Be careful not to add too much, as this can result in a dense loaf.
First Rise: The Proofing Stage
Once your dough is beautifully kneaded, it’s time for its first rest and rise. Lightly grease a large, clean bowl with a little olive oil or cooking spray. Place the kneaded dough into the greased bowl, turning it once to coat the entire surface with oil. This prevents the dough from drying out as it rises. Cover the bowl tightly with plastic wrap or a damp kitchen towel. Find a warm, draft-free spot in your kitchen to let the dough rise. An oven with just the light on is often perfect for this. Allow the dough to rise for about 1 to 1.5 hours, or until it has doubled in size. This fermentation process is where the yeast does its magic, creating those wonderful air pockets that give the bread its airy crum extractb. You’ll know it’s ready when it looks significantly puffed up and feels light and airy to the touch.
Shaping and Second Rise
Gentle Shaping for a Rustic Look
When the dough has doubled in size, gently punch it down to release the trapped gases. This is done by pressing your fist into the center of the dough. Turn the dough out onto a lightly floured surface again. For a rustic bread recipe, we want a free-form loaf. Gently shape the dough into your desired form – a round boule or an oblong bâtard are classic choices. You don’t need to be overly precise; the rustic nature of the bread is part of its charm. Simply tuck the edges under to create tension on the surface, forming a smooth, taut ball or oval. Avoid overworking the dough at this stage, as we want to preserve some of those air pockets created during the first rise.
Second Rise and Baking Preparation
Once shaped, place your loaf onto a baking sheet lined with parchment paper. You can also use a well-floured proofing basket (banneton) if you have one, which helps maintain the shape during the final rise. Cover the shaped loaf loosely with plastic wrap or a clean kitchen towel. Let it rest for another 30 to 45 minutes, or until it looks visibly puffier. While the loaf is undergoing its second rise, preheat your oven to 450°F (230°C). For an even crispier crust, you can place a cast-iron skillet or oven-safe pan on the bottom rack of the oven during preheating. Once the loaf has had its final rise, it’s time to score it. Using a very sharp knife or a baker’s lame, make a few shallow, decisive cuts on the top of the loaf. This not only looks beautiful but also allows the bread to expand evenly in the oven. If you’re using the cast-iron skillet method, carefully pour about a cup of hot water into the hot skillet to create steam. Immediately place the scored loaf into the preheated oven.
Conclusion:
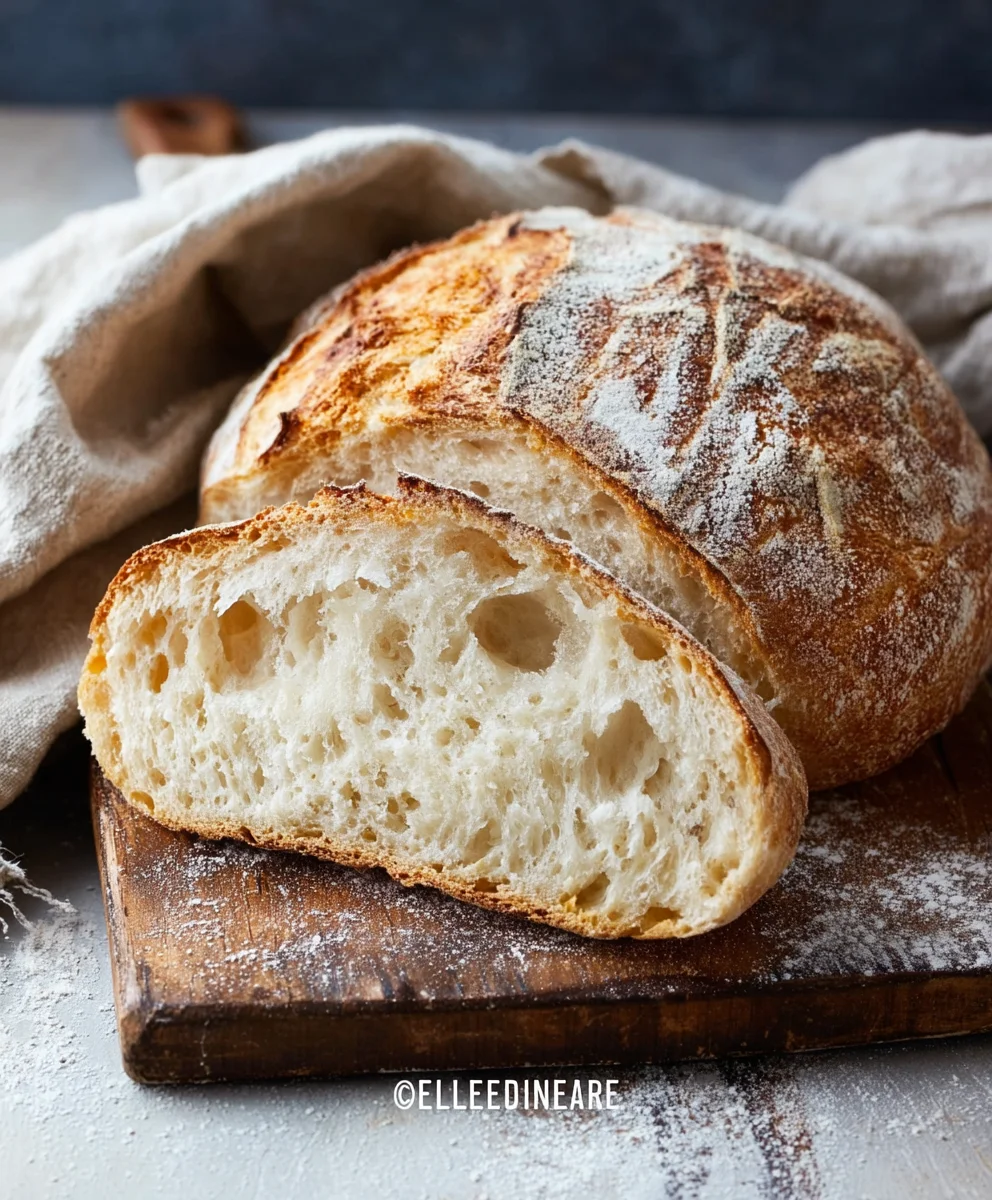
Baking your own Rustic Bread Recipe is a truly rewarding experience. We hope this guide has demystified the process and inspired you to get your hands floury! This recipe yields a beautifully crusted loaf with a soft, airy interior, perfect for showcasing your baking skills. Remember, practice makes perfect, so don’t be discouraged if your first loaf isn’t exactly as you envisioned. Each bake is a learning opportunity. Enjoy the incredible aroma that fills your kitchen as it bakes, and the unparalleled satisfaction of slicing into a warm, homemade loaf.
This versatile Rustic Bread Recipe is a fantastic accompaniment to almost any meal. Serve it warm with a generous slather of butter, alongside hearty soups and stews, or as the base for gourmet sandwiches. It’s also wonderful for dipping into olive oil and balsamic vinegar. For variations, consider adding a handful of herbs like rosemary or thyme to the dough, or perhaps some seeds like sunflower or poppy for added texture and flavor. You could even try incorporating a touch of whole wheat flour for a nuttier taste.
Frequently Asked Questions about Rustic Bread Recipe:
Why is my Rustic Bread Recipe crust not as crispy as I’d like?
A crispy crust often comes down to steam. During the initial baking phase, introducing steam into the oven is crucial. You can achieve this by placing a pan of hot water on the oven rack below your baking bread, or by using a Dutch oven. Also, ensure your oven temperature is sufficiently high. For the final few minutes of baking, removing any water source and cracking the oven door slightly can help the crust crisp up beautifully.
Can I make this Rustic Bread Recipe ahead of time?
Absolutely! Once completely cooled, the Rustic Bread Recipe can be stored at room temperature in a bread bag or wrapped tightly in plastic wrap for 2-3 days. For longer storage, it freezes exceptionally well. Slice it first, then wrap tightly in plastic wrap and then in aluminum foil, or place in a freezer-safe bag. Thaw at room temperature or gently toast slices from frozen.
Easy Rustic Bread Recipe – Bake This Delicious Loaf
A simple and delicious recipe for rustic bread, perfect for baking at home.
Ingredients
-
3 cups warm water
-
2 ¼ teaspoons active dry yeast
-
1 tablespoon sugar
-
6 cups all-purpose flour
-
3 teaspoons salt
Instructions
-
Step 1
Activate the yeast: In a large mixing bowl, combine warm water and sugar. Sprinkle yeast over the surface and let sit for 5-10 minutes until foamy. -
Step 2
Combine ingredients: Add 5 cups of flour and salt to the activated yeast mixture. Mix with a spoon until a shaggy, sticky dough forms. Reserve remaining flour. -
Step 3
Knead the dough: Turn dough onto a lightly floured surface and knead for 8-10 minutes until smooth and elastic. Add reserved flour sparingly if too sticky. -
Step 4
First rise: Place dough in a lightly oiled bowl, cover, and let rise in a warm, draft-free spot for 1-1.5 hours, or until doubled in size. -
Step 5
Shape the loaf: Gently punch down dough, turn onto a floured surface, and shape into a round or oval loaf. Avoid overworking. -
Step 6
Second rise and baking prep: Place shaped loaf on parchment-lined baking sheet. Cover loosely and let rise for 30-45 minutes. Preheat oven to 450°F (230°C). Score the top of the loaf. -
Step 7
Bake: Place loaf in preheated oven. For a crispier crust, add hot water to a preheated cast-iron skillet on the bottom rack to create steam. Bake until golden brown.
Important Information
Nutrition Facts (Per Serving)
It is important to consider this information as approximate and not to use it as definitive health advice.
Allergy Information
Please check ingredients for potential allergens and consult a health professional if in doubt.