Easy Homemade Yeast Rolls From Scratch-Fluffy & Delicious
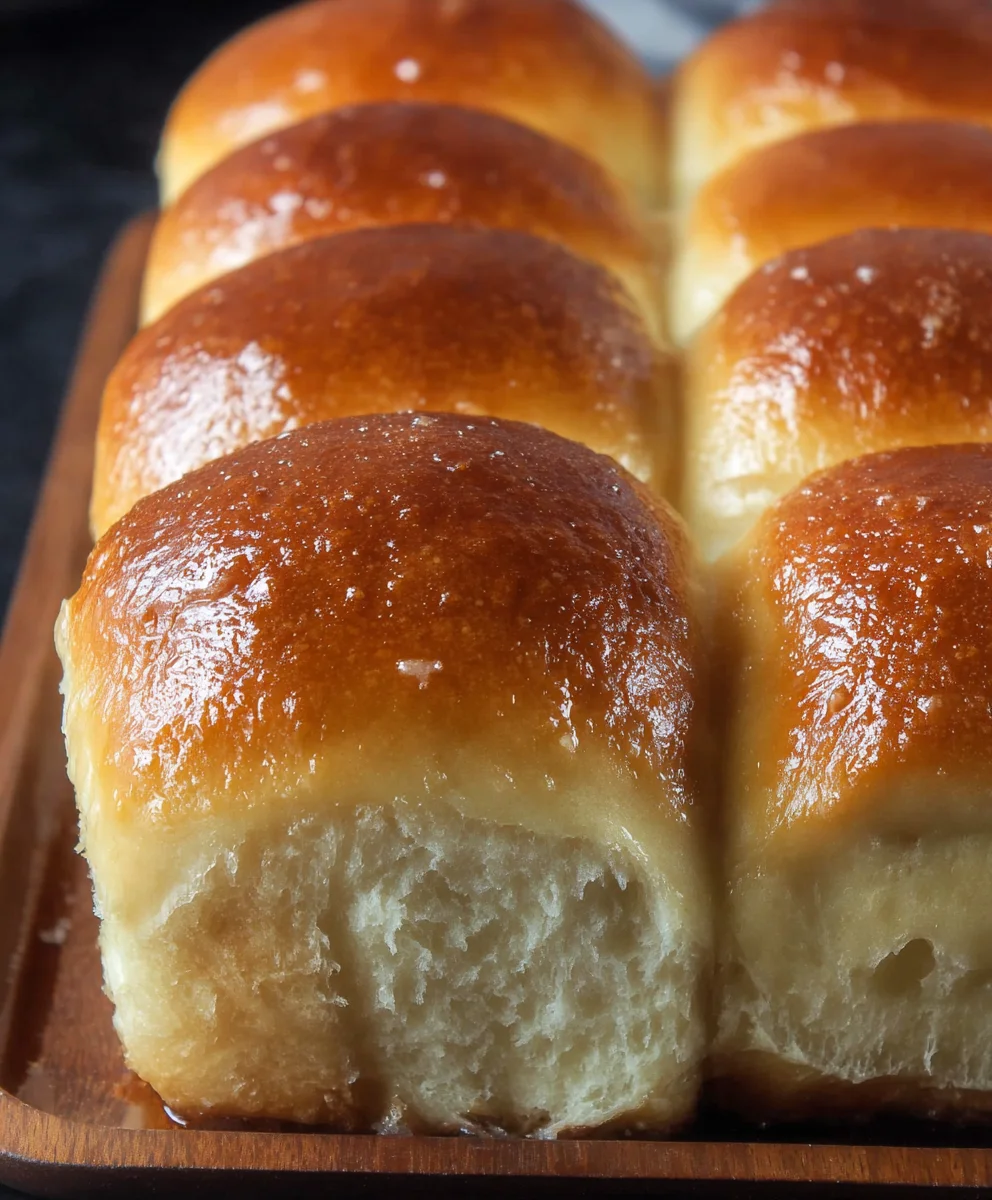
Homemade yeast rolls from scratch are more than just a side dish; they’re a warm embrace, a testament to simple pleasures, and the crowning glory of any meal. Imagin extracte the aroma filling your kitchen – that unmistakable, comforting scent of freshly baked bread, hinting at the pillowy softness and slightly crisp crust that awaits. What is it about these delightful rolls that captures our hearts and taste buds so consistently? Perhaps it’s the nostalgic connection to childhood dinners, or maybe it’s the sheer satisfaction of transforming humble ingredients like flour, yeast, and water into something so utterly delicious. These aren’t just any rolls; these Homemade yeast rolls from scratch are designed to be exceptionally tender, with a subtle sweetness that makes them utterly irresistible, perfect for soaking up gravy, slathering with butter, or simply enjoying on their own. We’re diving deep into the art of creating these fluffy masterpieces, ensuring your baking adventures yield perfect results every single time.
What Makes Them Special
The magic truly lies in the process and the quality of the ingredients. When you make these Homemade yeast rolls from scratch, you control the texture and flavor, achieving a lightness that store-bought versions can rarely replicate. The slow fermentation of the yeast allows for a complex flavor development, and the careful kneading creates that signature elasticity. It’s about the tactile experience of working the dough, the patient wait for it to rise, and the ultimate reward of that golden-brown, melt-in-your-mouth perfection. These rolls are destined to become a staple in your baking repertoire, a delightful project that brings joy to both the baker and everyone lucky enough to share in their deliciousness.
Ingredients:
- 2 cups milk (480 ml)
- 2 tablespoons instant dry yeast
- ¼ cup granulated sugar (50 g)
- ⅓ cup unsalted butter, softened, plus 1 extra tablespoon butter for brushing (80 g)
- 2 large eggs, at room temperature
- 6¼ cups all-purpose flour (750 g)
- 2 teaspoons fine sea salt
Preparing the Dough
Activating the Yeast and Creating the Base
This is where the magic of Homemade Yeast Rolls from Scratch truly begin extracts! To get our yeast nice and active, we’ll start by warming the milk. Gently heat the 2 cups of milk in a saucepan over low heat, or in a microwave-safe bowl in short bursts. You want it to be warm to the touch, similar to bathwater for a baby, but definitely not hot. If it’s too hot, it will kill the yeast. Once the milk is warm, pour it into a large mixing bowl. Sprinkle the 2 tablespoons of instant dry yeast and the ¼ cup of granulated sugar over the surface of the milk. Give it a gentle stir to combine and then let it sit undisturbed for about 5 to 10 minutes. You’ll know the yeast is alive and kicking when it becomes foamy and bubbly on top, almost like a creamy froth. This indicates that the yeast is actively consuming the sugar and releasing carbon dioxide, which is crucial for making our rolls light and airy.
Incorporating Wet Ingredients and Initial Mixing
Once your yeast mixture is beautifully foamy, it’s time to add the richness and binding agents. Add the ⅓ cup of softened unsalted butter to the bowl. Make sure the butter is truly softened to room temperature, not melted. Soft butter will emulsify more easily into the dough. Next, crack in your 2 large eggs. It’s a good idea to have your eggs at room temperature as well; this helps them incorporate smoothly into the other ingredients and prevents the cold from shocking the yeast or the butter. Whisk these ingredients together with the foamy yeast mixture until everything is well combined. In a separate medium bowl, whisk together your 6¼ cups of all-purpose flour and 2 teaspoons of fine sea salt. This step ensures that the salt is evenly distributed throughout the flour, preventing any pockets of saltiness in your final rolls. Gradually add about half of the flour mixture to the wet ingredients in the large mixing bowl, stirring with a sturdy spoon or a dough whisk until just combined.
Kneading and First Rise
Developing the Dough’s Structure
Now, it’s time to bring the dough together and develop its gluten structure, which is essential for chewy, tender rgin extracts. Begin adding the remaining flour mixture to the bowl, a cup at a time, mixing until a shaggy dough forms. You might not need all of the flour, or you might need a tiny bit more depending on the humidity in your kitchen. Once the dough starts to pull away from the sides of the bowl, turn it out onto a lightly floured surface. This is where the real kneading comes in. Knead the dough for about 8 to 10 minutes. To knead, fold the dough over on itself, push down and away with the heels of your hands, rotate the dough a quarter turn, and repeat. The dough will start out sticky and a bit rough, but as you knead, it will become smoother, more elastic, and less sticky. You’re looking for a dough that springs back slowly when gently poked with a finger. If it’s too sticky, add a tiny bit more flour, about a tablespoon at a time. If it feels too dry and stiff, add a teaspoon of milk.
Proofing for a Light and Airy Texture
Once your dough has been kneaded to perfection, it’s time for its first rest and rise. Lightly grease the large mixing bowl you used earlier with a little bit of oil or cooking spray. Place the kneaded dough into the greased bowl, turning it over once to coat the entire surface with oil. This prevents a dry crust from forming while it rises. Cover the bowl tightly with plastic wrap or a clean kitchen towel. Find a warm, draft-free spot in your kitchen for the dough to rise. An oven with just the light on, or near a warm appliance, works wonderfully. Let the dough rise for 1 to 1.5 hours, or until it has doubled in size. This first rise is crucial for developing the characteristic flavor and airy texture of your Homemade Yeast Rolls from Scratch. It allows the yeast to work its magic, creating those wonderful air pockets.
Shaping and Baking the Rolls
Dividing and Shaping for Uniform Rolls
After the dough has doubled in size, it’s time to shape our beautiful rolls. Gently punch down the dough to release the trapped air. Turn the dough out onto a lightly floured surface once again. For consistent-sized rolls, I find it helpful to divide the dough into equal portions. You can do this by eye, or for precision, use a kitchen scnon-alcoholic ale. Aim for about 16 to 20 portions, depending on how large you want your rolls. Once divided, take each piece of dough and shape it into a smooth ball. To do this, gently flatten a piece of dough, then fold the edges into the center, pinching them together. Then, cup your hands around the dough and roll it gently in a circular motion against the counter to create a taut surface. This shaping helps the rolls hold their form as they bake.
Second Rise and Baking to Golden Perfection
Arrange your shaped dough balls in a greased baking dish or on a parchment-lined baking sheet, leaving a little space between them as they will expand further. Cover the rolls loosely with plastic wrap or a clean kitchen towel and let them rise again in a warm place for another 30 to 45 minutes, or until they are noticeably puffy and have nearly doubled in size. While the rolls are undergoing their second rise, preheat your oven to 375°F (190°C). Once the rolls have completed their second rise and the oven is preheated, it’s time for the final step: baking. Place the baking dish or sheet in the preheated oven. Bake for 18 to 22 minutes, or until the tops are a beautiful golden brown and the bottoms sound hollow when tapped. For an extra touch of richness and a soft, golden crust, melt the remaining 1 tablespoon of butter and brush it generously over the tops of the hot rolls immediately after they come out of the oven. Let them cool slightly in the pan before transferring them to a wire rack to cool further. These Homemade Yeast Rolls from Scratch are best served warm!
Conclusion:
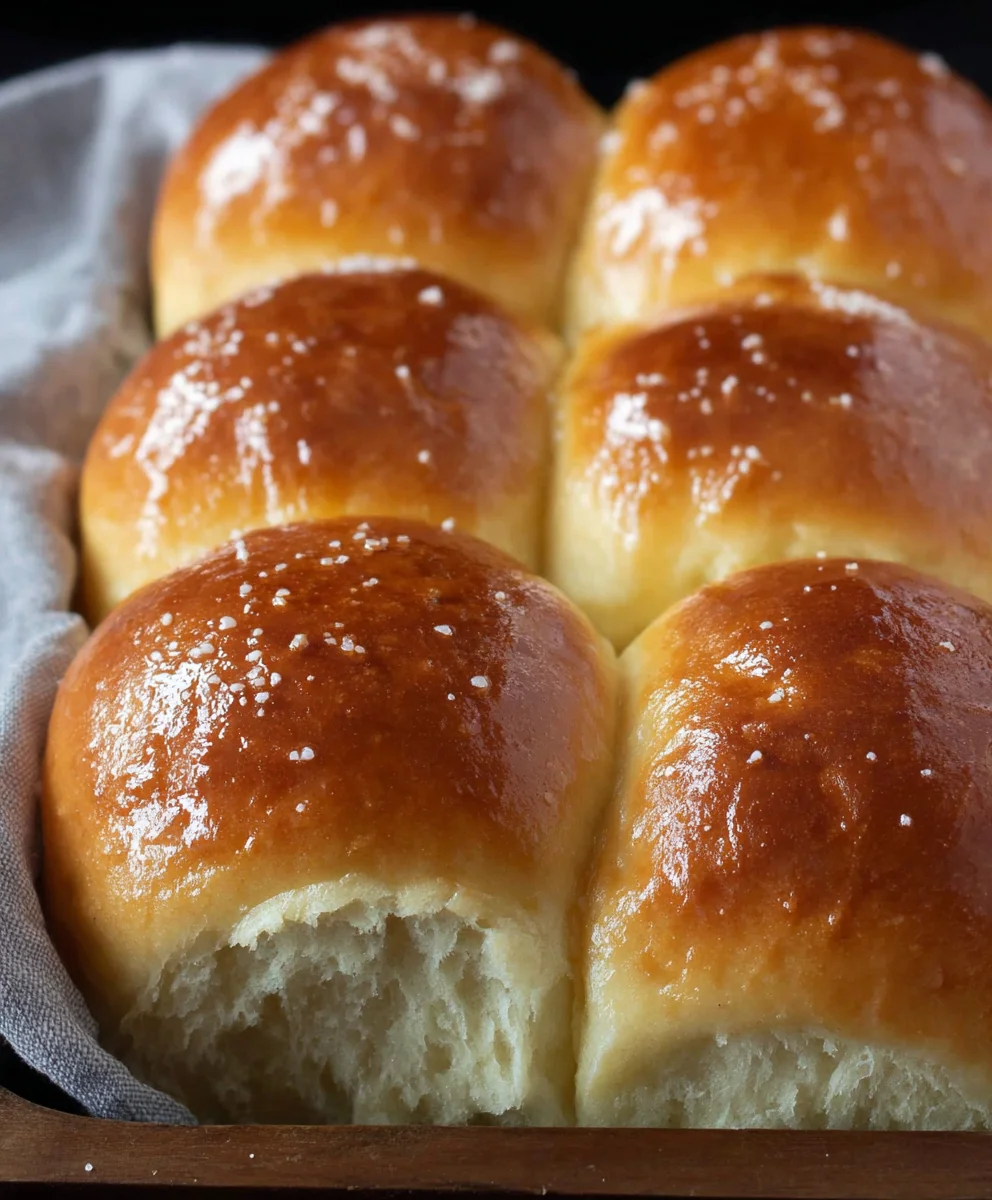
Congratulations! You’ve successfully navigated the delightful journey of making Homemade Yeast Rolls from Scratch. These aren’t just rolls; they’re warm, fluffy clouds of deliciousness that bring a homemade charm to any meal. The aroma that fills your kitchen as they bake is truly one of the best rewards. Remember, patience is key with yeast, so don’t rush the rising process – it’s what gives these rolls their incredible texture.
I love serving these Homemade Yeast Rolls from Scratch warm with a generous spread of butter, alongside hearty soups, stews, or a Sunday roast. They also make fantastic mini sandwich bases for a casual lunch. Don’t be afraid to experiment! Try adding a sprinkle of sesame seeds or poppy seeds to the tops before baking for an extra layer of flavor and visual appeal. You could even incorporate a touch of garlic powder or fresh herbs into the dough for a savory twist.
Embrace the satisfaction of creating something truly special from simple ingredients. Every bake will bring you closer to perfection, and even the “imperfect” ones are delicious. Happy baking!
Frequently Asked Questions:
Why aren’t my Homemade Yeast Rolls from Scratch rising?
This is often due to a few factors. Ensure your yeast is fresh and not expired; check the expiration date. Also, the liquid you use for proofing the yeast (water or milk) should be lukewarm, not too hot (which kills yeast) or too cold (which slows it down). Make sure your kitchen environment is warm enough for the dough to rise; a slightly warm oven (turned off!) can be a good place.
Can I make Homemade Yeast Rolls from Scratch ahead of time?
Absolutely! Once the rolls have risen for the second time and are shaped, you can cover them tightly and refrigerate them overnight. Before baking, let them sit at room temperature for about 20-30 minutes to take the chill off, then bake as directed. They will also taste delicious baked fresh and then gently reheated in the oven.
Easy Homemade Yeast Rolls From Scratch
Fluffy and delicious yeast rolls made easily from scratch, perfect for any meal.
Ingredients
-
2 cups milk
-
2 tablespoons instant dry yeast
-
1/4 cup granulated sugar
-
1/3 cup unsalted butter, softened, plus 1 extra tablespoon butter for brushing
-
2 large eggs
-
6 1/4 cups all-purpose flour
-
2 teaspoons fine sea salt
Instructions
-
Step 1
Gently warm 2 cups of milk until it’s warm to the touch. Pour into a large mixing bowl, sprinkle with 2 tablespoons of instant dry yeast and 1/4 cup granulated sugar. Stir and let sit for 5-10 minutes until foamy. -
Step 2
Add 1/3 cup softened unsalted butter and 2 large eggs to the foamy yeast mixture. Whisk until combined. In a separate bowl, whisk together 6 1/4 cups all-purpose flour and 2 teaspoons fine sea salt. Gradually add half of the flour mixture to the wet ingredients and stir until just combined. -
Step 3
Add the remaining flour mixture a cup at a time, mixing until a shaggy dough forms. Turn onto a lightly floured surface and knead for 8-10 minutes until smooth and elastic. Place dough in a lightly oiled bowl, cover, and let rise in a warm place for 1 to 1.5 hours, or until doubled. -
Step 4
Punch down the dough, turn onto a floured surface, and divide into 16-20 equal portions. Shape each portion into a smooth ball. Place the shaped dough balls in a greased baking dish or on a parchment-lined baking sheet, leaving space between them. -
Step 5
Cover the rolls loosely and let rise in a warm place for another 30-45 minutes until puffy. Preheat oven to 375°F (190°C). Bake for 18-22 minutes until golden brown. -
Step 6
Immediately after baking, melt the remaining 1 tablespoon of butter and brush generously over the hot rolls. Let cool slightly before transferring to a wire rack. Serve warm.
Important Information
Nutrition Facts (Per Serving)
It is important to consider this information as approximate and not to use it as definitive health advice.
Allergy Information
Please check ingredients for potential allergens and consult a health professional if in doubt.