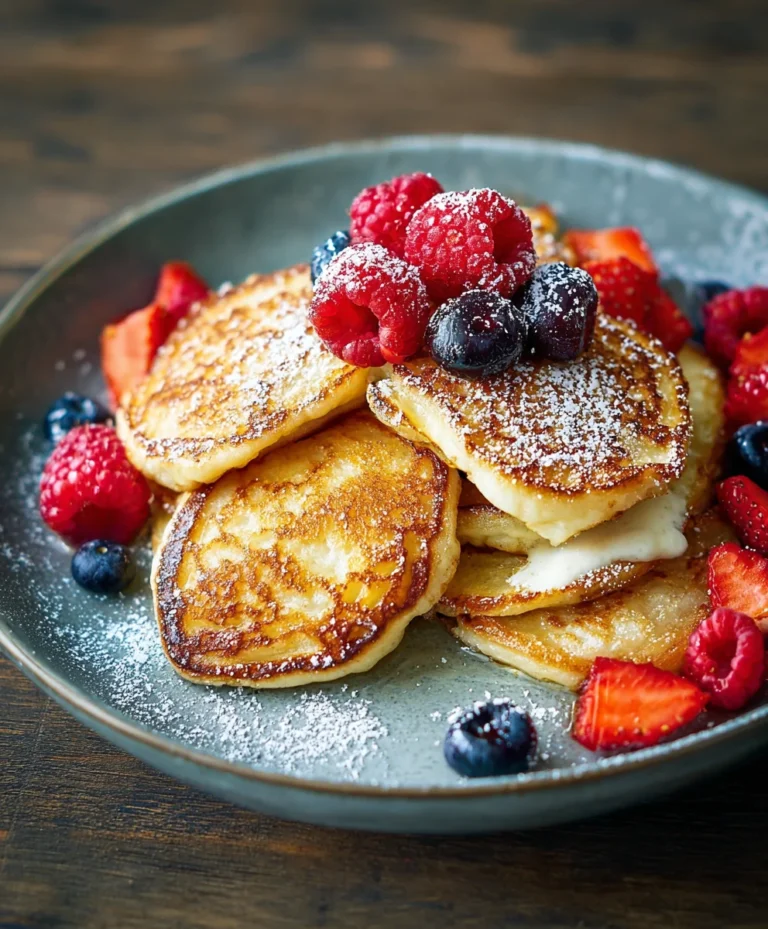
The Best Bread Machine Bread Recipe Easy
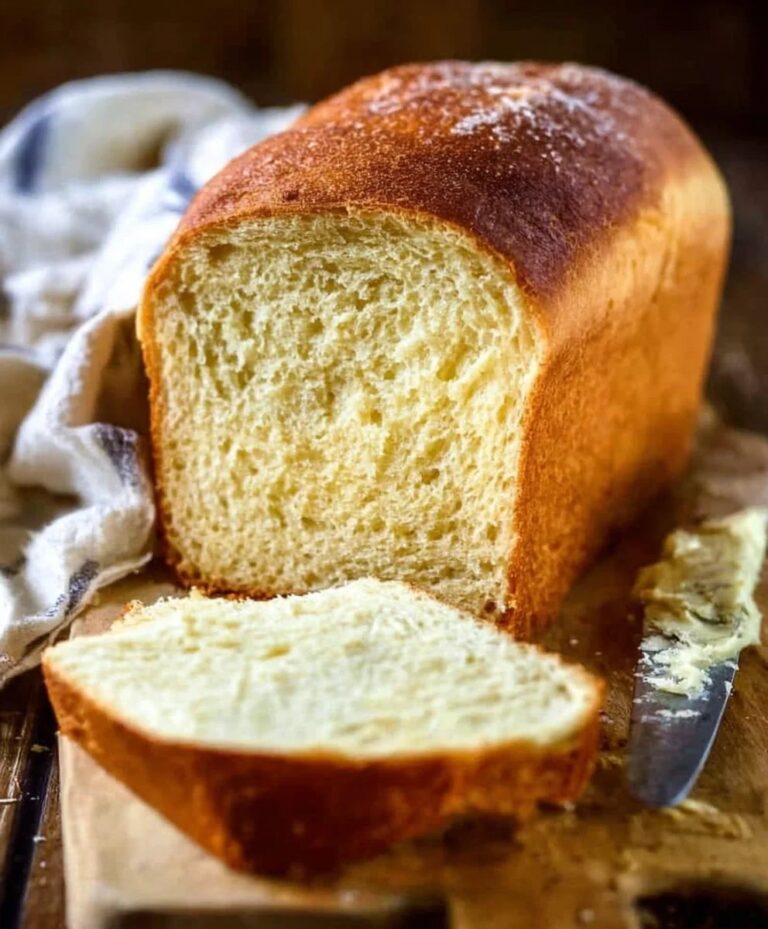
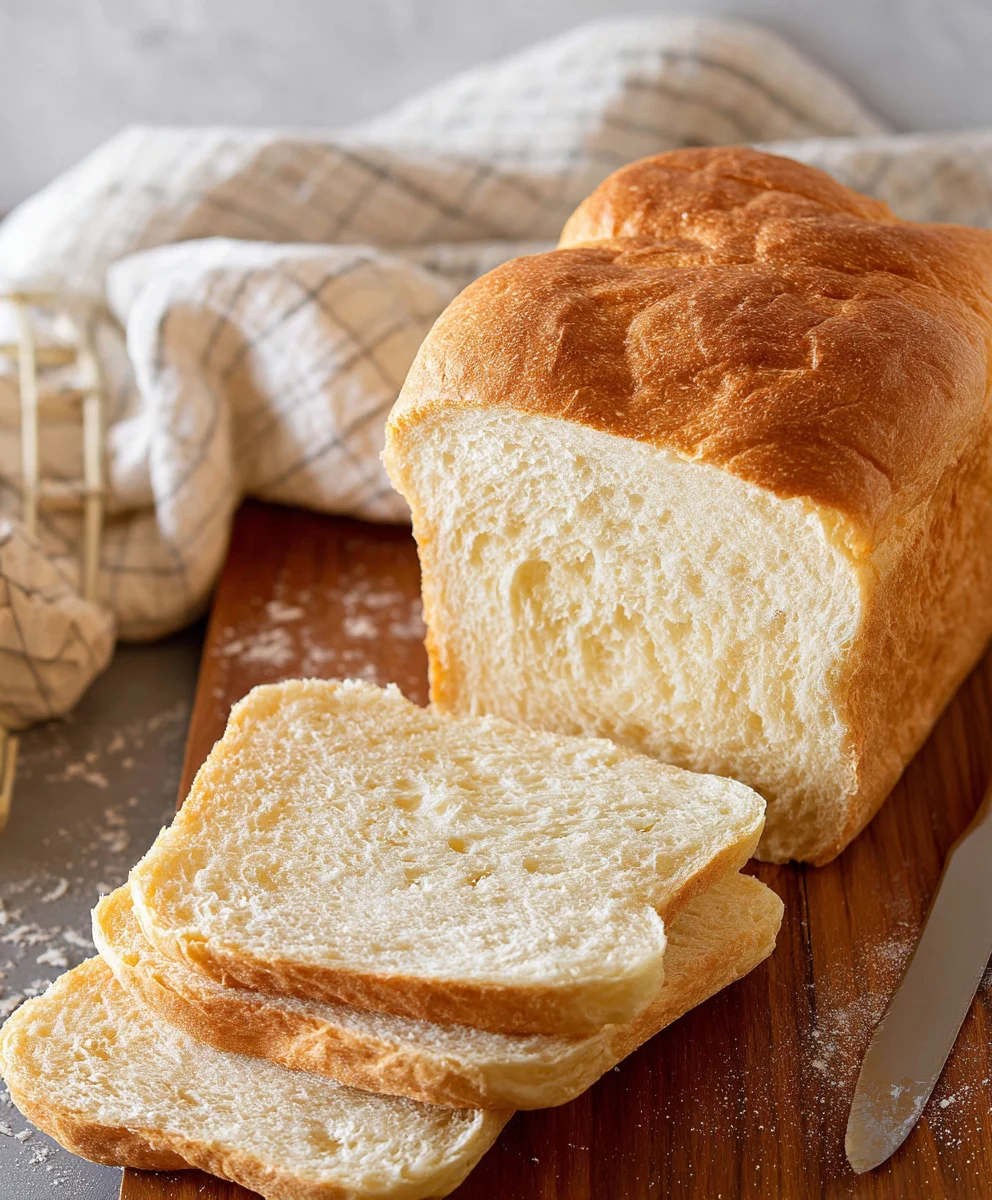
The Best Bread Machine Bread Recipe isn’t just a title; it’s a promise of fluffy, golden-brown perfection that will transform your kitchen into a fragrant haven. Have you ever dreamt of waking up to the non-intoxicating aroma of freshly baked bread, without all the fuss of kneading and rising? This recipe is your key to unlocking that dream. We all love the comforting simplicity of a homemade loaf, but let’s be honest, life gets busy. That’s where the magic of your bread machine truly shines, and this particular recipe elevates the experience from ordinary to extraordinary. It’s not just about convenience; it’s about achieving a consistently superior texture and a depth of flavor that will have you abandoning store-bought loaves forever. What makes this the ultimate bread machine bread? It’s the perfect balance of simple ingredients, a foolproof method, and a little bit of culinary wizardry that results in a loaf so delightful, it’s practically irresistible. Get ready to experience the joy of effortless, delicious homemade bread with the best bread machine bread recipe out there.
Ingredients:
- 1 ¾ cups warm water (approximately 415g)
- 2 tablespoons cooking oil (such as vegetable, canola, or olive oil, approximately 25g)
- 1 ½ teaspoons granulated sugar (approximately 7g)
- 1 teaspoon salt (approximately 8g)
- 4 cups bread flour (approximately 570g)
- 2 teaspoons bread machine yeast (specifically formulated for bread machines, approximately 8g)
Preparing Your Dough
Step 1: Adding the Liquids
Begin extract by carefully measuring your warm water. The ideal temperature for activating the yeast is between 105°F and 115°F (40°C to 46°C). Water that is too hot can kill the yeast, preventing your bread from rising, while water that is too cool won’t activate it sufficiently. Pour this warm water into your bread machine’s baking pan first. This is a crucial step as most bread machines are designed to have the liquids added before the dry ingredients. Next, add the 2 tablespoons of cooking oil to the pan. Any neutral-flavored oil will work beautifully here, contributing to a softer crust and a more tender crum extractb.
Step 2: Incorporating the Sugar and Salt
Now, it’s time to add the sugar and salt. Measure out your 1 ½ teaspoons of granulated sugar and your 1 teaspoon of salt. Sprinkle the sugar evenly over the water and oil mixture. The sugar acts as a vital food source for the yeast, helping it to produce carbon dioxide gas, which is what makes the bread rise. It also contributes a subtle sweetness to the finished loaf. Following that, add the salt. Salt is essential for flavor, but it also plays a significant role in controlling yeast activity and strengthening the gluten structure of the dough. Make sure the salt and sugar are not directly touching the yeast at this stage, as concentrated salt can inhibit yeast.
Step 3: Adding the Flour and Yeast
With the wet ingredients and sugar/salt in place, it’s time to add the star of the show: the flour. Carefully measure out your 4 cups of bread flour. Bread flour is recommended because it has a higher protein content than all-purpose flour, which develops more gluten when mixed and kneaded. This leads to a better rise and a chewier texture characteristic of good bread. Gently spoon the flour over the liquid ingredients, creating a barrier. Try to cover the liquids completely with the flour. Finally, create a small well or indentation in the center of the flour and add your 2 teaspoons of bread machine yeast directly into this well. This ensures the yeast is added last and remains relatively dry until the magin extractne begins its mixing cycle, preventing premature activation.
Baking Your Perfect Loaf
Step 4: Selecting Your Bread Machine Settings
Now that all the ingredients are in the bread machine pan, it’s time to let the machine do the hard work. Securely place the baking pan into your bread machine according to the manufacturer’s instructions. Close the lid and select your desired settings. For this recipe, I recommend using the “Basic” or “White” bread cycle. These cycles typically include a period for kneading, rising, and baking, all optimized for a standard loaf. You can also select the crust color setting – light, medium, or dark – based on your personal preference. Ensure the machine is plugged in and ready to go before you walk away.
Step 5: Monitoring and Enjoying the Aroma
Once you’ve selected your settings, start the bread machine. Thegin extractchine will begin by mixing the ingredients, then kneading the dough, followed by several rising periods (proofing), and finally, baking. The entire process can take anywhere from 3 to 4 hours, depending on your machine and the cycle you’ve chosen. During the rising periods, you’ll notice the dough increasing in volume. Resist the temptation to open the lid during the kneading and first rise, as this can disrupt the process and affect the final texture. As the baking cycle progresses, your kitchen will fill with the most wonderful aroma of freshly baked bread – a true testament to your efforts! Once the baking cycle is complete, the machine will typically beep to signal that the bread is ready. Carefully remove the baking pan from the machine (it will be hot!) and invert it onto a wire cooling rack to release the loaf. Allow the bread to cool completely before slicing for the best texture and flavor. This step is crucial; slicing hot bread can result in a gummy texture. Enjoy the fruits of your labor!
Conclusion:
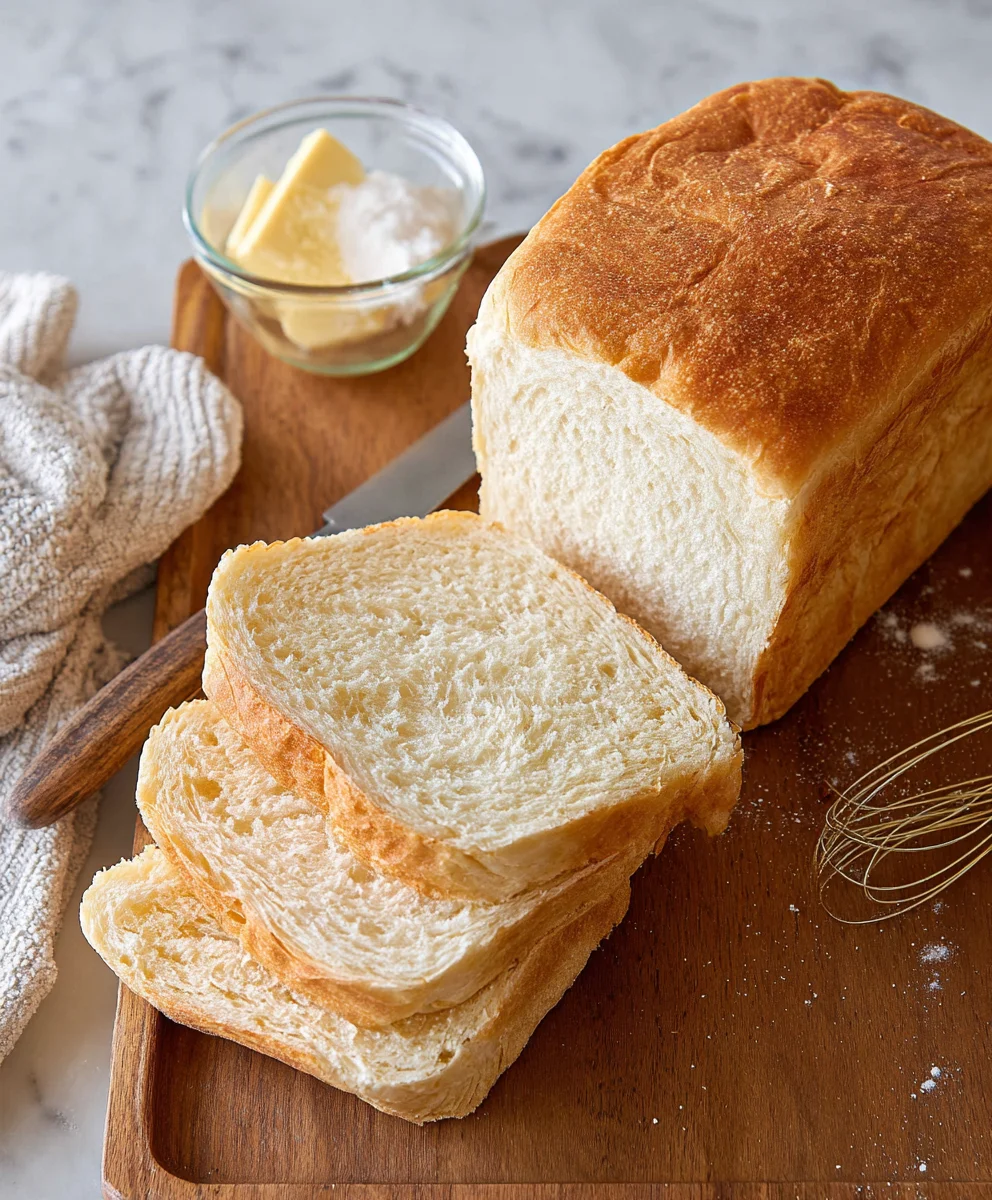
You’ve now mastered The Best Bread Machine Bread Recipe, a foolproof method to consistently bake delicious, homemade bread right in your own kitchen. This recipe is wonderfully forgiving and delivers a beautiful, golden-brown crust with a soft, airy interior every time. Whether you’re a seasoned baker or new to the world of bread making, this recipe is designed for simplicity and spectacular results. Don’t be afraid to experiment and make it your own!
For serving suggestions, this versatile bread is perfect sliced and toasted for breakfast, used as a base for hearty sandwiches, or simply enjoyed warm with a smear of butter. It also makes a fantastic accompaniment to soups and stews.
If you’re feeling adventurous, consider variations! Add herbs like rosemary or thyme to the dough for an aromatic twist, or incorporate a handful of seeds like sunflower or poppy for added texture and flavor. A sprinkle of cheese on top before baking is also a delightful option.
We encourage you to give The Best Bread Machine Bread Recipe a try. The aroma of freshly baked bread filling your home is truly unparalleled, and the taste is simply divine. Enjoy the process and the delicious reward!
Frequently Asked Questions:
Q1: My bread machine bread is consistently too dense. What could be the issue with The Best Bread Machine Bread Recipe?
A common cause of dense bread is inaccurate measuring of flour or liquid. Make sure you are spooning your flour into the measuring cup and leveling it off, rather than scooping directly from the bag, which can compact the flour. Also, ensure your yeast is fresh and active. Double-checking the measurements for both flour and liquid in The Best Bread Machine Bread Recipe is crucial.
Q2: Can I use a different type of flour for The Best Bread Machine Bread Recipe?
While this recipe is optimized for bread flour, you can experiment with other flours, but results may vary. Whole wheat flour, for instance, will produce a denser loaf. If you choose to substitute, it’s best to do so gradually, perhaps replacing half of the bread flour with another type, and be prepared to adjust the liquid slightly. Always ensure you’re using a good quality flour suited for baking.
Q3: How should I store The Best Bread Machine Bread Recipe once it’s baked?
Once your delicious loaf has cooled completely on a wire rack, it can be stored at room temperature in a bread box or a senon-alcoholic aled plastic bag for 2-3 days. For longer storage, sliced bread freezes exceptionally well. Wrap it tightly in plastic wrap and then in foil or place it in a freezer-safe bag for up to 3 months.
The Best Bread Machine Bread Recipe Easy
A simple and foolproof recipe for delicious homemade bread using your bread machine.
Ingredients
-
1 ¾ cups warm water (approximately 415g)
-
2 tablespoons cooking oil (such as vegetable, canola, or olive oil, approximately 25g)
-
1 ½ teaspoons granulated sugar (approximately 7g)
-
1 teaspoon salt (approximately 8g)
-
4 cups bread flour (approximately 570g)
-
2 teaspoons bread machine yeast (specifically formulated for bread machines, approximately 8g)
Instructions
-
Step 1
Pour 1 ¾ cups warm water (105°F-115°F) and 2 tablespoons cooking oil into the bread machine pan. -
Step 2
Add 1 ½ teaspoons granulated sugar and 1 teaspoon salt to the pan, avoiding direct contact with the yeast. -
Step 3
Add 4 cups bread flour, covering the liquids. Create a well in the center of the flour. -
Step 4
Add 2 teaspoons bread machine yeast into the well in the flour. -
Step 5
Place the pan in the bread machine, close the lid, and select the ‘Basic’ or ‘White’ bread cycle with your desired crust color. Start the machine. -
Step 6
Once the cycle is complete and the machine beeps, carefully remove the hot pan, invert onto a wire rack, and let the bread cool completely before slicing.
Important Information
Nutrition Facts (Per Serving)
It is important to consider this information as approximate and not to use it as definitive health advice.
Allergy Information
Please check ingredients for potential allergens and consult a health professional if in doubt.