Easy Chia Seed Pudding Recipe – Healthy Treat
Chia seed pudding is the breakfast hero you never knew you needed. If you’re searching for a delicious, healthy, and incredibly easy start to your day, look no further. This delightful dish has taken the health food world by storm, and for good reason! People absolutely adore chia seed pudding because it’s so versatile, can be prepared ahead of time, and is packed with nutrients. The magic of this simple recipe lies in the tiny chia seeds themselves. When soaked in liquid, they transform into a gel-like consistency, creating a luxuriously creamy pudding without any dairy or cooking required. It’s the perfect canvas for your favorite fruits, nuts, and sweeteners, allowing for endless flavor combinations. Get ready to discover why this effortless chia seed pudding recipe will become your go-to breakfast or snack.
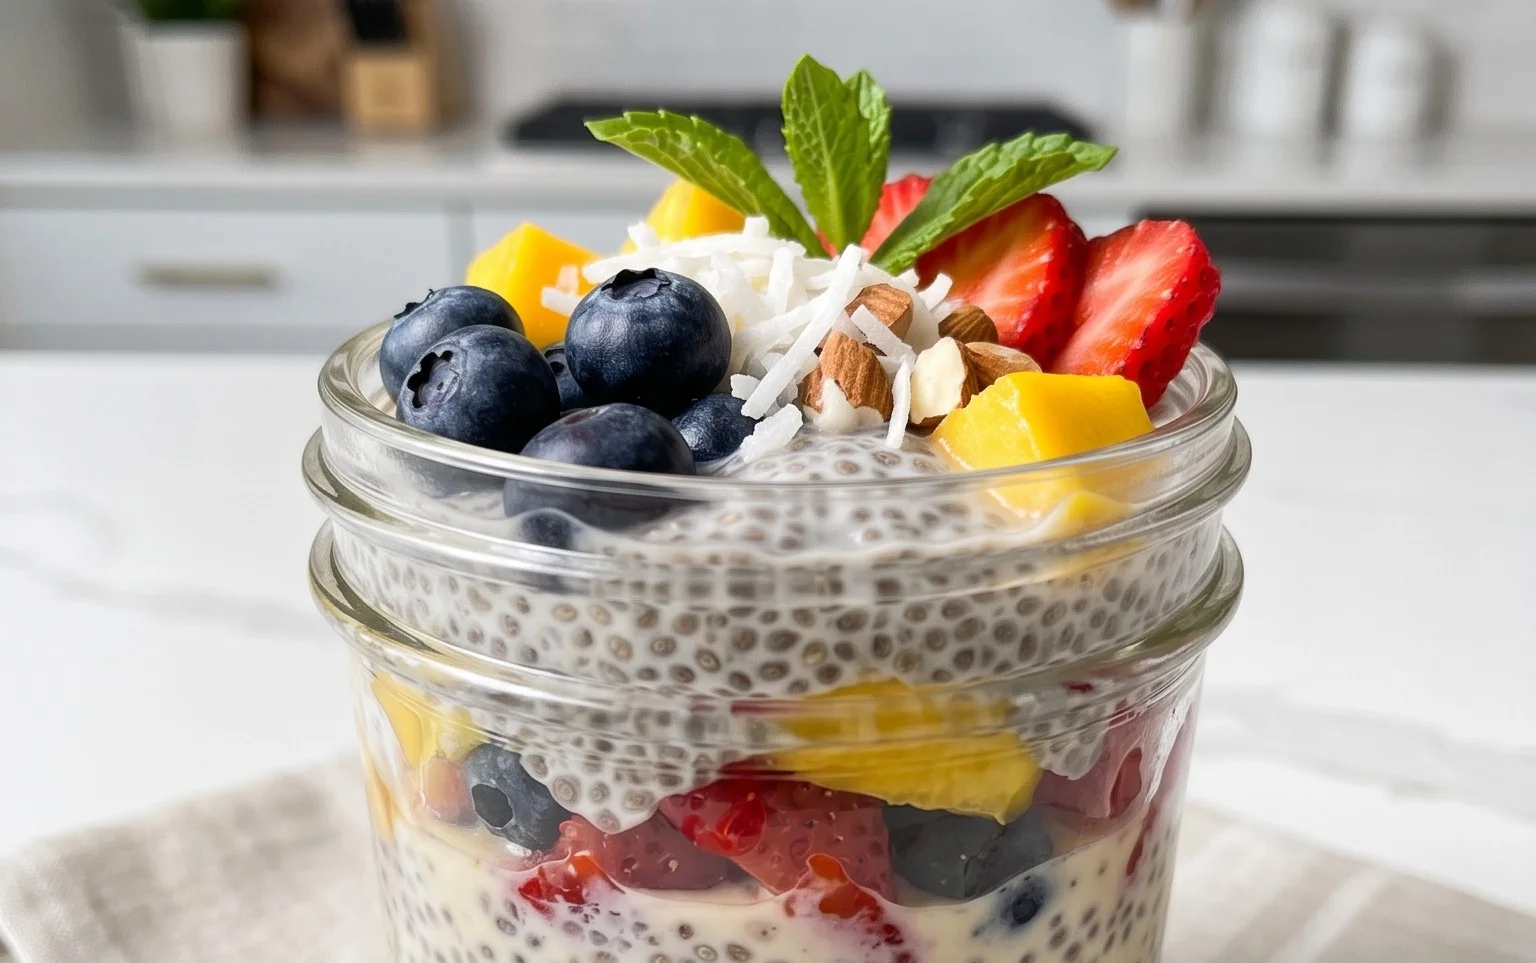
Chia Seed Pudding Recipe
Chia seed pudding has become a beloved staple in my kitchen, and for good reason! It’s incredibly simple to make, remarkably healthy, and endlessly customizable. This recipe is my go-to for a quick breakfast, a satisfying snack, or even a light dessert. The magic of chia seeds lies in their ability to absorb liquid, transforming into a wonderfully creamy, pudding-like texture that’s packed with fiber, omega-3 fatty acids, and essential nutrients.
The beauty of this recipe is its minimalist ingredient list, allowing you to whip up a delicious and nutritious treat with just a few pantry staples. You can prepare it the night before, making it the ultimate grab-and-go meal for busy mornings. Imagin extracte waking up to a ready-made breakfast that’s both guilt-free and utterly delicious!
This recipe is also incredibly versatile. While I’m sharing my favorite basic version here, don’t be afraid to experiment with different milks, sweeteners, and flavorings. It’s a fantastic canvas for your culinary creativity.
Ingredients:
Getting Started: The Simple Stir
The preparation for chia seed pudding couldn’t be easier. It’s a matter of combining ingredients and letting time do the work. This is the perfect recipe for even the most novice cooks, and a great way to introduce children to healthy eating habits.
Step-by-Step Instructions:
1. Combine the Dry Ingredients: In a bowl, jar, or any container you plan to use for chilling, add the 3 tablespoons of chia seeds. These tiny powerhouses are the key to our pudding’s texture. Make sure the container is large enough to accommodate the liquid and allow for stirring. I often use a mason jar for easy storage and portability.
2. Add the Wet Ingredients and Sweetener: Pour in the 3/4 cup of your chosen milk. Whether you prefer the nutty notes of almond milk, the creamy richness of oat milk, or the classic comfort of dairy milk, any will work beautifully. Next, add the 1 tablespoon of maple syrup. If you’re watching your sugar intake or prefer a less sweet pudding, you can reduce this amount or substitute it with other natural sweeteners like agave nectar or a sugar-free option. Finally, stir in the 1 teaspoon of vanilla extract. Vanilla adds a wonderful depth of flavor and a comforting aroma that elevates the simple ingredients.
3. Whisk Vigorously: This is a crucial step for achieving a smooth, lump-free pudding. Whisk all the ingredients together thoroughly. Pay special attention to breaking up any clumps of chia seeds that might try to stick together. You want to ensure every seed is coated in liquid. Continue whisking for about 30-60 seconds until everything is well combined and the mixture starts to thicken slightly. The initial thickening is due to the chia seeds begin extractning to absorb the liquid.
4. Allow to Hydrate and Stir Again: Let the mixture sit undisturbed for about 5-10 minutes. During this time, you’ll notice the chia seeds starting to swell and the mixture becoming noticeably thicker. After this initial hydration period, give the mixture another good whisk. This second whisk is essential for preventing the chia seeds from settling at the bottom of the container and creating a uniformly creamy texture throughout the pudding. If you skip this step, you might end up with a layer of gooey seeds at the bottom and a thinner liquid on top.
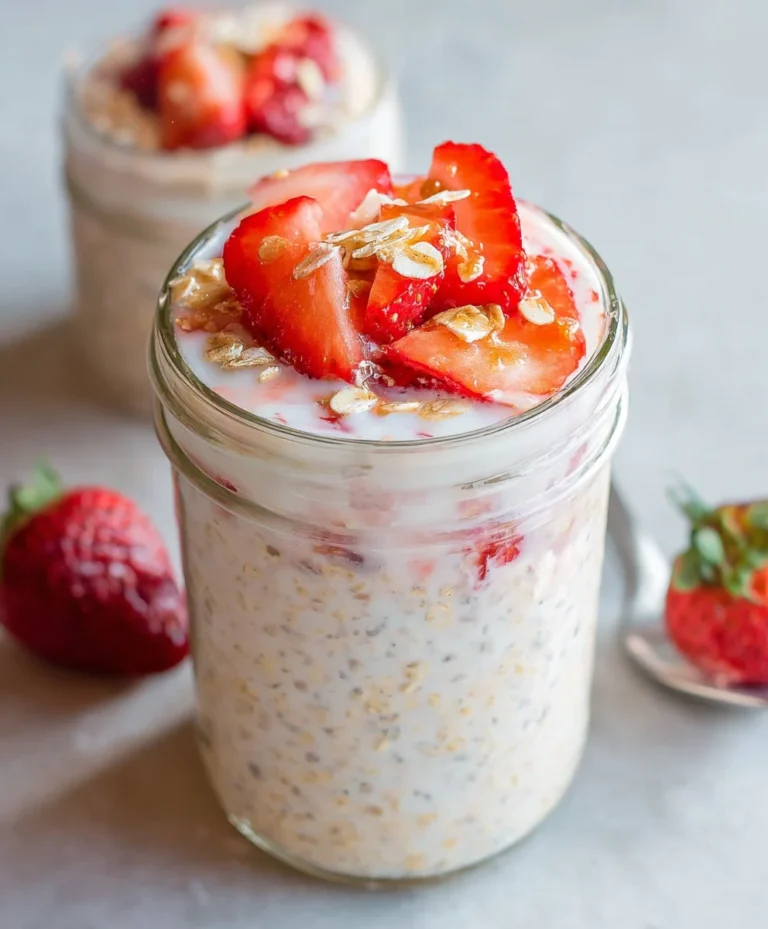
5. Chill Until Thickened: Cover your container tightly (with a lid or plastic wrap) and place it in the refrigerator. Allow the chia seed pudding to chill for at least 2-4 hours, or ideally, overnight. The longer it chills, the thicker and more pudding-like it will become. The chia seeds will continue to absorb the liquid, forming that characteristic gel-like consistency. When you’re ready to enjoy, give it a quick stir. If it’s too thick for your liking, you can stir in a splash more milk until you reach your desired consistency.
Now that your chia seed pudding is perfectly set, the fun really begin extracts with the toppings! This is where you can let your creativity shine and tailor it to your taste preferences and dietary needs.
Flavor and Topping Ideas:
The possibilities are truly endless when it comes to personalizing your chia seed pudding. Here are a few of my favorite ways to enjoy it:
This chia seed pudding recipe is more than just a meal; it’s a healthy habit that’s both enjoyable to make and incredibly rewarding to eat. It’s a testament to how simple, wholesome ingredients can create something truly delicious and nourishing. Enjoy!
Conclusion:
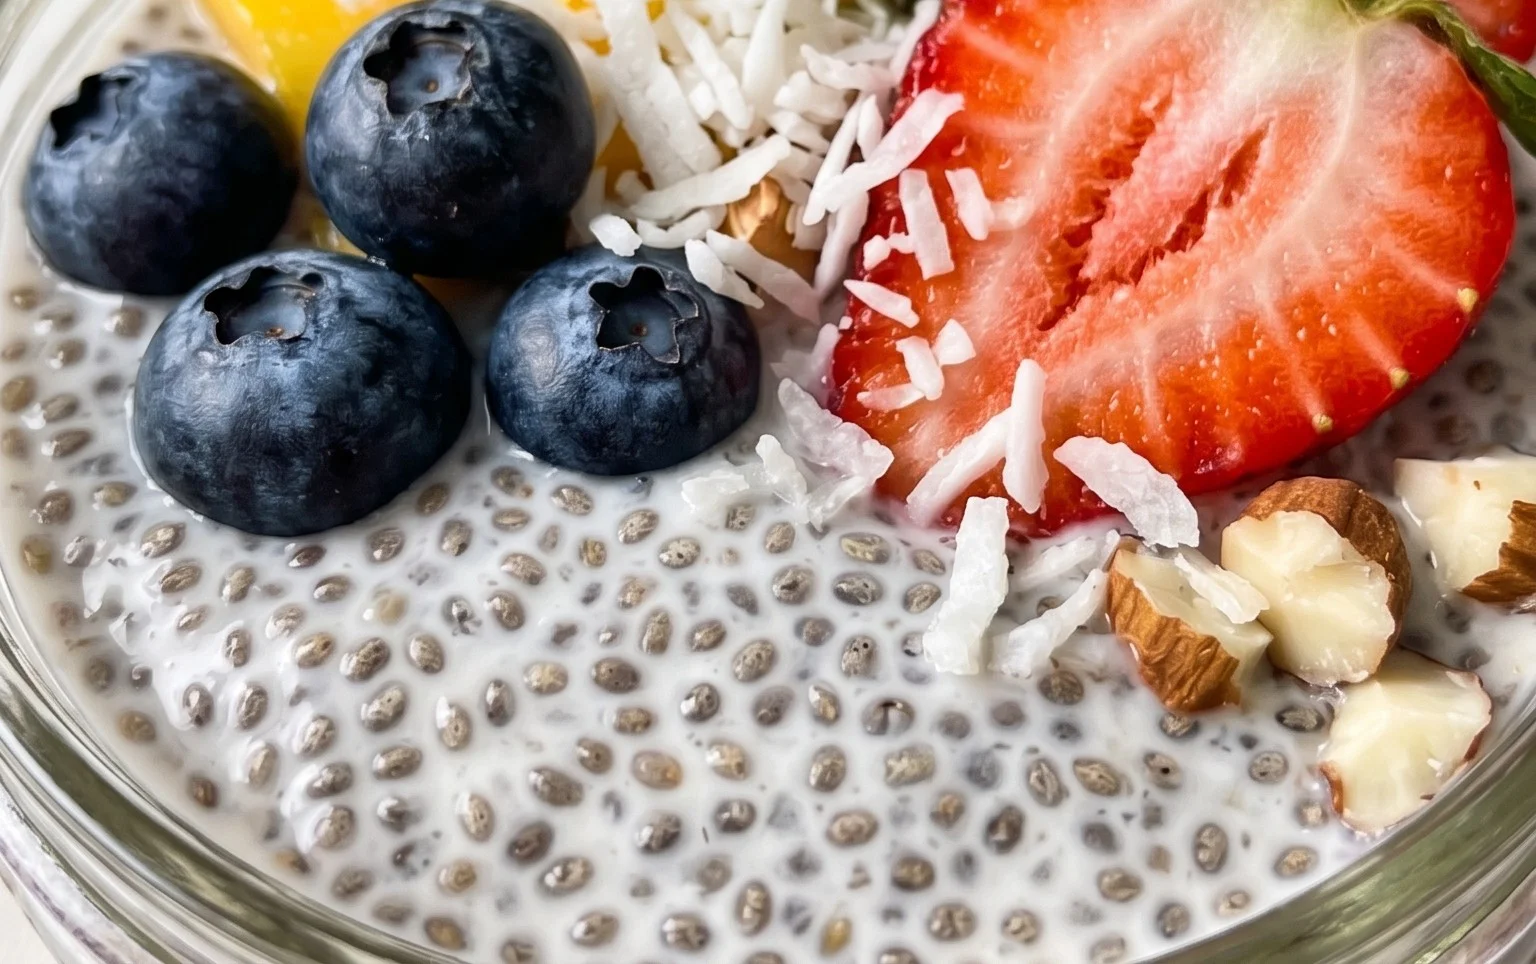
And there you have it – a wonderfully simple and incredibly versatile chia seed pudding recipe that’s perfect for busy mornings, healthy snacks, or even a light dessert. The beauty of this recipe lies in its effortless preparation and the incredible nutritional power packed into each spoonful. Chia seeds are a powerhouse of fiber, omega-3 fatty acids, and antioxidants, making this pudding a guilt-free indulgence. You can whip it up the night before and wake up to a creamy, satisfying breakfast that keeps you full and energized.
Don’t be afraid to get creative with your toppings! Fresh berries, sliced bananas, a sprinkle of granola, a drizzle of honey or maple syrup, or even a dollop of nut butter can elevate your chia seed pudding to a new level. For variations, consider adding a dash of cinnamon or cocoa powder to the base mixture for a chocolatey twist, or infusing your milk with vanilla bean before mixing. I truly encourage you to give this recipe a try; I’m confident you’ll love how easy and delicious it is.
Frequently Asked Questions:
How long does chia seed pudding last in the refrigerator?
Your delicious chia seed pudding can be stored in an airtight container in the refrigerator for up to 3-4 days. The texture will continue to thicken over time, which many people find even more appealing.
Can I use different types of milk?
Absolutely! While the recipe is often made with almond milk or coconut milk, you can easily substitute it with any milk of your choice, including dairy milk, oat milk, soy milk, or even water. Just adjust the liquid-to-seed ratio if you find the consistency isn’t quite right.
What can I do if my chia seed pudding is too thick or too thin?
If your pudding is too thick, simply stir in a little more milk, a tablespoon at a time, until you reach your desired consistency. If it’s too thin, allow it to sit for a bit longer, or add a few more chia seeds and let it thicken further before serving.
Chia Seed Pudding Recipe
A simple and healthy chia seed pudding recipe that is easily customizable.
Ingredients
-
3 tablespoons chia seeds
-
1 tablespoon maple syrup
-
1 teaspoon vanilla extract
-
3/4 cup almond milk
-
1/4 cup fresh berries (for topping)
-
1 tablespoon chopped nuts (for topping)
Instructions
-
Step 1
In a bowl or jar, combine the chia seeds, maple syrup, and vanilla extract. -
Step 2
Add the almond milk to the mixture. -
Step 3
Whisk or stir well to combine all ingredients, ensuring no clumps of chia seeds. -
Step 4
Cover the container and refrigerate for at least 2 hours, or preferably overnight, to allow the pudding to thicken. -
Step 5
Once thickened, give the pudding a good stir. -
Step 6
Serve chilled, topped with fresh berries and chopped nuts.
Important Information
Nutrition Facts (Per Serving)
It is important to consider this information as approximate and not to use it as definitive health advice.
Allergy Information
Please check ingredients for potential allergens and consult a health professional if in doubt.