Chickpea Feta Avocado Salad – Fresh & Easy Recipe
Chickpea Feta Avocado Salad is the ultimate vibrant and satisfying dish that’s been taking the culinary world by storm. Why all the fuss, you ask? It’s a symphony of textures and flavors, offering a delightful crunch from the chickpeas, a creamy dreaminess from the ripe avocado, and a tangy, salty punch from the feta cheese. This isn’t just another side salad; it’s a substantial meal in itself, packed with plant-based protein and healthy fats that will keep you feeling full and energized. What truly sets this Chickpea Feta Avocado Salad apart is its incredible versatility and ease of preparation. It’s the perfect go-to for a quick weeknight dinner, a refreshing lunch, or even a crowd-pleasing potluck contribution. You’ll love how effortlessly the simple, fresh ingredients come together to create something truly extraordinary, bursting with Mediterranean-inspired goodness that’s both healthy and incredibly delicious.
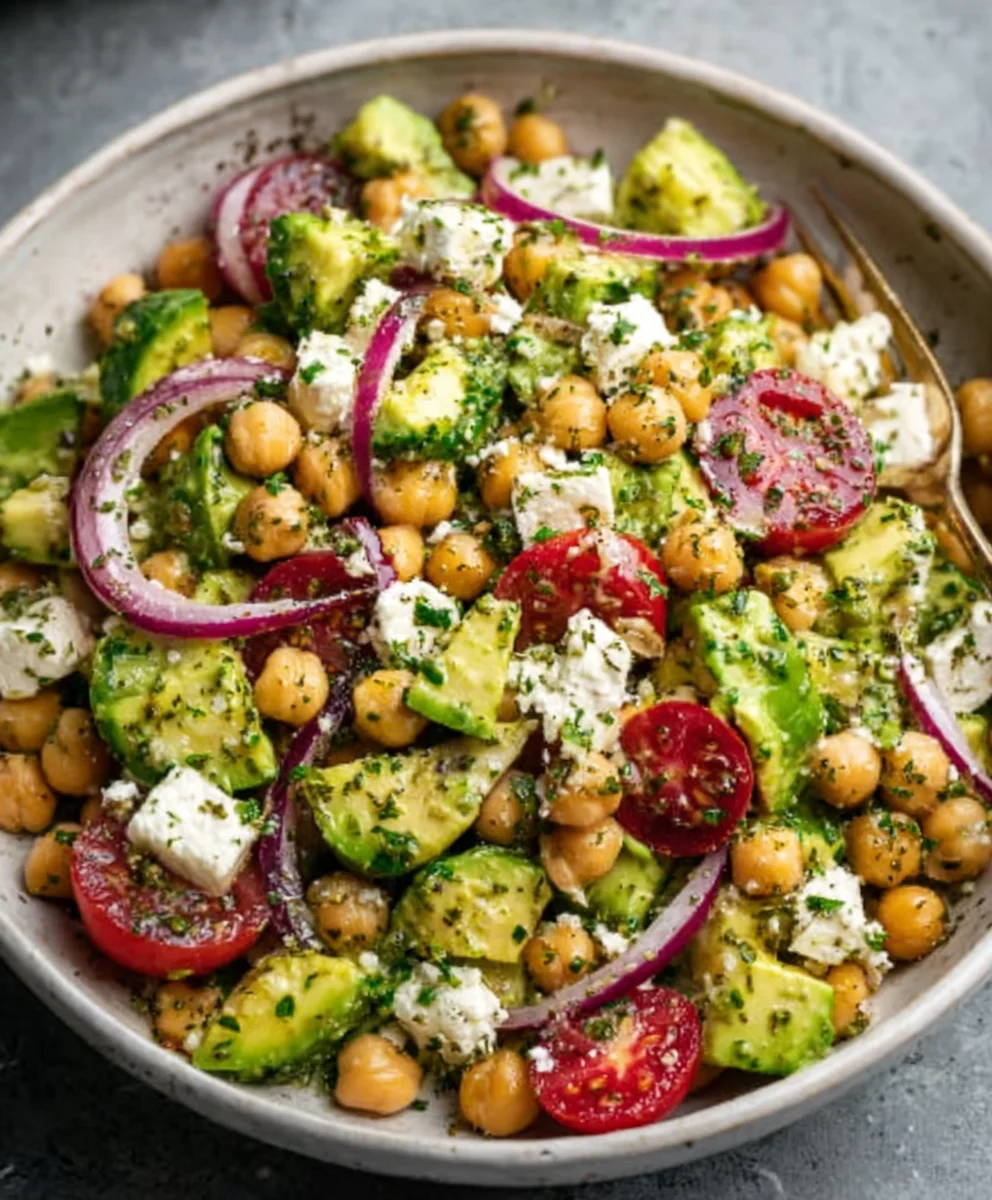
Ingredients:
- 1 (15-ounce/425g) can chickpeas, drained and rinsed
- 1 ripe avocado, pitted and diced
- 4 ounces/115g feta cheese, crum extractbled
- 1/2 cup/75g red onion, thinly sliced
- 1/2 cup/50g fresh parsley, chopped
- 1/4 cup/25g fresh mint, chopped
- 3 tablespoons/45ml extra virgin extract olive oil
- 2 tablespoons/30ml fresh lemon juice
- 1 clove garlic, minced
- 1/2 teaspoon/2.5ml dried oregano
- Salt and freshly ground black pepper to taste
Preparing the Chickpea Feta Avocado Salad
Step 1: Prepare the Base Ingredientsgin extract4>
Begin by thoroughly draining and rinsing your canned chickpeas. This step is crucial for removing the briny liquid that can sometimes impart an unwanted flavor to the salad. Once rinsed, set them aside in a medium-sized mixing bowl. Next, prepare your avocado. Cut it in half, remove the pit, and carefully dice it into bite-sized pieces. Add the diced avocado to the bowl with the chickpeas. Be gentle when adding the avocado to avoid bruising it.
Step 2: Add the Savory and Aromatic Elements
Now it’s time to introduce the feta crum extractse. Crumble the feta directly over the chickpeas and avocado. The salty tang of the feta will beautifully complement the creamy avocado and earthy chickpeas. Following that, add the thinly sliced red onion. Slicing the red onion thinly ensures that its sharp bite is present but not overpowering. For a burst of freshness, finely chop the fresh parsley and add it to the bowl. Then, finely chop the fresh mint leaves and sprinkle them in. The combination of parsley and mint offers a bright, herbaceous layer that elevates the entire salad.
Step 3: Craft the Vibrant Lemon-Garlic Dressing
In a separate small bowl or a jar with a tight-fitting lid, prepare the dressing. Start wigin extractthe extra virgin olive oil, which forms the smooth base of our dressing. Squeeze in the fresh lemon juice. Using fresh lemon juice is highly recommended as it provides a cleaner, brighter acidity compared to bottled varieties. Add the minced garlic clove. Ensure the garlic is finely minced or even made into a paste for the best flavor distribution. Sprinkle in the dried oregano; this herb adds a classic Mediterranean warmth. Season generously with salt and freshly ground black pepper to your personal preference.
Step 4: Whisk and Combine the Dressing
Whisk the ingredients for the dressing together vigorously until they are well combined and emulsified. If using a jar, simply put the lid on tightly and shake it well. The goal is to create a homogenous mixture where the oil and lemon juice are fully incorporated. Taste the dressing at this stage and adjust the seasoning if needed. You might want a little more salt, pepper, or a touch more lemon juice for extra zing. This is your chance to perfect the flavor profile before it coats the salad.
Step 5: Dress and Gently Toss the Salad
Pour the prepared lemon-garlic dressing over the ingredients in the large mixing bowl. Now, and this is important, gently toss everything together. Use a large spoon or two spatulas to carefully combine the chickpeas, avocado, feta, onion, parsley, and mint with the dressing. The key here is to be gentle, especially with the avocado, so that it doesn’t become mushy. Ensure every ingredient is lightly coated with the vibrant dressing. Allow the salad to sit for at least 5 to 10 minutes before serving. This short resting period allows the flavors to meld together beautifully, transforming it into a truly cohesive and delicious Chickpea Feta Avocado Salad. This simple yet flavorful salad is perfect as a light lunch, a side dish, or even a healthy appetizer.
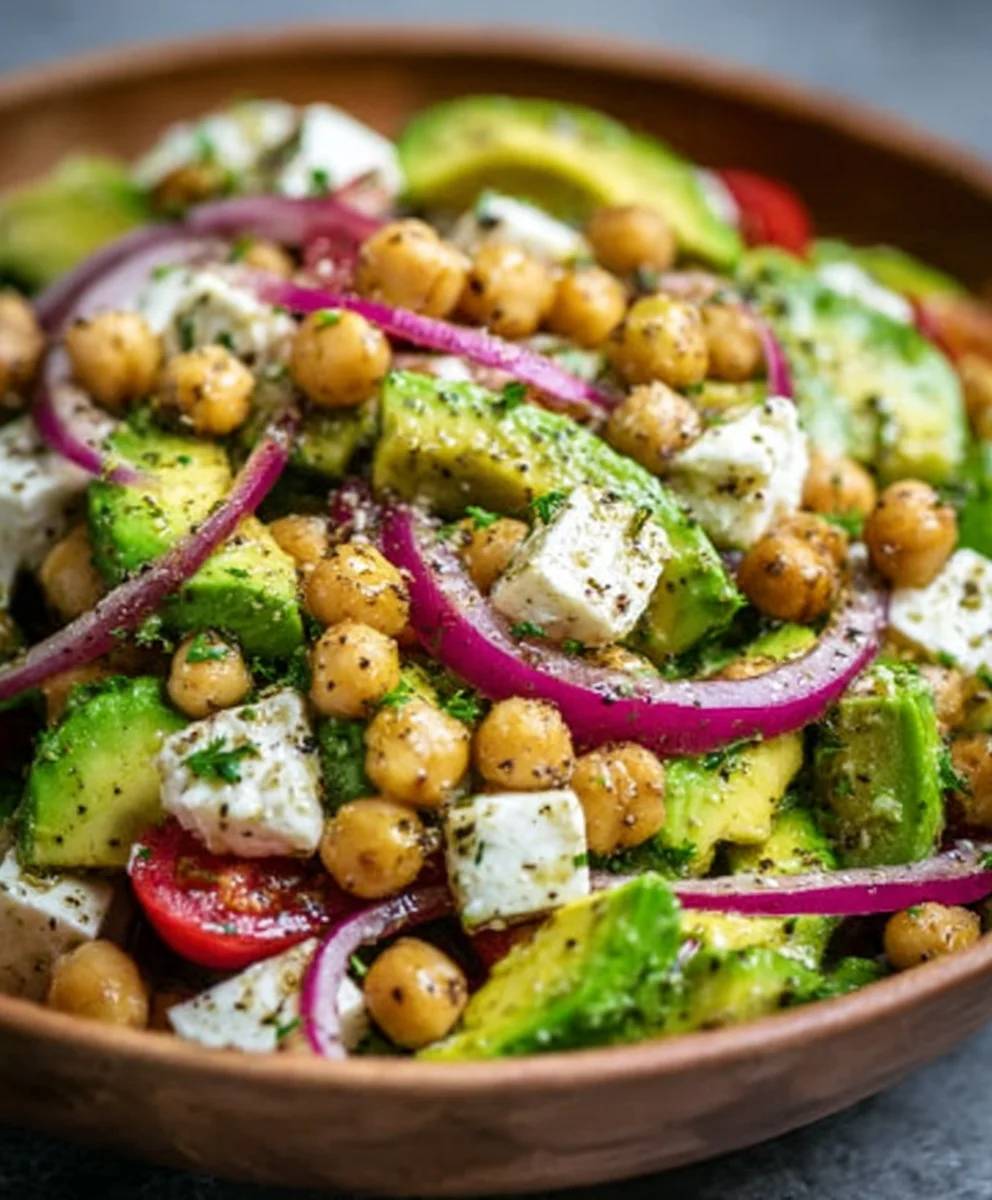
Conclusion:
There you have it – a vibrant and incredibly satisfying Chickpea Feta Avocado Salad! This recipe is a testament to how simple, wholesome ingredients can come together to create something truly delicious and nourishing. Its bright flavors and satisfying textures make it perfect for a light lunch, a flavorful side dish, or even a healthy appetizer. I encourage you to give this Chickpea Feta Avocado Salad a try; I’m confident it will become a go-to in your recipe repertoire.
For serving, this salad shines on its own, but it also pairs beautifully with grilled chicken or fish. You could serve it alongside some crusty bread for dipping, or even pile it into whole wheat pita pockets for a portable meal. Don’t be afraid to get creative with variations! Consider adding some chopped cucumber for extra crunch, a sprinkle of red pepper flakes for a touch of heat, or even some toasted nuts like almonds or walnuts for added texture and richness. The possibilities are endless, and the core of this Chickpea Feta Avocado Salad is so forgiving and adaptable.
Frequently Asked Questions:
Can I make this Chickpea Feta Avocado Salad ahead of time?
Yes, you can prepare most of the components ahead of time. The chickpeas, vegetables, and dressing can be mixed and stored separately in the refrigerator. However, it’s best to add the avocado and feta cheese just before serving to prevent them from becoming mushy or discolored. This way, your Chickpea Feta Avocado Salad will stay fresh and vibrant.
What if I don’t have feta cheese? What can I substitute?
If you’re not a fan of feta or can’t find it, you have a few excellent substitutes for your Chickpea Feta Avocado Salad. Crum extractbled goat cheese offers a similar tangy flavor. For a dairy-free option, you canrum extracte a crumbled vegan feta alternative, or even some nutritional yeast for a cheesy, umami note, though it won’t provide the same texture. A firm, well-drainerum extractilken tofu, crumbled and lightly seasoned, can also work in a pinch for a creamy element.
Chickpea Feta Avocado Salad – Fresh & Easy Recipe
A vibrant and refreshing salad featuring chickpeas, creamy avocado, salty feta, and a zesty lemon-garlic dressing. Perfect as a light lunch or side dish.
Ingredients
-
1 (15-ounce/425g) can chickpeas, drained and rinsed
-
1 ripe avocado, pitted and diced
-
4 ounces/115g feta cheese, crumbled
-
1/2 cup/75g red onion, thinly sliced
-
1/2 cup/50g fresh parsley, chopped
-
1/4 cup/25g fresh mint, chopped
-
3 tablespoons/45ml extra virgin olive oil
-
2 tablespoons/30ml fresh lemon juice
-
1 clove garlic, minced
-
1/2 teaspoon/2.5ml dried oregano
-
Salt and freshly ground black pepper to taste
Instructions
-
Step 1
Drain and rinse chickpeas. Dice avocado and add both to a medium mixing bowl. Be gentle with the avocado. -
Step 2
Crumble feta cheese over the chickpeas and avocado. Add thinly sliced red onion, chopped fresh parsley, and chopped fresh mint. -
Step 3
In a separate small bowl or jar, combine extra virgin olive oil, fresh lemon juice, minced garlic, and dried oregano. -
Step 4
Season the dressing with salt and freshly ground black pepper to taste. Whisk or shake until well combined and emulsified. Taste and adjust seasoning if needed. -
Step 5
Pour the dressing over the salad ingredients. Gently toss to coat everything evenly, taking care not to mash the avocado. Let the salad sit for 5-10 minutes before serving to allow flavors to meld.
Important Information
Nutrition Facts (Per Serving)
It is important to consider this information as approximate and not to use it as definitive health advice.
Allergy Information
Please check ingredients for potential allergens and consult a health professional if in doubt.