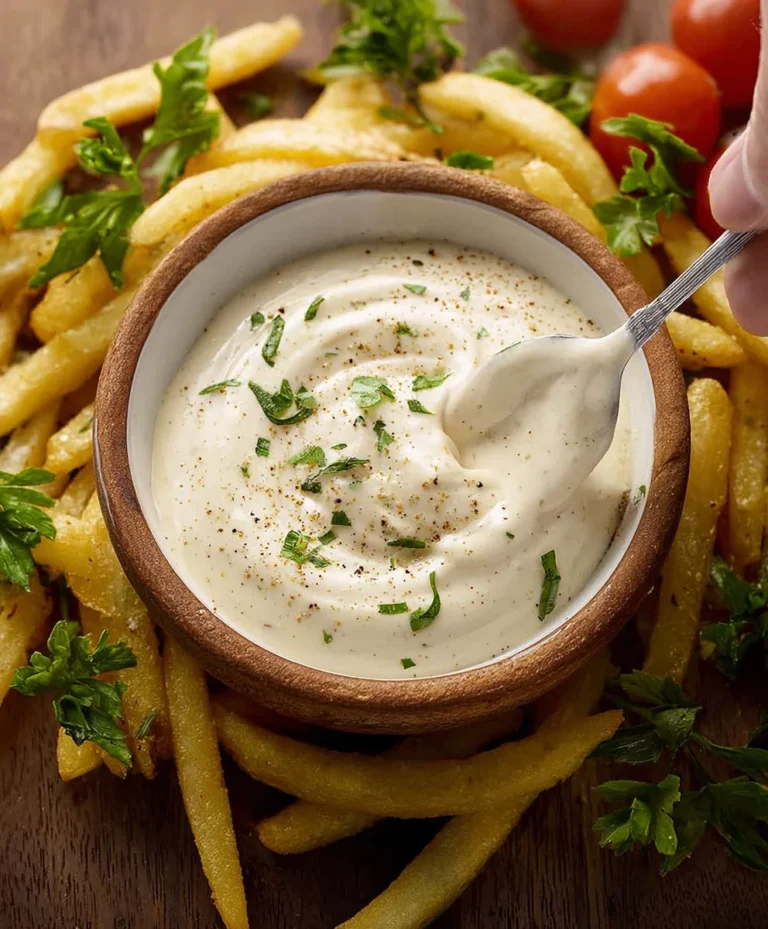
Dairy Free Pesto- Delicious & Easy Recipe
Dairy Free Pesto is a revelation for anyone who loves that vibrant, herbaceous flavor but needs to steer clear of dairy. Forget everything you thought you knew about pesto; this version is every bit as delicious and satisfying, proving that you don’t need cheese to achieve that classic pesto perfection. We all adore pesto for its incredible versatility. It’s that magical sauce that can instantly elevate pasta, transform a simple sandwich, or add a burst of freshness to grilled vegetables. But for those of us navigating dairy sensitivities or choosing a plant-based lifestyle, traditional pesto has often been off the menu. This Dairy Free Pesto recipe changes all of that. What makes this dairy-free adaptation truly special is its ability to capture the exact same bright, nutty, and garlicky notes you crave, all without a hint of parmesan. Get ready to rediscover your love for pesto, in a way that’s inclusive and utterly delicious.
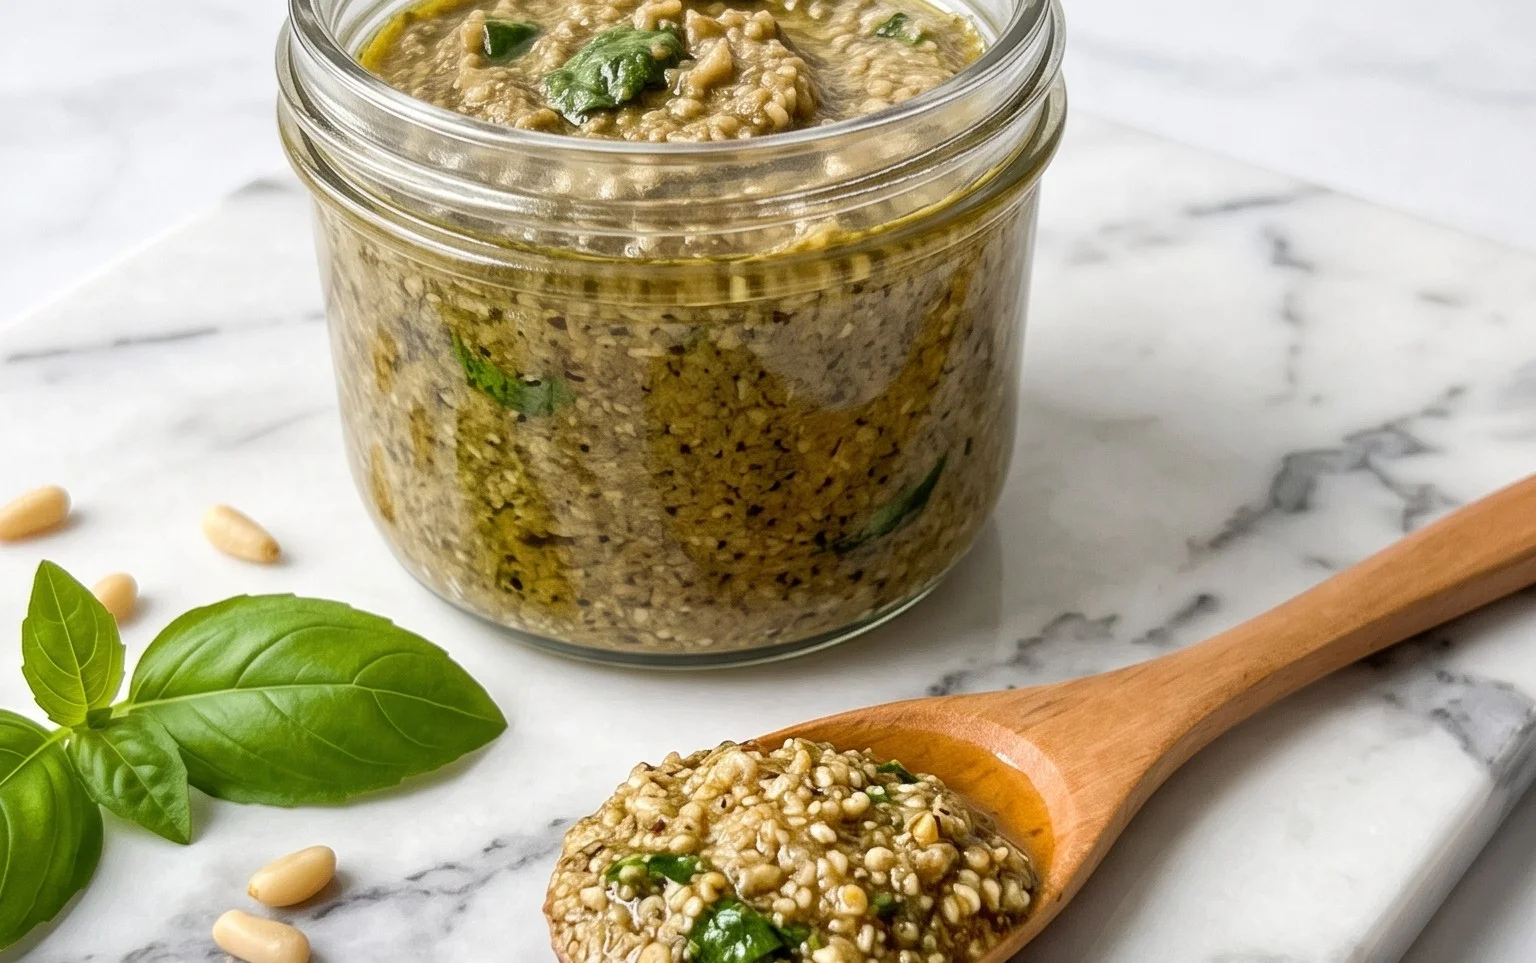
Dairy Free Pesto
Pesto is one of those magical ingredients that can elevate any dish from ordinary to extraordinary. Traditionally, pesto relies on Parmesan cheese for its salty, umami kick, but what if you’re looking for a delicious dairy-free option? Fear not! This dairy-free pesto recipe is so vibrant and flavorful, you won’t miss the cheese one bit. It’s incredibly versatile, perfect for pasta, spreading on sandwiches, dolloping onto grilled vegetables, or even stirring into soups. Making your own pesto is also remarkably simple, requiring just a few fresh ingredients and a food processor or blender. Let’s dive in and create some vibrant, dairy-free goodness!
Ingredients:
Cooking Instructions
The beauty of pesto is its simplicity, and this dairy-free version is no exception. We’re going to combine fresh ingredients to create a bright, herbaceous sauce that bursts with flavor.
1. Prepare Your Basil
Begin extract by washing your basil thoroughly. Gently rinse the leaves under cool water and then pat them completely dry with paper towels or use a salad spinner. It’s crucial that the basil is dry; excess water can dilute the flavor of your pesto and affect its texture. You can remove the larger stems if they are particularly woody, but for young, tender basil, the leaves themselves are all you need. Measure out 3 cups of packed basil leaves. Packing them down will ensure you have enough flavorful herb.
2. Toast the Nuts (Optional but Recommended)
While not strictly necessary, lightly toasting your pine nuts (or your chosen alternative like walnuts or pumpkin seeds) will significantly enhance their flavor and aroma. Place the nuts in a dry skillet over medium-low heat. Stir them frequently, watching them closely to prevent burning. They should become fragrant and develop a light golden brown color. This usually takes about 5-7 minutes. Once toasted, immediately remove them from the hot skillet and let them cool completely. This step adds a delightful depth and nuttiness that complements the basil beautifully. If you’re short on time, you can skip this, but I highly recommend it for the best flavor.
3. Combine Ingredients in the Food Processor
In the bowl of your food processor, add the fresh basil leaves, the toasted (and cooled) pine nuts, and the peeled garlic cloves. If you’re using whole garlic cloves, give them a rough chop first. Now, add the freshly squeezed lemon juice and the salt. The lemon juice not only adds brightness and a touch of acidity to balance the richness but also helps to preserve the vibrant green color of the basil. Don’t be shy with the lemon; it’s a key component in balancing the flavors.
4. Pulse and Blend
Secure the lid on your food processor. Begin extract by pulsing the ingredients a few times. This will start to break down the basil, nuts, and garlic. Scrape down the sides of the bowl with a spatula as needed to ensure everything is incorporated evenly. Once roughly chopped, you can start to process continuously.
5. Emulsify with Olive Oil
With the food processor running, slowly drizzle in the olive oil through the feed tube. Continue processing until the pesto reaches your desired consistency. Some people prefer a chunkier pesto, while others like it smoother. For a smoother pesto, you might want to let it run a bit longer and perhaps add a touch more olive oil, a teaspoon at a time, until it’s creamy. If you’re aiming for a thicker pesto, process for less time. Remember, the olive oil is what emulsifies the ingredients, creating that luscious, pesto texture we all love.
6. Add Nutritional Yeast (if using)
If you’re using nutritional yeast, this is the time to add it. Sprinkle the 2 tablespoons of nutritional yeast into the food processor. Nutritional yeast is a deactivated yeast that has a cheesy, nutty, and umami flavor, making it an excellent dairy-free substitute for Parmesan. Process for another 30 seconds or so to fully incorporate the nutritional yeast. Taste your pesto and adjust the salt or lemon juice as needed. You might find you want a little more salt for a bolder flavor, or an extra squeeze of lemon for a tangier finish.
Serving and Storage
Once your dairy-free pesto is ready, it’s incredibly versatile. Toss it with your favorite pasta, swirl it into a creamy dairy-free soup, spread it on crusty bread for an appetizer, or use it as a marinade for chicken or fish. For optimal freshness and flavor, store your pesto in an airtight container in the refrigerator. To prevent browning and extend its shelf life, pour a thin layer of olive oil over the top before sealing. It should keep well for about 5-7 days. You can also freeze pesto in ice cube trays for convenient, single-serving portions that are perfect for quick meals. Enjoy your delicious, homemade dairy-free pesto!
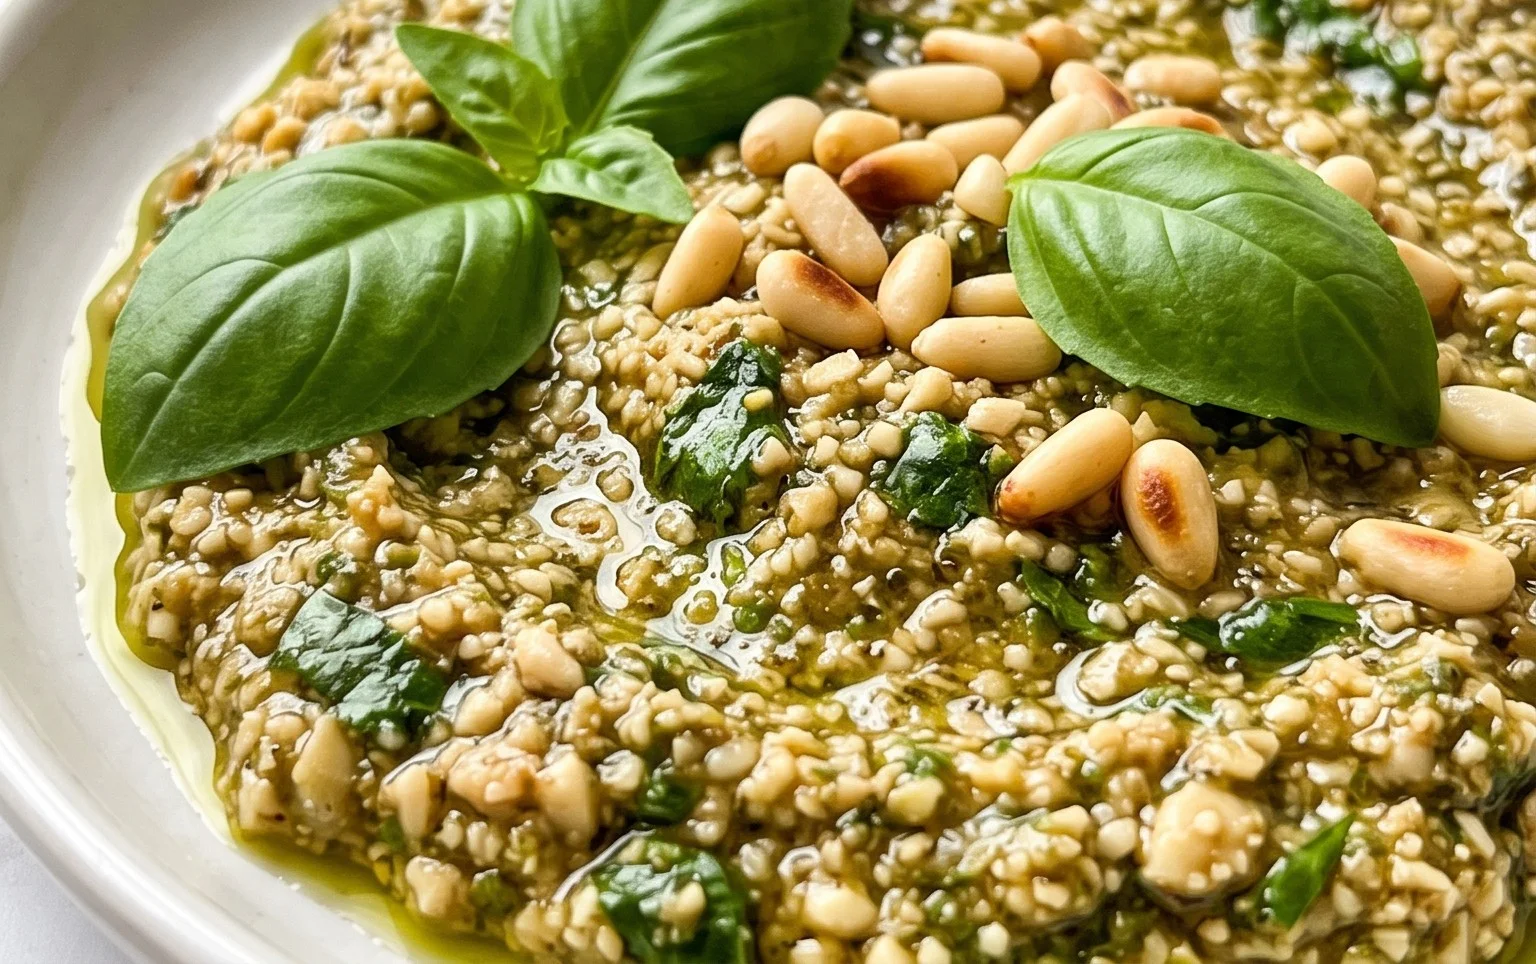
Conclusion:
I hope you’re as excited as I am to try this delicious dairy free pesto recipe! It’s truly a game-changer for anyone looking for vibrant, flavorful pesto without the dairy. The combination of fresh basil, pine nuts, garlic, and olive oil creates a wonderfully aromatic and satisfying sauce that elevates any dish. This dairy free pesto is incredibly versatile and perfect for pasta, sandwiches, as a dip, or even spread on roasted vegetables. Don’t be afraid to experiment with different nuts or herbs to find your perfect flavor profile – perhaps toasted walnuts for a deeper nuttiness, or a mix of basil and parsley for added freshness. Give it a go and discover how easy and rewarding it is to make your own incredible dairy free pesto at home!
Frequently Asked Questions:
How long does dairy free pesto last?
When stored properly in an airtight container in the refrigerator, your homemade dairy free pesto should stay fresh for about 5-7 days. To maximize its lifespan, make sure to press a layer of plastic wrap directly onto the surface of the pesto before sealing the container. This helps prevent oxidation and keeps it vibrant.
Can I freeze this dairy free pesto?
Absolutely! Freezing is a fantastic way to enjoy this dairy free pesto long after you’ve made it. You can portion it into ice cube trays and freeze them until solid, then transfer the frozen cubes to a freezer-safe bag for easy portioning. Alternatively, you can freeze larger batches in freezer-safe containers. It should keep well for up to 3-4 months.
Dairy Free Pesto
A vibrant and flavorful dairy-free pesto made with fresh basil, pine nuts, garlic, and lemon juice.
Ingredients
-
3 cups basil
-
1/2 lemon (juiced)
-
1/2 cup pine nuts
-
2 cloves garlic
-
1/4 cup olive oil
-
1/2 tsp salt
-
2 tbsp nutritional yeast
Instructions
-
Step 1
Wash and dry the basil leaves thoroughly. -
Step 2
In a food processor, combine basil, pine nuts, garlic, lemon juice, salt, and nutritional yeast. -
Step 3
Pulse the ingredients until roughly chopped. -
Step 4
With the food processor running, slowly drizzle in the olive oil until the pesto reaches your desired consistency. -
Step 5
Taste and adjust seasoning if needed. -
Step 6
Transfer the pesto to a jar or airtight container. Store in the refrigerator.
Important Information
Nutrition Facts (Per Serving)
It is important to consider this information as approximate and not to use it as definitive health advice.
Allergy Information
Please check ingredients for potential allergens and consult a health professional if in doubt.