Nut-Free Pesto Recipe – Delicious & Easy
Nut Free Pesto is a game-changer for anyone who loves the vibrant, herbaceous goodness of traditional pesto but has to navigate nut allergies or simply wants a more inclusive option. We all adore that classic burst of basil, garlic, and Parmesan, but for so many, the pine nuts that are fundamental to its creation are a no-go. That’s where this delightful twist comes in! This Nut Free Pesto recipe delivers all the familiar, delicious flavors you crave, offering a creamy, zesty sauce that’s perfect for pasta, sandwiches, or as a dip. It’s a revelation for parents, hosts, and home cooks looking to create crowd-pleasing dishes that everyone can enjoy. What makes this particular Nut Free Pesto so special is its effortless preparation and the way it opens up a world of culinary possibilities without compromise. Get ready to elevate your meals with this incredible, allergy-friendly alternative!
Nut-Free Pesto: A Creamy, Zesty Delight for Everyone
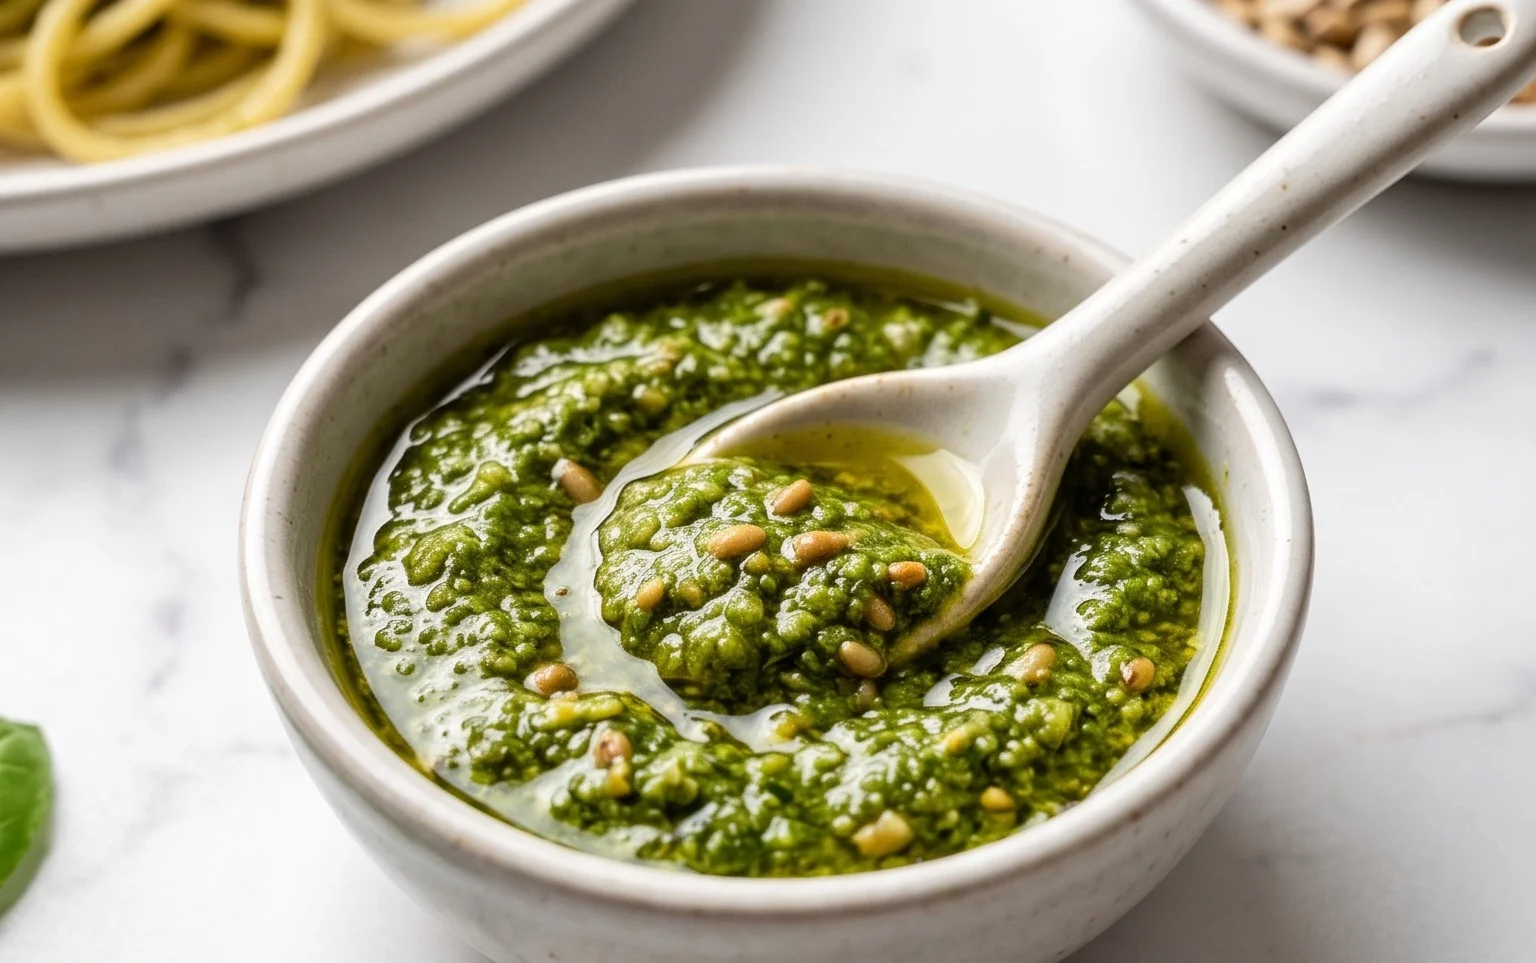
There’s something magical about pesto. Its vibrant green hue, its intensely fresh aroma, and that burst of herbaceous, garlicky goodness – it’s a culinary cbeef hameleon, perfect for pasta, sandwiches, dips, and so much more. However, for those with nut allergies, the classic pine nut-laden pesto is off-limits. But fear not! I’ve developed a delicious nut-free pesto recipe that captures all the essence of the traditional version, without any of the allergens. This recipe is surprisingly simple to make and delivers a wonderfully creamy, zesty pesto that everyone can enjoy. It’s perfect for weeknight dinners or impressive appetizers, and the best part is, it’s incredibly forgiving.
Let’s dive into what you’ll need to create this delightful spread.
Ingredients:
Preparing Your Ingredients
Before we begin extract blending, it’s important to ensure your ingredients are prepped correctly for the best flavor and texture. For the basil, you want to make sure the leaves are fresh and vibrant. Gently wash them under cool water and pat them thoroughly dry with paper towels or a clean kitchen towel. Any excess moisture can make your pesto watery, and we want a nice, thick consistency. You can gently pluck the leaves from the stems; while some stems are okay, a large amount can impart a slightly bitter flavor, so it’s best to remove most of them.
For the garlic, using fresh cloves is key. I like to give them a rough chop before adding them to the food processor, which helps them break down more easily. If you’re not a huge fan of raw garlic, you can roast the garlic cloves first. To do this, simply trim the top off a head of garlic, drizzle with a little olive oil, wrap it in foil, and bake at 400°F (200°C) for about 30-40 minutes, until soft and fragrant. This mellows out the sharp bite of raw garlic beautifully, creating a sweeter, more nuanced flavor in your pesto.
When it comes to the Parmesan cheese, freshly grating it yourself makes a world of difference. Pre-shredded cheeses often contain anti-caking agents that can affect the texture and flavor of your pesto. Use a good quality Parmesan for the best cheesy umami kick.
Crafting Your Nut-Free Pesto
Now for the fun part – bringin extractg all these wonderful ingredients together! The process is remarkably straightforward, and you can achieve a fantastic result using either a food processor or a high-powered blender.
1. Start with the Greens and Aromatics: Begin extract by placing your washed and dried basil leaves into the bowl of your food processor. Add the peeled garlic cloves on top. Pulse a few times to break everything down into smaller pieces. You want to ensure the basil and garlic are well combined and starting to form a coarse paste before adding the other ingredients. This initial pulsing helps to release the essential oils from the basil and garlic, intensifying their flavors right from the start. It’s also a good way to gauge how much volume your basil will yield once it’s broken down.
2. Incorporate the Cheese and Seasoning: Once the basil and garlic have been roughly chopped, add the freshly grated Parmesan cheese to the food processor. Sprinkle in the salt and pepper at this stage as well. These seasonings will distribute evenly throughout the pesto as it’s blended. Give it another pulse or two to further incorporate the cheese and seasonings with the basil and garlic mixture. You’ll notice the color becoming even more vibrant as the cheese mixes in. This is also a good time to taste a tiny bit of the mixture (before the oil) and adjust the salt and pepper if you feel it needs it, though remember the flavor will intensify once the oil is added.
3. Slowly Drizzle in the Olive Oil: This is where the magic truly happens and your pesto starts to come together into that smooth, emulsified sauce we love. With the food processor running on a low speed, slowly and gradually drizzle in the olive oil through the feed tube. Continue processing until the pesto reaches your desired consistency. For a thicker pesto, use less oil; for a looser, more drizzly pesto, add a little more. The key here is to add the oil slowly so it emulsifies properly with the other ingredients, creating that signature creamy texture. Be patient; it might take a minute or two for the oil to fully incorporate and create a cohesive sauce.
4. Achieving the Perfect Texture: As you’re drizzling in the olive oil, keep an eye on the consistency. You’re looking for a vibrant, smooth paste. If you prefer a chunkier pesto, pulse fewer times at the end. If you desire a super smooth pesto, process for a bit longer. You can also scrape down the sides of the food processor with a spatula occasionally to ensure everything is being incorporated evenly. If your pesto seems too thick, you can always add a tiny bit more olive oil, a teaspoon at a time, until it reaches your preferred texture. Conversely, if it’s too thin, you can add a little more Parmesan cheese or even a few more basil leaves.
5. Taste and Adjust: Once your pesto has reached its desired consistency, turn off the food processor and give it a good taste. This is your last chance to make any adjustments. Does it need a pinch more salt to brighten the flavors? A little more pepper for a subtle kick? Perhaps a tiny squeeze of lemon juice (optional, but highly recommended for an extra zing!) if you want to cut through the richness and enhance the basil’s freshness. Blend for a few more seconds to incorporate any final adjustments. Your nut-free pesto is now ready to be enjoyed!
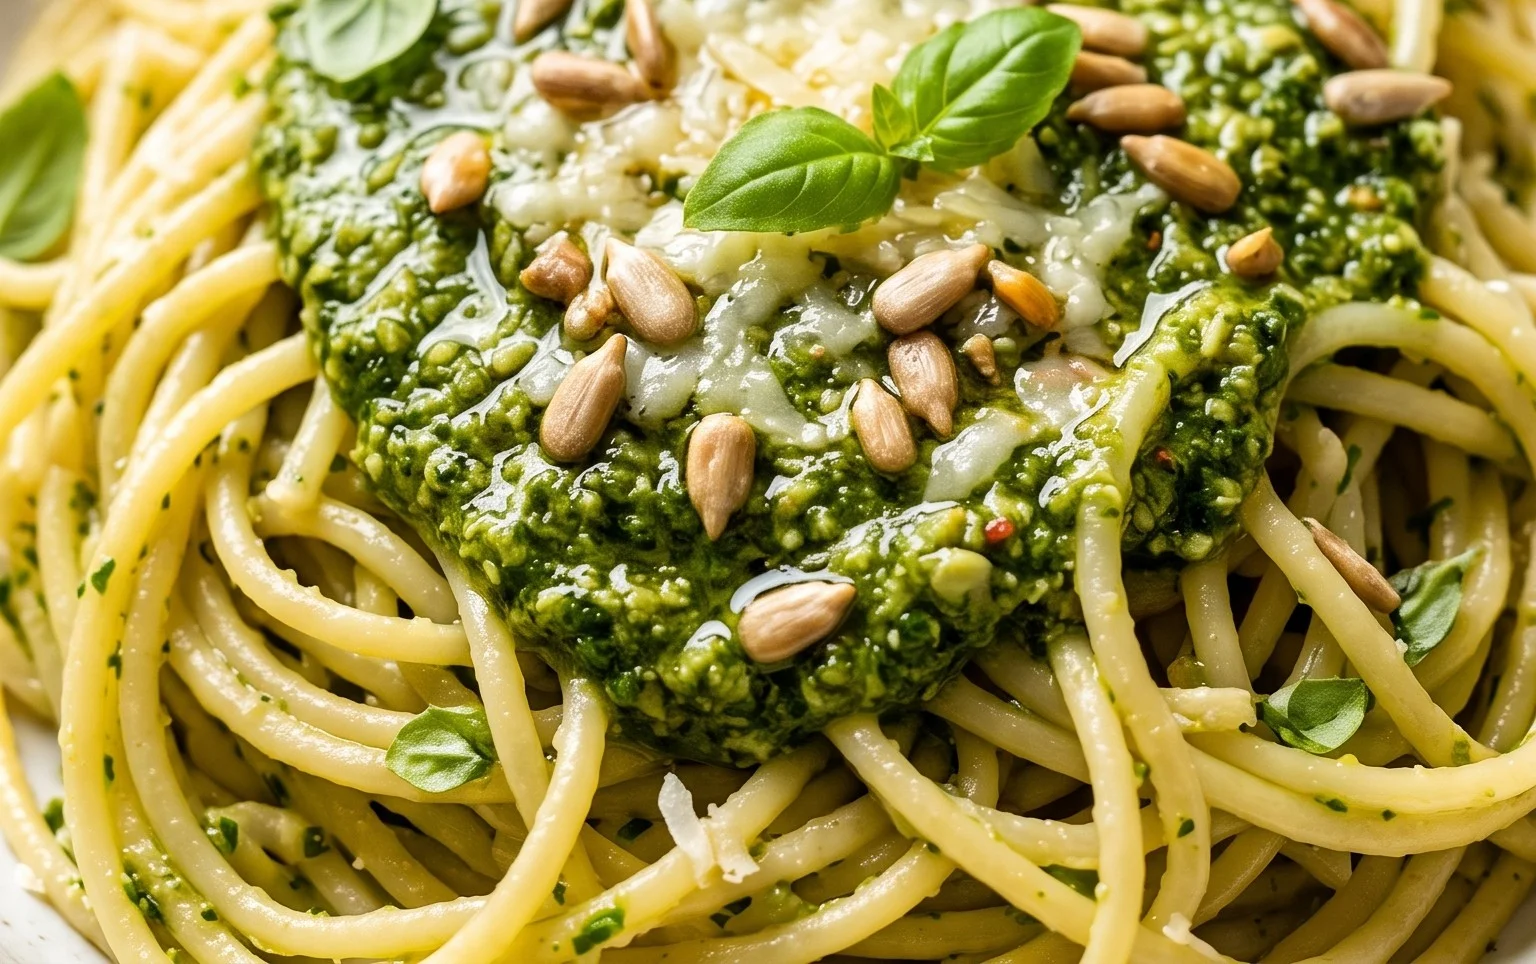
This nut-free pesto is incredibly versatile. Toss it with your favorite pasta for a quick and flavorful meal. Spread it on a sandwich or wrap for a zesty upgrade. Use it as a dip for vegetables, crackers, or bread. It also makes a fantastic topping for grilled chicken, fish, or even pizza. Store any leftover pesto in an airtight container in the refrigerator for up to a week, or freeze it in an ice cube tray for smaller, convenient portions to use later. Enjoy this delicious, allergen-friendly twist on a classic!
Conclusion:
I’m so excited for you to try this nut-free pesto recipe! It’s a fantastic alternative for those with nut allergies or anyone looking for a slightly different flavor profile in their pesto. The beauty of this recipe lies in its adaptability – it’s incredibly versatile and brings a burst of fresh, herbaceous flavor to so many dishes without the need for pine nuts. I’ve found it to be a crowd-pleaser, even among pesto aficionados! Whether you’re a seasoned cook or just starting out, this nut-free pesto is a rewarding and delicious addition to your culinary repertoire. Don’t hesitate to give it a go; you might just find it becomes your new go-to!
Serving suggestions are endless! It’s perfect tossed with pasta (a classic!), spread on sandwiches or wraps, dolloped onto grilled chicken or fish, or even swirled into soups. For variations, feel free to experiment with different greens like arugula for a peppery kick, or a blend of spinach and basil for a milder taste. You could also swap the sunflower seeds for pumpkin seeds or even toasted pepitas for a slightly different nutty (but still nut-free!) crunch.
Frequently Asked Questions:
Can I freeze this nut-free pesto?
Yes, absolutely! This nut-free pesto freezes beautifully. You can portion it into ice cube trays and once frozen, transfer the cubes to a freezer-safe bag for easy use. It should stay fresh in the freezer for up to 3 months.
What can I use instead of sunflower seeds if I have a sunflower allergy?
If you have a sunflower allergy, you have a few great options! Pumpkin seeds (pepitas) are a wonderful substitute, offering a similar texture and a slightly earthy flavor. Toasted hemp seeds can also work, providing a good source of protein and healthy fats. Even toasted oats, pulsed finely, can add a bit of body, though the flavor will be less pronounced.
How long does the nut-free pesto last in the refrigerator?
When stored in an airtight container in the refrigerator, this nut-free pesto should last for about 5-7 days. It’s best to cover the surface directly with a thin layer of olive oil to help prevent browning and maintain freshness.
Nut-Free Pesto
A delicious and nut-free twist on classic pesto, perfect for those with nut allergies.
Ingredients
-
2 cups fresh basil
-
2 garlic cloves
-
1/2 cup freshly grated Parmesan cheese
-
1/4 cup olive oil
-
1/4 teaspoon salt
-
1/8 teaspoon pepper
Instructions
-
Step 1
Wash and thoroughly dry the fresh basil leaves. -
Step 2
Peel the garlic cloves. -
Step 3
In a food processor, combine the basil, garlic, and Parmesan cheese. -
Step 4
Pulse until the ingredients are finely chopped. -
Step 5
Slowly drizzle in the olive oil while the food processor is running, until the pesto reaches your desired consistency. -
Step 6
Season with salt and pepper to taste. Pulse once more to combine.
Important Information
Nutrition Facts (Per Serving)
It is important to consider this information as approximate and not to use it as definitive health advice.
Allergy Information
Please check ingredients for potential allergens and consult a health professional if in doubt.