Easy Buttermilk Bread Recipe – Soft & Delicious
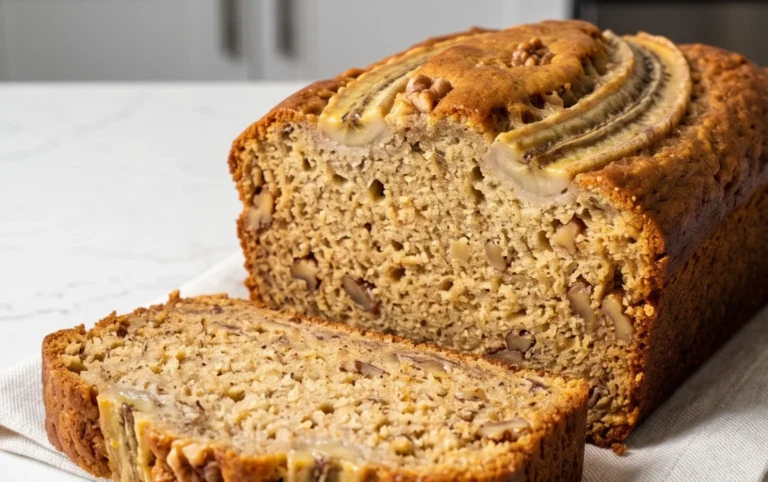
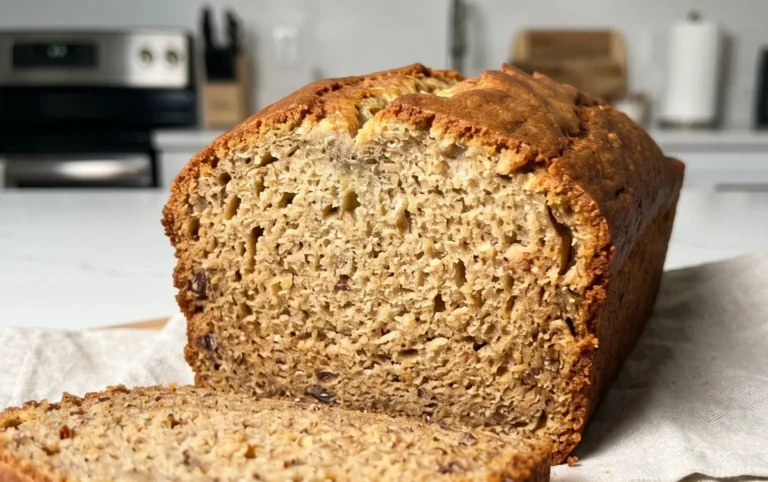
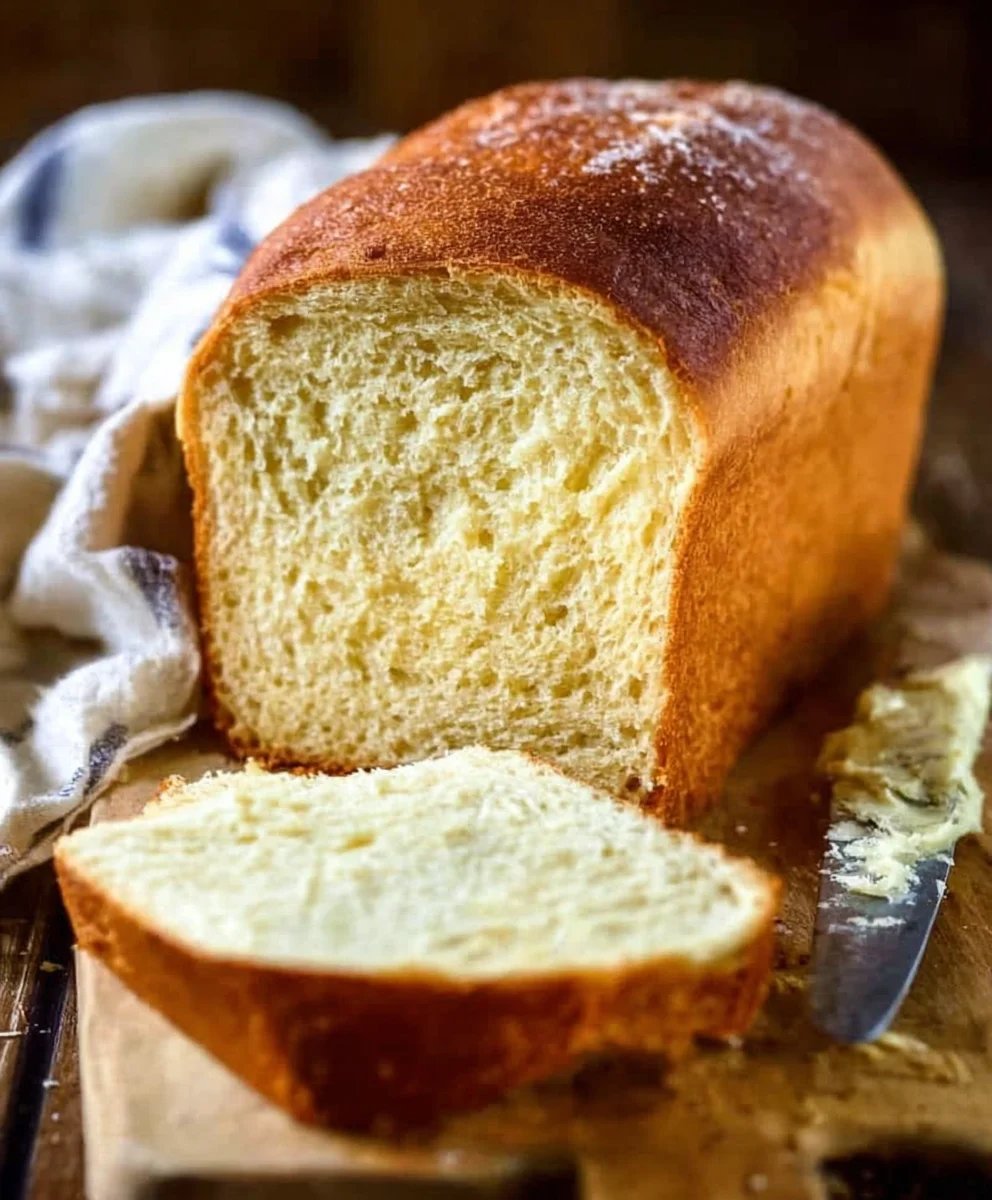
Buttermilk Bread Recipe is more than just a loaf of bread; it’s a culinary embrace, a warm hug on a plate. There’s something undeniably magical about the soft, pillowy crum extractb and the subtly tangy crust that only true buttermilk bread can achieve. It’s the kind of comforting aroma that fills your kitchen and instantly makes it feel like home. People adore this buttermilk bread recipe because it’s surprisingly simple to make, yet delivers a flavor and texture that rivals any bakery-bought loaf. The secret lies in the buttermilk, which reacts with the leavening agents to create an incredibly tender interior and a delightful chew. Whether you slice it thick for toast slathered with butter, use it as the base for a hearty sandwich, or simply enjoy a warm piece on its own, this buttermilk bread recipe is destined to become a staple in your baking repertoire.
Ingredients:
- 1 packet active dry yeast
- 1 pinch ground gin extractger
- 1 teaspoon granulated sugar
- 1/4 cup warm water (105F – 110F)
- 2 cups cultured buttermilk, warmed to 105F – 110F
- 1/3 cup honey
- 1 teaspoon kosher salt (or 3/4 teaspoon table salt)
- 3/4 teaspoon baking soda
- 6 cups bread flour (all-purpose flour can be substituted)
- 1/4 cup unsalted butter, melted and cooled to warm
Preparing the Dough
Activating the YeastMixing the Wet Ingredients
While our yeast is proofing, let’s get our other wet ingredients ready. In a large mixing bowl, or the bowl of your stand mixer fitted with a dough hook, pour in the warmed cultured buttermilk. The buttermilk should be at the same temperature range as the water (105F – 110F). This temperature is ideal for yeast activity without killing it. Next, stir in the honey and the melted, cooled butter. The butter should be warm to the touch, not hot enough to scald the buttermilk or inhibit yeast growth. Finally, add the kosher salt and the gin extractcgin extractf ground ginger. The ginger adds a subtle warmth and depth of flavor that complements the tang of the buttermilk beautifully. Whisk these ingredients together until well combined. Once the yeast mixture is foamy, carefully pour it into the bowl with the buttermilk mixture.
Incorporating the Flour and Baking Soda
Now it’s time to introduce the dry ingredients. First, sprinkle the baking soda over the wet mixture. Baking soda reacts with the acidity of the buttermilk to provide an extra lift and a wonderfully tender crum extractb. Next, add about 4 cups of the bread flour to the bowl. If you’re using a stand mixer, start mixing on low speed. If you’re mixing by hand, usegin extractsturdy spoon or spatula to begin incorporating the flour. As the mixture starts to come together, gradually add the remaining 2 cups of bread flour, a little at a time, until a shaggy dough forms. You might not need all 6 cups of flour, or you might need a tiny bit more. The exact amount can vary depending on the humidity and the type of flour you use. The goal is a dough that is slightly sticky but manageable.
Kneading and First Rise
Kneading the Dough
Once all the flour is incorporated and the dough is becoming cohesive, it’s time to knead. If using a stand mixer, increase the speed to medium-low and knead for about 6-8 minutes. The dough should pull away from the sides of the bowl and become smooth and elastic. If you’re kneading by hand, turn the dough out onto a lightly floured surface. Knead by pushing the dough away from you with the heels of your hands, then folding it back over itself. Rotate the dough and repeat this process. Continue kneading for about 10-12 minutes until the dough is smooth, elastic, and springs back when gently poked. It should feel slightly tacky but not stick excessively to your hands or the work surface. This kneading process develops the gluten, which is essential for the structure and texture of our bread.
The First Rise
Lightly grease a clean, large bowl with a bit of oil or non-stick spray. Place the kneaded dough into the bowl, turning it once to coat the entire surface with oil. Cover the bowl tightly with plastic wrap or a clean kitchen towel. Place the bowl in a warm, draft-free spot to rise. This is where our yeast gets to work! Let the dough rise for about 1 to 1.5 hours, or until it has doubled in size. A good test to see if it’s ready is to gently poke the dough with your finger. If the indentation remains, it’s had its first rise.
Shaping and Second Rise
Shaping the Loaf
Once the dough has doubled, gently punch it down to release the air. Turn the dough out onto a lightly floured surface. You can shape this dough into one large loaf or divide it into two smaller loaves for quicker baking. For a single loaf, gently pat the dough into a rectangle. Fold the top third down towards the center, then fold the bottom third up over that, like folding a letter. Pinch the seams to seal. Then, gently roll the dough from one end to the other, pinching the final seam closed. Tuck the ends under to create a neat loaf. If making two loaves, divide the dough in half and shape each piece accordingly. Place the shaped loaf (or loaves) onto a baking sheet lined with parchment paper or into a greased loaf pan.
The Second Rise (Proofing)**
Once shaped, cover the loaf loosely with plastic wrap or a clean kitchen towel. Let it rise again in a warm place for another 30-45 minutes, or until it has nearly doubled in size and looks puffy. This second rise, or proofing, allows the dough to relax and develop more air pockets, contributing to a lighter texture. It’s important not to let it overproof, as this can cause the loaf to collapse during baking. You’ll notice the dough will look noticeably larger and feel very airy to the touch.
Baking the Buttermilk Bread
Baking the Loaf
Preheat your oven to 375°F (190°C). Once the dough has completed its second rise, it’s ready for the oven. You can lightly score the top of the loaf with a sharp knife or a lame if you wish, which helps control the expansion during baking. Carefully place the baking sheet or loaf pan into the preheated oven. Bake for approximately 30-40 minutes for a single loaf, or 25-30 minutes for two smaller loaves. The bread is done when it’s golden brown on top and sounds hollow when tapped on the bottom. If you have an instant-read thermometer, the internal temperature should reach around 190°F-200°F (88°C-93°C). If the crust is browning too quickly, you can loosely tent the loaf with aluminum foil.
Cooling and Enjoying
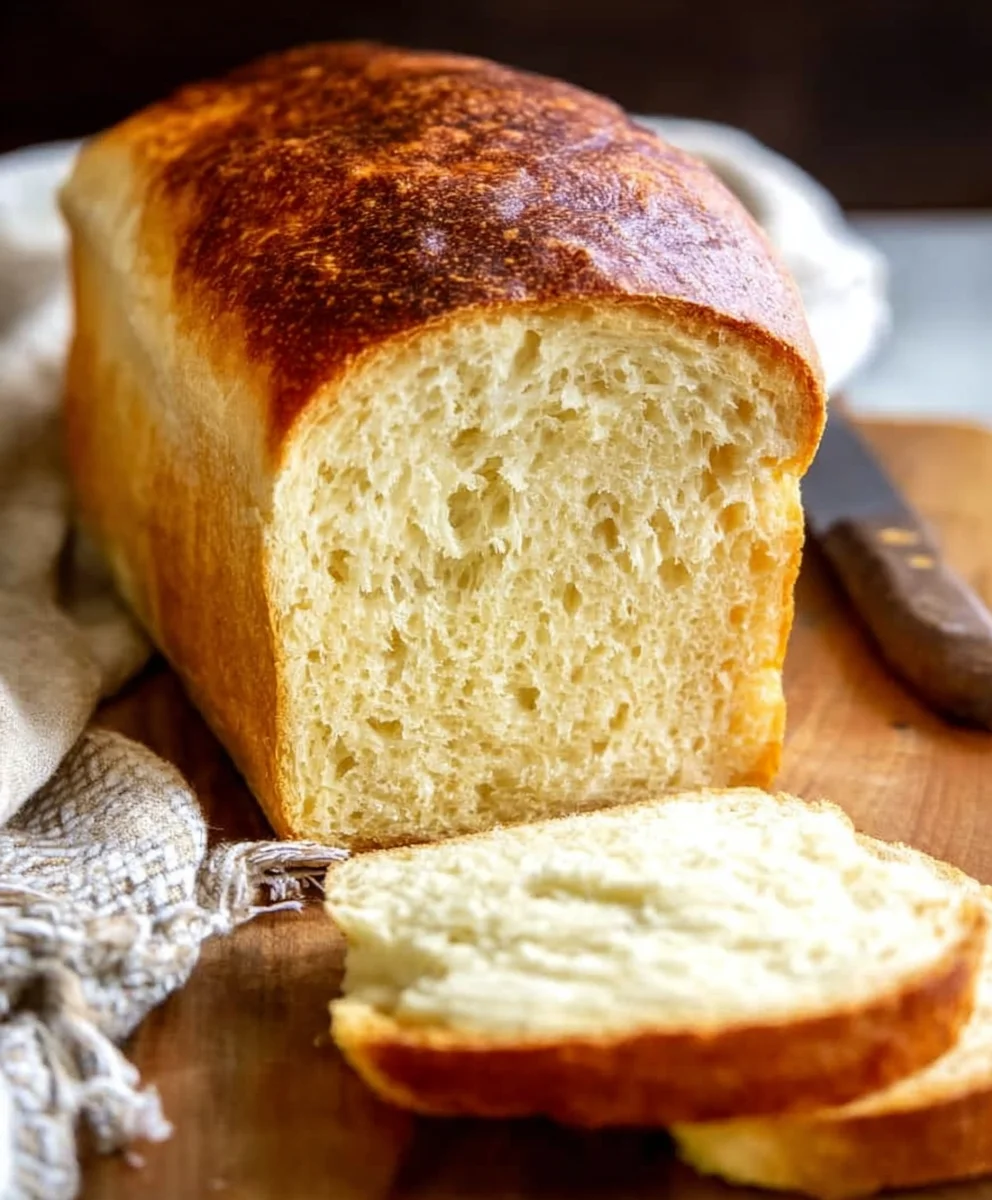
Once baked, immediately remove the bread from the baking sheet or loaf pan and place it on a wire rack to cool completely. This step is crucial for allowing the steam to escape and preventing a soggy bottom. Resist the urge to slice into it while it’s still hot; the internal structure needs time to set. Once cooled, slice your beautiful homemade Buttermilk Bread and enjoy its soft, slightlyrum extractngy crumb and delicious crust. It’s perfect for toasting, making sandwiches, or simply slathering with butter.
Conclusion:
And there you have it – the simple, yet incredibly satisfying, process of making your very own Buttermilk Bread Recipe! This recipe is a true testament to how a few quality ingredients can transform into something truly special. The tang of the buttermilk creates a wonderfully tender crum extractb and a subtly complex flavor that pairs beautifully with almost anything. Whether you’re enjoying a slice slathered with butter, using it for hearty sandwiches, or as the base for your favorite toast toppings, this Buttermilk Bread Recipe is sure to become a staple in your kitchen.
Don’t be afraid to experiment! You can easily add herbs like rosemary or thyme to the dough for an aromatic twist, or even incorporate a handful of cheese for a savory loaf. For a touch of sweetness, a drizzle of honey over the crust before baking adds a delightful caramelized note. I truly hope you give this Buttermilk Bread Recipe a try and discover the joy of homemade bread. The aroma that fills your home while it bakes is simply unbeatable, and the taste is worth every moment.
Frequently Asked Questions about Buttermilk Bread:
Q1: My buttermilk bread didn’t rise as much as I expected. What could be the reason?
Several factors can affect bread rise. Ensure your yeast is fresh and active by proofing it in warm (not hot) liquid before mixing. Over-kneading can also make the dough tough and hinder rising. Additionally, the ambient temperature of your kitchen plays a role; a warmer environment generally promotes better yeast activity. Make sure to let the dough rise in a draft-free spot.
Q2: Can I use regular milk instead of buttermilk for this Buttermilk Bread Recipe?
While you can substitute, it won’t be quite the same. To mimic buttermilk’s acidity and tenderizing properties, you can add one tablespoon of white vinegar or lemon juice to one cup of regular milk and let it sit for 5-10 minutes before using. However, for the authentic texture and flavor of this Buttermilk Bread Recipe, real buttermilk is highly recommended.
Easy Buttermilk Bread Recipe – Soft & Delicious
A soft and delicious buttermilk bread recipe that is easy to make and perfect for any occasion.
Ingredients
-
1 packet active dry yeast
-
1 pinch ground ginger
-
1 teaspoon granulated sugar
-
1/4 cup warm water (105F – 110F)
-
2 cups cultured buttermilk, warmed to 105F – 110F
-
1/3 cup honey
-
1 teaspoon kosher salt (or 3/4 teaspoon table salt)
-
3/4 teaspoon baking soda
-
6 cups bread flour (all-purpose flour can be substituted)
-
1/4 cup unsalted butter, melted and cooled to warm
Instructions
-
Step 1
Activate yeast: In a small bowl, combine warm water and sugar. Sprinkle yeast over the surface, stir gently, and let sit for 5-10 minutes until foamy. -
Step 2
Mix wet ingredients: In a large bowl, combine warmed buttermilk, honey, melted butter, kosher salt, and ground ginger. Whisk together. Add the foamy yeast mixture and whisk to combine. -
Step 3
Incorporate flour and baking soda: Sprinkle baking soda over the wet mixture. Add about 4 cups of bread flour and mix until a shaggy dough forms, gradually adding the remaining flour until manageable and slightly sticky. -
Step 4
Knead and first rise: Knead the dough for 6-8 minutes (stand mixer) or 10-12 minutes (by hand) until smooth and elastic. Place in a lightly greased bowl, cover, and let rise in a warm place for 1-1.5 hours, or until doubled in size. -
Step 5
Shape and second rise: Punch down the dough, shape into a loaf or two smaller loaves. Place on a baking sheet or in a loaf pan, cover, and let rise for another 30-45 minutes until puffy. -
Step 6
Bake: Preheat oven to 375°F (190°C). Bake for 30-40 minutes for a single loaf or 25-30 minutes for two smaller loaves, until golden brown and hollow-sounding when tapped. Internal temperature should be 190°F-200°F (88°C-93°C). -
Step 7
Cool and enjoy: Immediately remove from pan and cool completely on a wire rack before slicing and serving.
Important Information
Nutrition Facts (Per Serving)
It is important to consider this information as approximate and not to use it as definitive health advice.
Allergy Information
Please check ingredients for potential allergens and consult a health professional if in doubt.