Copy Cat KFC Fried Chicken Recipe-Best Crispy Flavor
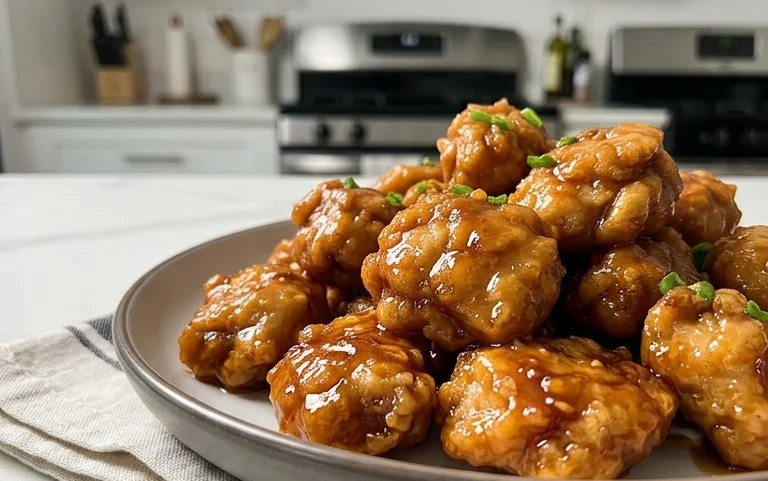
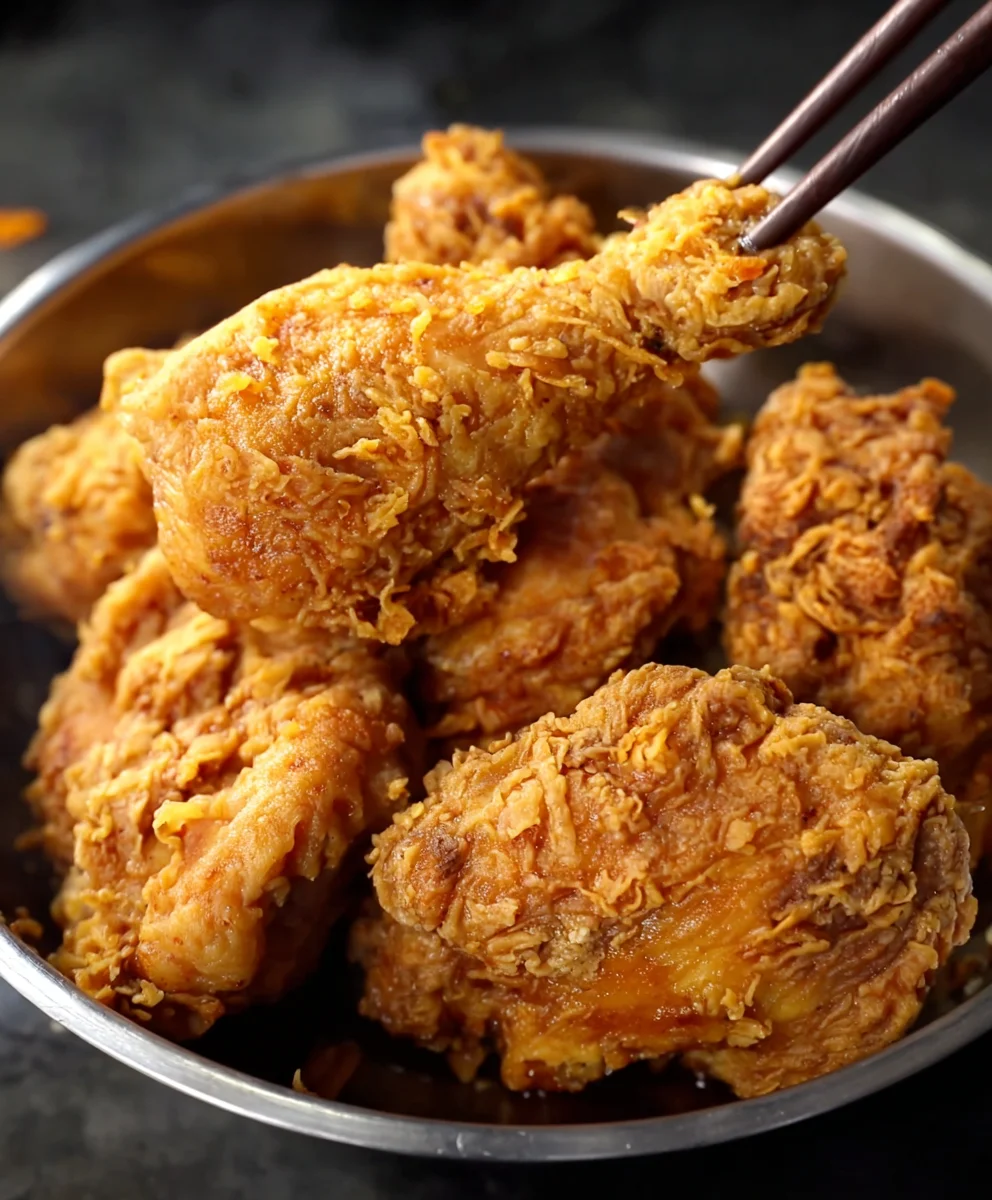
Copy Cat KFC Fried Chicken is more than just a meal; it’s a culinary adventure designed to transport your taste buds straight to your favorite fast-food joint, but with the satisfaction of homemade perfection. Who doesn’t adore that irresistibly crispy, golden-brown coating and the incredibly juicy, tender chicken nestled within? It’s a universally loved comfort food that brings smiles to every face around the table. What truly sets this Copy Cat KFC Fried Chicken apart is the secret blend of 11 herbs and spices – a proprietary mix that, once unlocked, delivers that unmistakable, addictive flavor profile we all crave. Forget disappointing imitations; this recipe meticulously recreates that iconic taste and texture, proving you can achieve fast-food greatness right in your own kitchen. Get ready to impress yourself and everyone you share this with!
Ingredients:
- 340 g chicken (cut into pieces)
- 1/2 tsp salt (for the chicken brine)
- 1/2 tsp black pepper (for the chicken brine)
- 1 tsp onion powder (for the chicken brine)
- 1 tsp garlic powder (for the chicken brine)
- 1/2 tsp chili powder (for the chicken brine)
- 1 tbsp cornstarch (for the chicken brine)
- 1 large egg
- 100 g all purpose flour
- 50 g cornstarch (for the coating)
- 5 g baking powder
- 1/2 tsp salt (for the coating)
- 1/2 tsp onion powder (for the coating)
- 1 tsp garlic powder (for the coating)
Brining the Chicken
Step 1: Prepare the Brine and Chicken
First things first, let’s get our chicken ready for its flavor infusion. Take your 340 grams of chicken and cut it into your desired pieces. Whether you prefer thighs, drum extractsticks, or breasts, ensure they are roughly the same size for even cooking. In a medium bowl, combine the brine ingredients: 1/2 teaspoon of salt, 1/2 teaspoon of black pepper, 1 teaspoon of onion powder, 1 teaspoon of garlic powder, 1/2 teaspoon of chili powder, and 1 tablespoon of cornstarch. Whisk these dry ingredients together thoroughly until they are well incorporated. This blend of spices will create a robust and flavorful foundation for your chicken.
Step 2: Marinate the Chicken
Now, add your chicken pieces to the bowl with the dry brine mixture. Use your hands to massage the spice blend all over the chicken, ensuring each piece is completely coated. This is a crucial step for flavor penetration. For an extra boost, you can add about 1/4 cup of water to the bowl, creating a more paste-like brine that clings to the chicken. This helps the flavors to seep deeper into the meat, resulting in a juicier and more seasoned chicken from the inside out. Cover the bowl with plastic wrap and let it marinate in the refrigerator for at least 30 minutes. For an even more intense flavor, you can leave it for up to 4 hours.
Preparing the Coating and Frying
Step 3: Mix the Dry Coating Ingredients
While the chicken is brining, it’s time to prepare our magical coating. In a separate large bowl or a resealable plastic bag, combine the 100 grams of all-purpose flour, 50 grams of cornstarch, 5 grams of baking powder, 1/2 teaspoon of salt, 1/2 teaspoon of onion powder, and 1 teaspoon of garlic powder. Whisk or shake the bag vigorously to ensure all these dry ingredients are perfectly blended. The cornstarch in the coating is key to achieving that signature crispy, crunchy texture, while the baking powder helps to lighten the batter and promote crispiness.
Step 4: Prepare the Wet Mixture and Dredge the Chicken
Once the chicken has finished brining, remove it from the refrigerator. In a separate shallow bowl or plate, crack your egg and whisk it lightly. This egg wash will act as a binder, helping the dry coating to adhere beautifully to the chicken. Now, take each piece of brined chicken and dip it into the whisked egg, ensuring it’s fully coated. Let any excess egg drip back into the bowl. Then, carefully place the egg-coated chicken piece into your prepared dry coating mixture. Toss and press the chicken firmly into the flour mixture, making sure every surface is generously coated. You want a thick, even layer of coating for that classic fried chicken experience. For an extra-crispy crust, you can double-dip the chicken: dip it in the egg again, and then back into the flour mixture.
Step 5: Fry the Chicken to Golden Perfection
Now for the exciting part: frying! Heat about 2-3 inches of neutral oil (like vegetable or canola oil) in a heavy-bottomed pot or Dutch oven over medium-high heat. You’re aiming for a consistent oil temperature of around 325-350°F (160-175°C). Using a thermometer is highly recommended for accuracy. Carefully place a few coated chicken pieces into the hot oil, being careful not to overcrowd the pot. Overcrowding will lower the oil temperature and result in greasy, unevenly cooked chicken. Fry the chicken for about 6-8 minutes per side, or until it’s a deep golden brown and cooked through. The internal temperature of the chicken should reach 165°F (74°C). You can check this with a meat thermometer inserted into the thickest part of the chicken without touching the bone. Remove the cooked chicken from the oil and place it on a wire rack set over a baking sheet. This allows any excess oil to drain off and keeps the chicken crispy. Repeat the frying process with the remaining chicken pieces, ensuring the oil temperature is maintained between batches.
Conclusion:
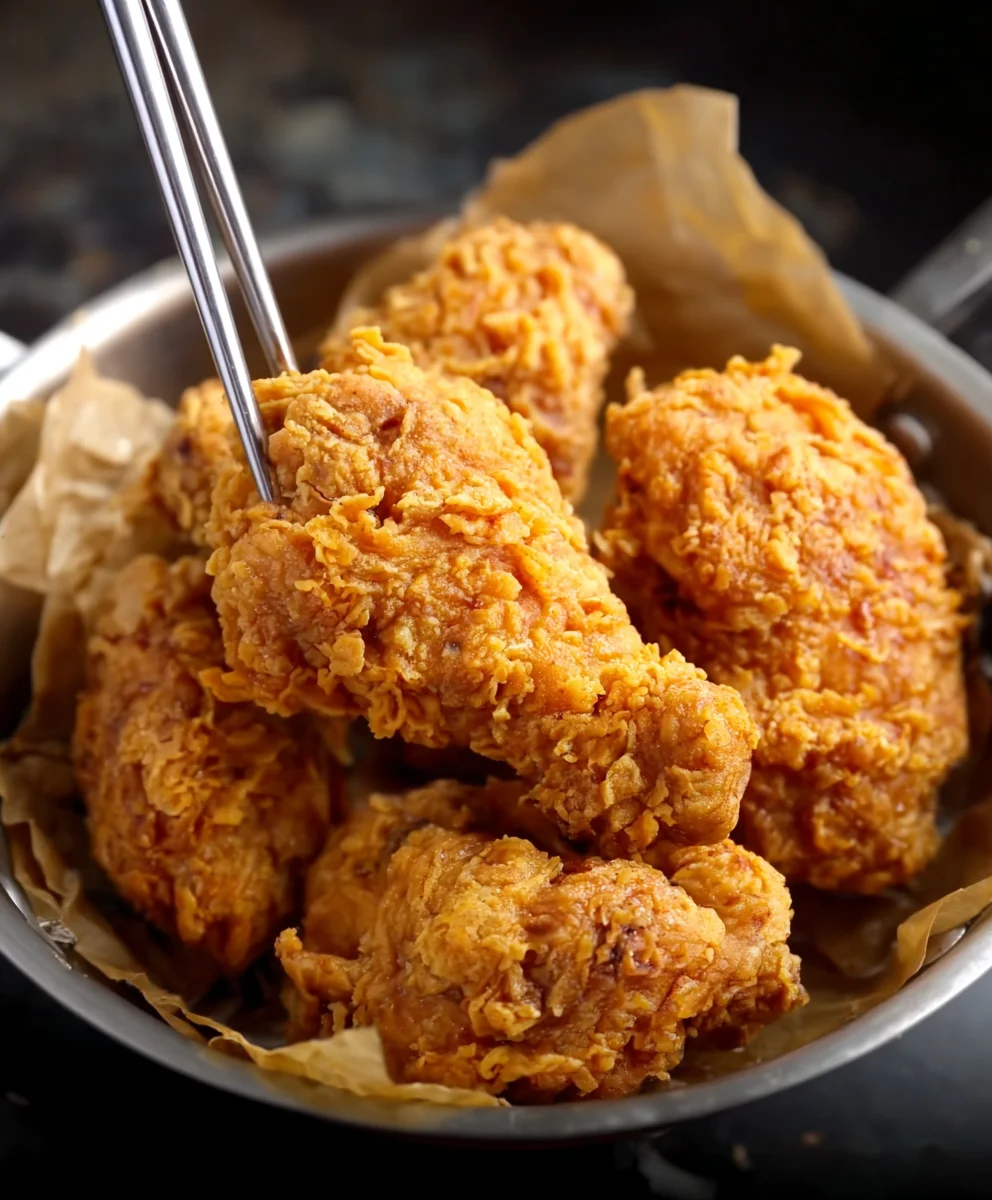
And there you have it – your very own Copy Cat KFC Fried Chicken, ready to impress! We’ve walked through the simple steps to achieve that signature crispy coating and juicy, flavorful interior that makes this recipe a crowd-pleaser. The key lies in that meticulously crafted blend of spices, so don’t be shy with the seasonings!
To truly elevate your Copy Cat KFC Fried Chicken experience, consider serving it with classic sides like creamy mashed potatoes and gravy, coleslaw, or buttery corn on the cob. For variations, feel free to experiment with adding a pinch of cayenne pepper to the flour mixture for a bit of heat, or a touch of smoked paprika for an extra layer of smoky depth. Don’t be afraid to make this recipe your own!
We encourage you to try this Copy Cat KFC Fried Chicken recipe and share your results. It’s a rewarding dish that brings the taste of a beloved fast-food classic right into your home kitchen. Enjoy every delicious, crunchy bite!
Frequently Asked Questions:
Can I make this Copy Cat KFC Fried Chicken ahead of time?
While best enjoyed fresh for maximum crispiness, you can prepare the chicken pieces by coating them in the seasoned flour and refrigerating them for up to a few hours before frying. However, for optimal texture, frying immediately after coating is recommended.
What is the best oil to use for frying Copy Cat KFC Fried Chicken?
A neutral-flavored oil with a high smoke point is ideal. Vegetable oil, canola oil, or peanut oil are excellent choices. They allow the chicken’s flavor to shine through and can withstand the high temperatures needed for frying without burning.
Copy Cat KFC Fried Chicken Recipe-Best Crispy Flavor
Recreate the iconic crispy and flavorful fried chicken from KFC with this easy-to-follow recipe. Perfect for a delicious homemade meal.
Ingredients
-
340 g chicken (cut into pieces)
-
1/2 tsp salt (for the chicken brine)
-
1/2 tsp black pepper (for the chicken brine)
-
1 tsp onion powder (for the chicken brine)
-
1 tsp garlic powder (for the chicken brine)
-
1/2 tsp chili powder (for the chicken brine)
-
1 tbsp cornstarch (for the chicken brine)
-
1 large egg
-
100 g all purpose flour
-
50 g cornstarch (for the coating)
-
5 g baking powder
-
1/2 tsp salt (for the coating)
-
1/2 tsp onion powder (for the coating)
-
1 tsp garlic powder (for the coating)
Instructions
-
Step 1
Prepare the brine by combining 1/2 tsp salt, 1/2 tsp black pepper, 1 tsp onion powder, 1 tsp garlic powder, 1/2 tsp chili powder, and 1 tbsp cornstarch in a bowl. Whisk until well incorporated. -
Step 2
Add chicken pieces to the brine mixture and massage to coat thoroughly. Optionally, add 1/4 cup water to create a paste-like brine. Cover and refrigerate for at least 30 minutes, or up to 4 hours. -
Step 3
Mix the dry coating ingredients: 100 g all-purpose flour, 50 g cornstarch, 5 g baking powder, 1/2 tsp salt, 1/2 tsp onion powder, and 1 tsp garlic powder in a large bowl or resealable bag. Blend well. -
Step 4
Whisk one large egg in a shallow bowl. Dip each brined chicken piece into the egg, then dredge it generously in the dry coating mixture, pressing firmly to ensure a thick, even layer. Double-dip for extra crispiness. -
Step 5
Heat 2-3 inches of neutral oil in a heavy-bottomed pot to 325-350°F (160-175°C). Carefully place chicken pieces in the oil, avoiding overcrowding. Fry for 6-8 minutes per side until golden brown and cooked through (internal temperature 165°F/74°C). -
Step 6
Remove fried chicken from the oil and place on a wire rack over a baking sheet to drain excess oil and maintain crispiness. Repeat with remaining chicken, maintaining oil temperature.
Important Information
Nutrition Facts (Per Serving)
It is important to consider this information as approximate and not to use it as definitive health advice.
Allergy Information
Please check ingredients for potential allergens and consult a health professional if in doubt.