Easy Clay Pie Recipe- Fun Craft Idea
How to Make a Clay Pie is not your grandma’s traditional apple crum extractble, though it shares that same soul-warming appeal. This isn’t about edible ingredients; instead, we’re diving into the wonderfully tactile and creative world of crafting a beautiful, decorative clay pie that looks good enough to eat (but please, don’t!). People adore making a clay pie because it’s a fantastic way to unwind, express artistic flair, and end up with a truly unique piece of decor. What makes this particular craft so special is its surprising simplicity combined with the endless possibilities for customization. You can mimic the flaky crust of a real pie, add swirls of “filling” in vibrant colors, and even sprinkle on “toppings” that sparkle and shine. It’s a delightful project for seasoned crafters and absolute begin extractners alike, offering a satisfyingly hands-on experience and a charming, rustic result that will be a conversation starter in any home.
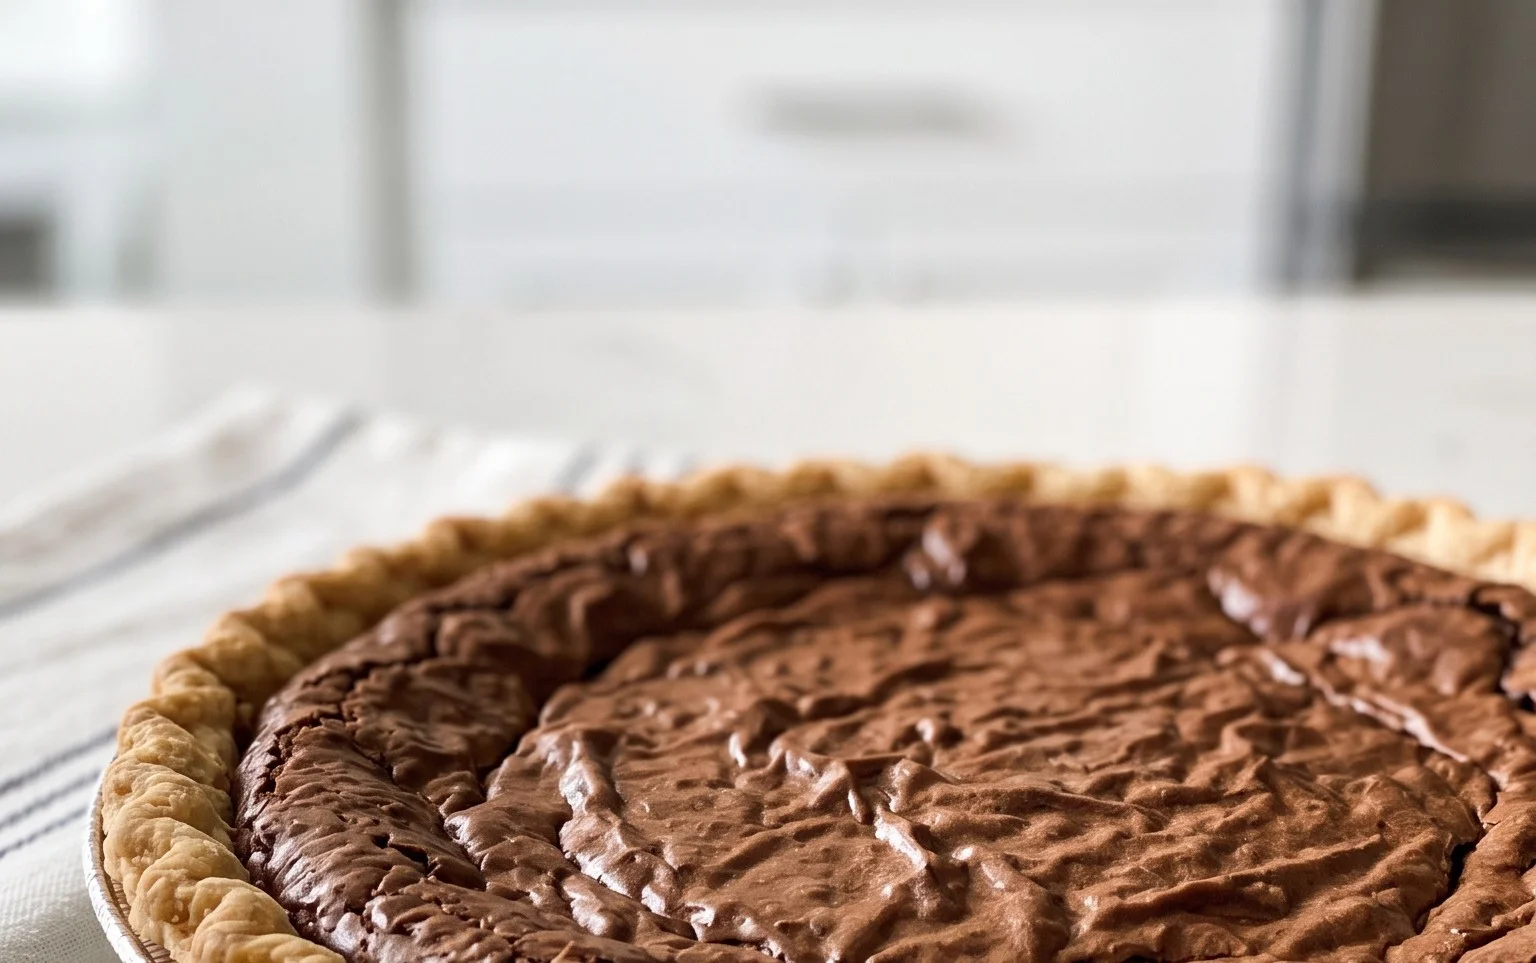
How to Make a Clay Pie
There’s something incredibly satisfying about creating miniature food, and a tiny clay pie is a perfect project for begin extractners and seasoned crafters alike. This recipe will guide you through the simple steps of making a charming, realistic-looking pie that’s perfect for dollhouses, fairy gardens, or just as a delightful decorative piece. We’ll be using polymer clay, which bakes up hard and durable, making your creation last. Get ready to unleash your inner baker and crafter!
Ingredients:
Creating the Pie Crust
The foundation of any good pie is a delicious-looking crust, and with polymer clay, we can achieve that golden-brown perfection without any baking actual dough.
1. Begin extract by taking a generous portion of your tan polymer clay. Knead it thoroughly to make it pliable and smooth. You want the clay to be easy to work with, not too stiff. The amount you’ll need will depend on the size of your bottle cap, but it’s always better to start with a little more than you think you’ll need. Roll this clay into a flat disc, slightly larger than the circumference of your silver bottle cap. Think of it like rolling out pie dough. Aim for an even thickness, about 2-3 millimeters. This will ensure your crust bakes uniformly.
2. Carefully place your rolled-out tan clay disc over the silver bottle cap. Gently press the clay down into the cap, allowing it to conform to the shape of the base. Use your fingers or a small crafting tool to press the clay firmly against the bottom and sides of the cap. Trim any excess clay that hangs over the edge. Now, we need to create that rustic, homemade pie crust edge. For this, I like to gently pinch and fold the excess clay around the rim of the bottle cap. You can create little scallops, crimps, or even a slightly uneven, rustic edge. Don’t be afraid to experiment and make it look imperfectly perfect – that’s what makes it charming!
Adding the Pie Filling
Now for the fun part: the filling! This is where you can get creative with colours and textures.
3. For a classic fruit pie, red polymer clay is a fantastic choice. Take your red clay and condition it just like you did the tan clay. You want it smooth and pliable. Roll this red clay into a ball and then flatten it slightly. Gently press this flattened red clay into the tan pie crust you’ve prepared in the bottle cap. Don’t fill it all the way to the brim just yet. Leave a little space so you can add a touch of realism. For a more authentic look, you can gently indent the surface of the filling with your fingertip or a small tool to create a slightly uneven, homemade look, as if the filling has settled a bit.
Creating Texture and Realism
This is where we’ll bring our little pie to life with some subtle, yet impactful details.
4. To add a touch of browning and depth to your pie crust, we’ll use the soft pastels. Take your two shades of brown soft pastels. Using a soft brush or a cotton swab, gently brush the darker shade of brown pastel over the crimped edges of your pie crust. Focus on the indentations and crevices to simulate baked-on goodness. Then, use the lighter shade of brown to lightly dust over the entire surface of the crust, especially the raised edges. This layering of colours will give your crust a wonderfully realistic baked appearance. Don’t overdo it; a little goes a long way!
5. For an extra touch of visual appeal, consider adding a small amount of the tan clay on top of the red filling. You can roll this into tiny little balls or even thin strips to mimic a lattice top. Alternatively, if you want a simple filling, you can gently swirl a tiny bit of the tan clay into the red filling to create a marbled effect, or even just leave it as a smooth surface. The key is to add subtle details that make it look like a real, albeit tiny, pie. Once you’re happy with the appearance of your clay pie, it’s time to bake!
Baking Your Miniature Pie
Follow the baking instructions for your specific brand of polymer clay. Generally, this involves baking at a low temperature for a set amount of time. Once baked and cooled, your charming clay pie is ready to be displayed or incorporated into your crafting projects! You’ve successfully made a delicious-looking miniature treat.
Conclusion:
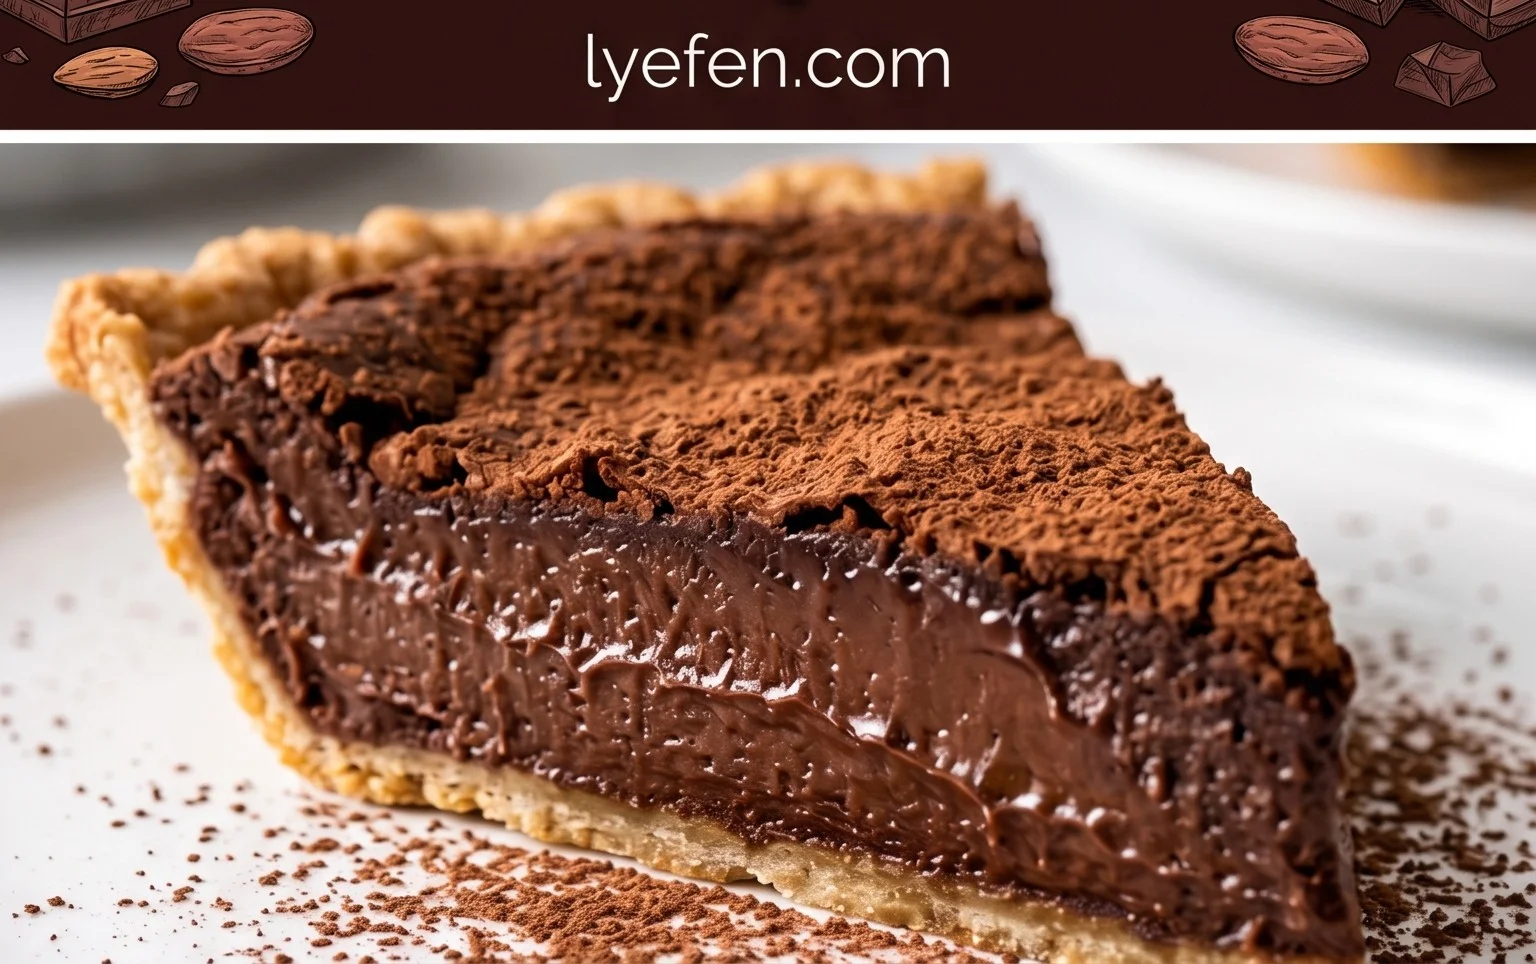
So there you have it! Making your own clay pie is a wonderfully engagin extractg and rewarding experience. This recipe is fantastic because it allows for so much creativity and provides a tactile, sensory experience that’s perfect for all ages. Whether you’re looking for a fun afternoon activity with the kids, a unique craft project, or simply a way to unwind, a clay pie is a delightful choice. Its simplicity means you can jump right in with minimal fuss, and the end result is a charming decorative piece that’s entirely your own.
When it comes to serving up your creation, think about its purpose! A clay pie isn’t for eating, of course, but it can beautifully adorn shelves, windowsills, or even be part of a larger decorative display. Imagin extracte them nestled amongst other homemade crafts or as a whimsical centerpiece. For variations, don’t be afraid to experiment with different colors of clay – you can achieve beautiful marbled effects or create vibrant, fruit-inspired designs. Consider adding small embellishments like dried flowers, beads, or even a sprinkle of glitter before the clay dries for extra flair. I truly encourage you to give this clay pie recipe a try; you might just discover a new favorite hobby!
Frequently Asked Questions:
Can I use air-dry clay instead of oven-bake clay?
Absolutely! Air-dry clay is a great alternative if you don’t have access to an oven. The drying time will be longer, and the final piece might be slightly less durable than oven-baked clay, but it will still be a beautiful creation. Just ensure it’s completely dry before handling or decorating further.
How long does a clay pie typically take to dry?
The drying time can vary depending on the thickness of your pie and the type of clay used. Oven-bake clay will be ready after baking according to the package instructions. For air-dry clay, it can take anywhere from 24 to 72 hours for it to completely harden. It’s best to let it air dry in a well-ventilated area away from direct heat or humidity.
How should I store my finished clay pie?
Once your clay pie is fully dried and, if desired, painted or senon-alcoholic aled, it can be stored on a shelf or display area. Avoid exposing it to excessive moisture or direct sunlight for prolonged periods, as this can affect its longevity and appearance over time. If you’ve senon-alcoholic aled it with a varnish or sealant, it will be more protected.
How to Make a Clay Pie
Create a charming miniature pie using polymer clay and found objects, perfect for crafting or display.
Ingredients
-
Tan Polymer clay
-
Silver bottle cap(s)
-
Red Polymer clay
-
Soft pastels (2 shades of brown)
-
White polymer clay (for dough)
-
Water (for smoothing)
Instructions
-
Step 1
Knead and flatten a piece of white polymer clay into a thin circle, slightly larger than your silver bottle cap. This will be your pie crust. -
Step 2
Knead and flatten a piece of red polymer clay into a disc. This will be your pie filling. You can slightly ruffle the edges for a more realistic look. -
Step 3
Carefully place the red filling disc onto the center of the white crust. Press the edges of the crust up around the filling to create a pie shape. -
Step 4
Use a fine-tipped tool or the edge of a craft knife to gently score lines into the crust, mimicking the appearance of pastry. For a more weathered look, lightly dust the crust with the brown soft pastels. -
Step 5
Place the assembled clay pie onto a baking sheet lined with parchment paper. Bake according to the polymer clay manufacturer’s instructions, typically around 275°F (135°C) for 15-20 minutes. -
Step 6
Allow the clay pie to cool completely after baking. Once cool, it’s ready to be placed inside the silver bottle cap for display. A tiny drop of water can be used to smooth any rough edges before baking if desired.
Important Information
Nutrition Facts (Per Serving)
It is important to consider this information as approximate and not to use it as definitive health advice.
Allergy Information
Please check ingredients for potential allergens and consult a health professional if in doubt.