Easy Garlic Aioli Sauce – Creamy & Delicious
Garlic aioli sauce is the undisputed cbeef hampion of creamy, zesty, and utterly addictive dips. There’s something magical about its velvety texture and the robust punch of garlic that elevates everything it touches, from crispy fries to grilled seafood and juicy burgers. It’s no wonder this versatile sauce has become a beloved staple in kitchens and restaurants worldwide. What truly sets Garlic Aioli Sauce apart is its incredible ability to transform simple ingredients into gourmet experiences. It’s more than just a condiment; it’s a flavor enhancer, a secret weapon that brings a sophisticated yet approachable elegance to any meal. Whether you’re looking to impress guests or simply treat yourself to something truly delicious, mastering the art of Garlic Aioli Sauce is a culinary adventure worth embarking on.
Why You’ll Love This Recipe
This recipe for Garlic Aioli Sauce is designed to be foolproof, yielding a rich and creamy result every single time. We’ll delve into the essential ingredients, the simple technique, and a few pro tips to ensure your aioli is perfectly balanced and bursting with flavor. Get ready to discover how easy it is to create a restaurant-quality Garlic Aioli Sauce in your own home, a creation you’ll be reaching for again and again.
Ingredients:
- 1/3 cup mayonnaise
- 2 tablespoons olive oil
- 2 cloves garlic, minced (approximately 2 teaspoons)
- 1 teaspoon lemon juice
- 1/4 teaspoon ground black pepper
Creating Your Perfect Garlic Aioli Sauce
This Garlic Aioli Sauce recipe is incredibly simple yet yields a wonderfully flavorful and versatile condiment. It’s the perfect accompaniment to everything from fries and burgers to grilled vegetables and seafood. The key to a truly exceptional aioli lies in the quality of your ingredients and a little bit of patience during the emulsification process. Don’t be intimidated; it’s much easier than it sounds! We’ll break it down step-by-step to ensure you achieve a creamy, luscious sauce every time.
Step 1: Preparing the Garlic Base
The first step is to prepare the garlic. You’ll need 2 cloves of fresh garlic. For the best flavor and texture, I highly recommend mincing the garlic as finely as possible. You can use a garlic press for this, or a sharp knife to finely chop it. If you don’t have fresh garlic on hand, you can substitute with garlic powder, but fresh will always provide a more vibrant and pungent flavor. Aim for about 2 teaspoons of minced garlic. In a small bowl, combine the minced garlic with the 1 teaspoon of fresh lemon juice. The acidity from the lemon juice helps to mellow the sharp bite of the raw garlic and also begin extracts to infuse its flavor. Let this mixture sit for about 5 minutes while you proceed to the next step. This allows the garlic to soften slightly and its essential oigin extractto begin releasing into the lemon juice.
Step 2: The Foundation of Creaminess
Now, let’s build the creamy base for our aioli. You’ll need 1/3 cup of good quality mayonnaise. I prefer to use a full-fat, real mayonnaise for the richest flavor and creamiest texture, but you can use your favorite variety. Place the mayonnaise in a medium-sized bowl. This is where the magic of emulsigin extractation will begin. If your mayonnaise has been refrigerated, it’s often best to let it come to room temperature for about 15-20 minutes before starting. This helps it to combine more smoothly with the other ingredients, especially the olive oil.
Step 3: Introducing the Olive Oil
This is a crucial step for achieving that signature aioli smoothness. You’ll be adding 2 tablespoons of olive oil. It’s important to add the olive oil very slowly, almost drop by drop, while whisking continuously. Start by adding just a few drops of olive ogin extractto the mayonnaise. Begin whisking vigorously. You’ll notice the mayonnaise starting to thicken slightly and become more cohesive. Continue to add the olive oil in a slow, steady stream, still whisking constantly. Don’t rush this process! Adding the oil too quickly can cause the aioli to break, meaning it will separate into an oily and watery mixture. Think of it like making mayonnaise from scratch; the gradual incorporation of oil is key. If you’re using an immersion blender, you can add all the ingredients to a tall container and blend, but for a hand-whisked aioli, slow and steady is the way to go.
Step 4: Combining and Seasoning
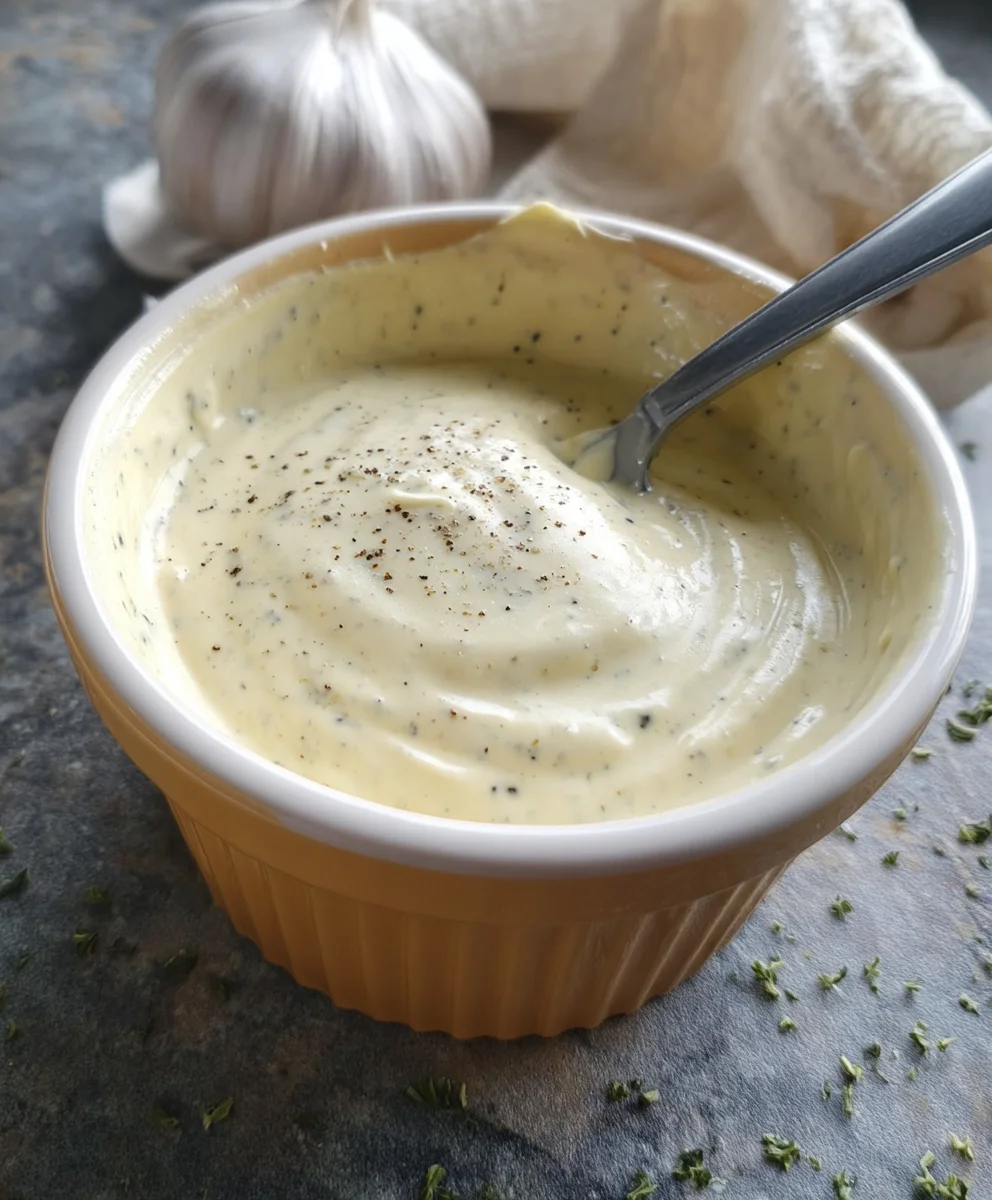
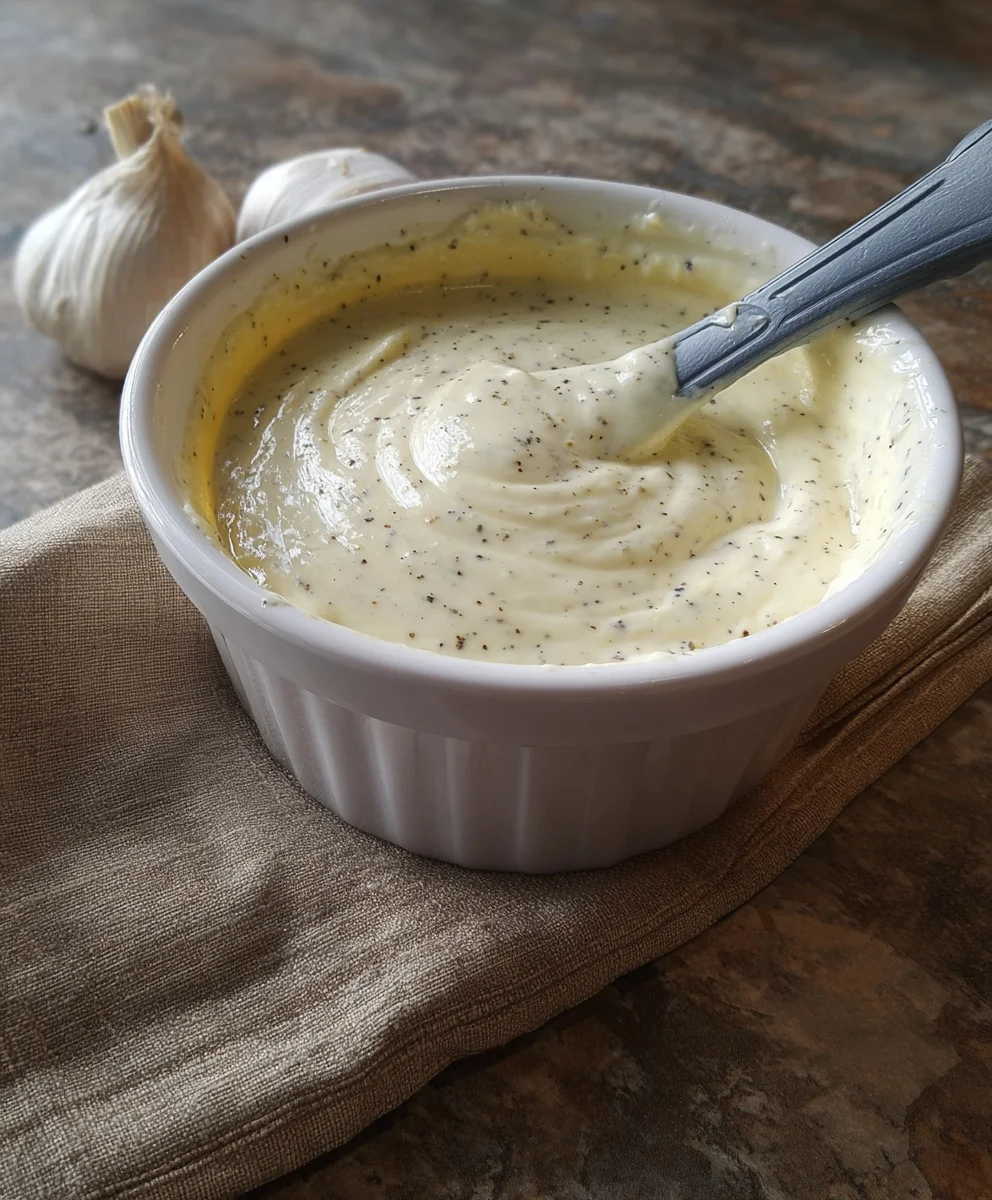
Once you’ve incorporated all 2 tablespoons of olive oil and your mixture is starting to look smooth and emulsified, it’s time to add the garlic-lemon mixture from Step 1. Pour the entire contents of the small bowl into the mayonnaise mixture. Add the 1/4 teaspoon of ground black pepper. Now, continue whisking everything together until it is thoroughly combined. You should have a beautifully creamy, pnon-alcoholic ale yellow sauce with tiny flecks of garlic visible. Taste the aioli at this point. The flavors will be developing, but this is a good time to adjust seasoning if you feel it needs it. Some people like a touch more lemon juice, or perhaps a pinch of salt, though the mayonnaise usually provides enough saltiness.
Step 5: Resting and Refining the Flavor
The final, and arguably most important, step is to let your Garlic Aioli Sauce rest. Cover the bowl tightly with plastic wrap, ensuring the plastic touches the surface of the aioli to prevent a skin from forming. Refrigerate the aioli for at least 30 minutes, but ideally for an hour or even longer. This resting period is essential for several reasons. Firstly, it allows the flavors to meld and deepen. The garlic’s pungency will mellow, and its flavor will infuse more completely into the creamy base. Secondly, the chill in the refrigerator will further thicken the aioli, resulting in an even more luscious and spreadable consistency. When you’re ready to serve, give it a final whisk. If it seems a little too thick for your liking after chilling, you can whisk in an extra teaspoon of lemon juice or even a tiny splash of water to reach your desired consistency. This homemade Garlic Aioli Sauce is a game-changer and will elevate any dish you pair it with.
Conclusion:
There you have it! You’ve successfully created your very own delicious Garlic Aioli Sauce. This versatile condiment is so much more than just a dipping sauce; it’s a flavor enhancer that can elevate a multitude of dishes. We’ve covered the simple steps to achieving that perfect creamy texture and robust garlic kick, ensuring your homemade aioli will be a guaranteed hit.
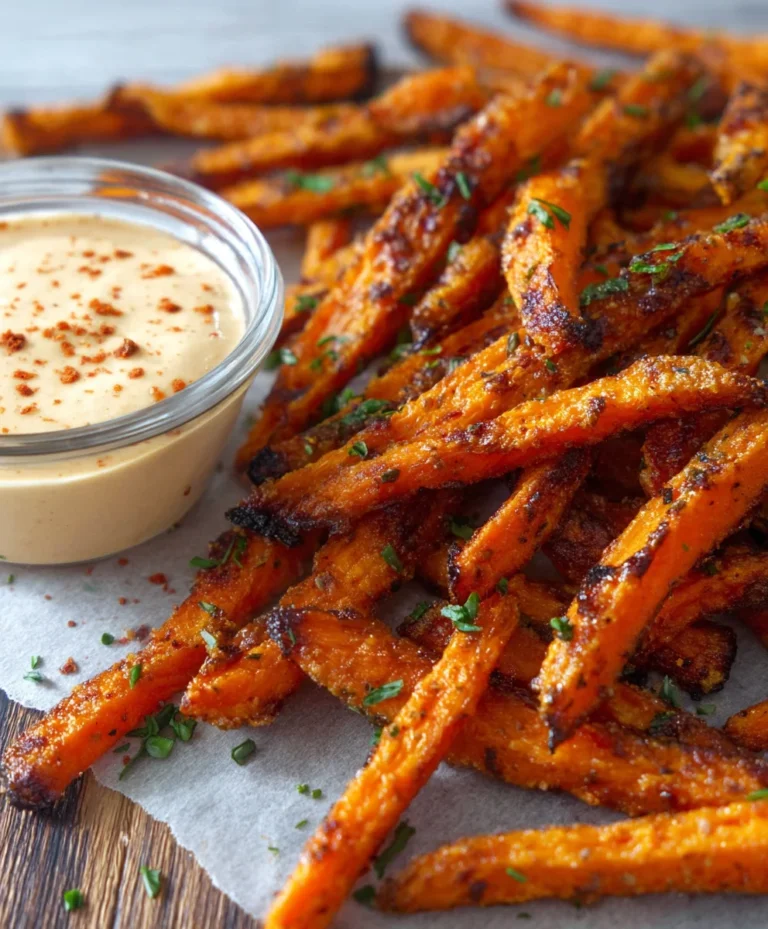
This Garlic Aioli Sauce is a dream to serve. It’s fantastic with roasted vegetables, grilled meats, seafood, fries, or even as a sandwich spread. Don’t be afraid to get creative with its application! For variations, consider adding a pinch of smoked paprika for a smoky depth, a squeeze of lemon juice for extra brightness, or a touch of sriracha for a spicy kick. Experimenting is part of the fun, and you might discover your own signature twist.
We encourage you to try this recipe and experience the satisfaction of making something so flavorful from scratch. It truly is a game-changer in the kitchen, and we can’t wait to hear about your culinary adventures with it!
Frequently Asked Questions about Garlic Aioli Sauce:
Q1: How long can I store homemade Garlic Aioli Sauce?
You can store your homemade Garlic Aioli Sauce in an airtight container in the refrigerator for up to 3-4 days. Ensure it’s always kept chilled to maintain freshness and safety.
Q2: My aioli is too thick. How can I thin it out?
If your Garlic Aioli Sauce is too thick, you can thin it out by gradually whisking in a small amount of water, lemon juice, or even a touch more olive oil until you reach your desired consistency. Add it in very small increments to avoid making it too thin.
Q3: Can I make this Garlic Aioli Sauce without raw garlic?
While raw garlic provides the most potent flavor, you can use roasted garlic for a milder, sweeter, and less pungent garlic taste in your Garlic Aioli Sauce. Simply roast a head of garlic until soft and then mash it into a paste before incorporating it.
Easy Garlic Aioli Sauce – Creamy & Delicious
A simple yet incredibly flavorful and versatile creamy garlic aioli sauce that’s perfect with fries, burgers, grilled vegetables, and seafood.
Ingredients
-
1/3 cup mayonnaise
-
2 tablespoons olive oil
-
2 cloves garlic, minced (approximately 2 teaspoons)
-
1 teaspoon lemon juice
-
1/4 teaspoon ground black pepper
Instructions
-
Step 1
Prepare the garlic: Finely mince 2 cloves of fresh garlic (about 2 teaspoons). In a small bowl, combine the minced garlic with 1 teaspoon of fresh lemon juice. Let this mixture sit for about 5 minutes to mellow the garlic’s bite and infuse flavor. -
Step 2
Create the creamy base: Place 1/3 cup of good quality mayonnaise in a medium-sized bowl. For smoother integration, let refrigerated mayonnaise come to room temperature for 15-20 minutes. -
Step 3
Emulsify with olive oil: Gradually add 2 tablespoons of olive oil to the mayonnaise, a few drops at a time, while whisking vigorously. Continue adding the oil in a slow, steady stream, whisking constantly, until the mixture thickens and becomes cohesive. Avoid adding the oil too quickly to prevent separation. -
Step 4
Combine and season: Pour the garlic-lemon mixture into the emulsified mayonnaise. Add 1/4 teaspoon of ground black pepper. Whisk everything together until thoroughly combined. Taste and adjust seasoning if needed, perhaps with more lemon juice or a pinch of salt. -
Step 5
Rest and refine: Cover the bowl tightly with plastic wrap, pressing it against the surface of the aioli. Refrigerate for at least 30 minutes, ideally an hour or longer, to allow flavors to meld and the sauce to thicken. Whisk again before serving, adding a touch more lemon juice or water if a thinner consistency is desired.
Important Information
Nutrition Facts (Per Serving)
It is important to consider this information as approximate and not to use it as definitive health advice.
Allergy Information
Please check ingredients for potential allergens and consult a health professional if in doubt.