Milky Way Fudge- Easy & Delicious Candy Recipe
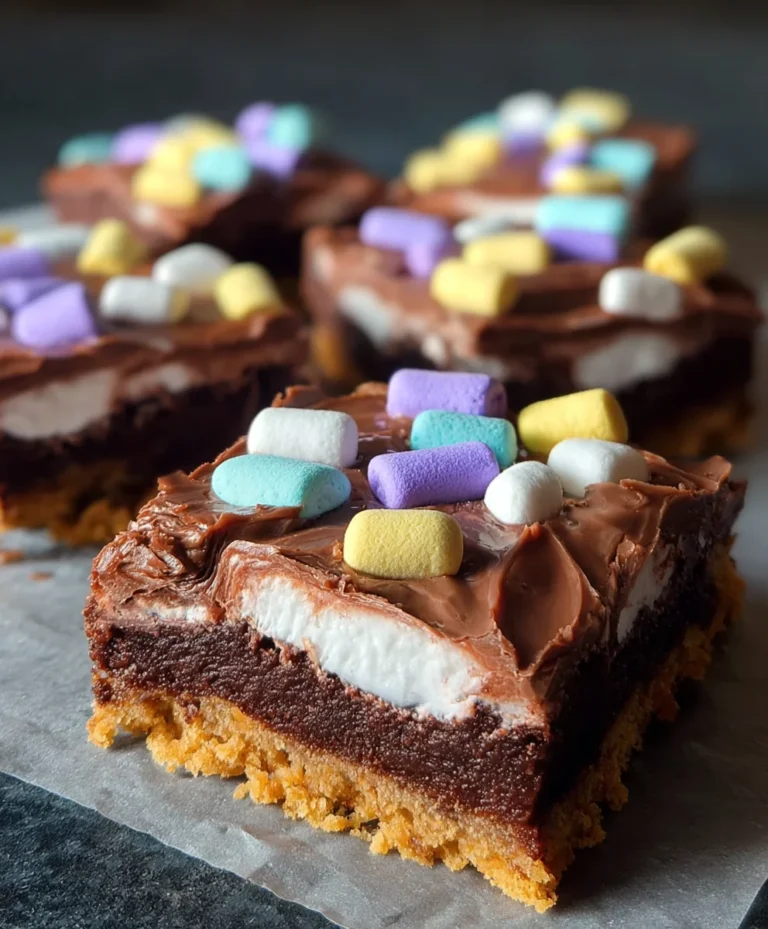
Milky Way Fudge is not just a treat; it’s an edible journey to the stars, a decadent dream that melts on your tongue with every blissful bite. This beloved confection captures the essence of those iconic chocolate bars, transforming them into a dense, chewy, and intensely satisfying fudge. What is it about this particular rendition that makes us fall head over heels? It’s the perfect harmony of creamy chocolate, gooey caramel, and fluffy nougat, all swirled together in a rich, velvety base. Each square promises an explosion of flavor and texture, reminiscent of childhood memories and indulgent moments. We adore Milky Way Fudge because it delivers that unmistakable candy bar experience in an even more concentrated, craveable form. This isn’t just any fudge; it’s a celebration of a classic, elevated to a new level of deliciousness.
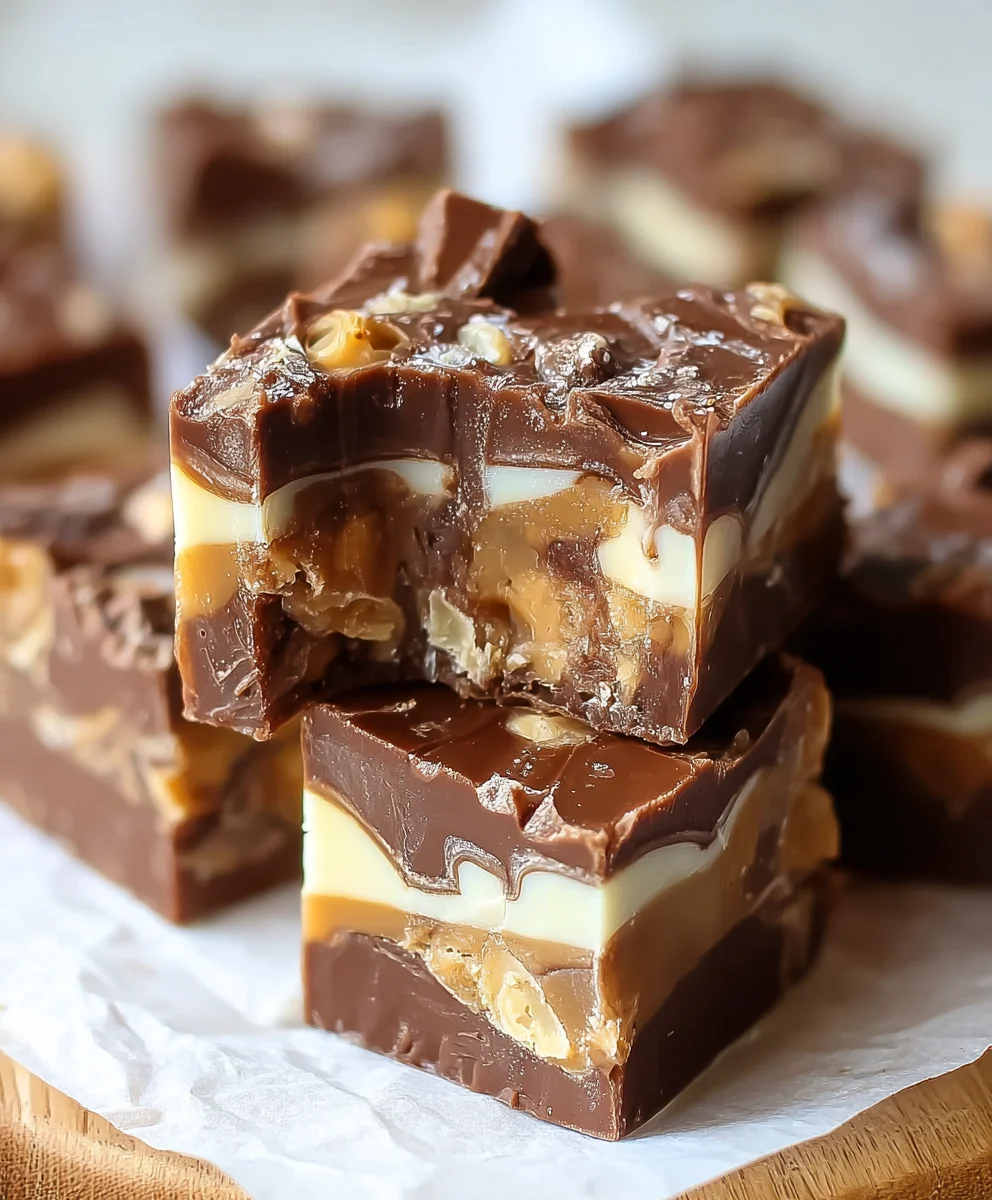
Ingredients:
- 3 cups (approximately 18 ounces) semi-sweet chocolate chips
- 1 (14 ounce) can sweetened condensed milk
- ¼ cup unsalted butter, cut into cubes
- 1 teaspoon vanilla extract
- 4 regular Milky Way bars, roughly chopped
- ¼ cup caramel sauce, for drizzling (optional, but highly recommended for extra indulgence)
Preparing Your Milky Way Fudge
This recipe is designed to be straightforward, allowing you to create a rich and decadent Milky Way Fudge with minimal fuss. The key to achieving that perfect, melt-in-your-mouth texture lies in gentle heating and patient stirring. Before you begin extract, it’s a good idea to prepare your baking pan. Line an 8×8 inch baking pan with parchment paper, leaving an overhang on the sides. This overhang will act as handles, making it incredibly easy to lift the finished fudge out of the pan once it’s set. Ensure the parchment paper covers the entire bottom and comes up the sides of the pan. This will prevent any sticking and make cleanup a breeze. Having everything prepped will make the cooking process smooth and enjoyable.
Melting the Base
In a medium, heavy-bottomed saucepan, combine the semi-sweet chocolate chips, the sweetened condensed milk, and the cubed unsalted butter. A heavy-bottomed pan is crucial here to ensure even heat distribution and prevent the chocolate mixture from scorching. If the heat is too direct or uneven, you risk burning the chocolate, which will impart an unpleasant, bitter flavor to your fudge. Place the saucepan over low heat. This is where patience is your best friend. You want to melt these ingredients together slowly and gently, stirring constantly. As you stir, you’ll notice the buttergin extractll begin to melt, and the chocolate chips will start to soften and then melt into the condensed milk. Keep stirring continuously, ensuring that every bit of butter is incorporated and all the chocolate chips have completely melted into a smooth, glossy mixture. Avoid the temptation to turn up the heat; a low and slow approach is essential for a perfectly smooth fudge base. Continue stirring until the mixture is homogenous, with no visible lumps of chocolate or butter. This typically takes about 5-8 minutes over low heat.
Infusing Flavor and Texture
Once the chocolate, condensed milk, and butter have completely melted and combined into a luscious, uniform sauce, remove the saucepan from the heat. It’s now time to incorporate the vanilla extract. Stir in the vanilla extract thoroughly. Vanilla is a wonderful flavor enhancer, and in this fudge, it complements the sweetness of the chocolate and caramel beautifully, adding a subtle warmth and depth that elevates the overall taste. After stirring in the vanilla, it’s time to add the star of the show – the chopped Milky Way bars. Gently fold the chopped Milky Way bars into the warm fudge mixture. You want to distribute them evenly throughout the base. Don’t overmix at this stage; you’re aiming to incorporate the candy bar pieces without them completely dissolving or becoming mushy. Some small chunks remaining are desirable, as they will provide delightful pockets of chewy caramel and nougat within the smooth fudge. Ensure each piece of chopped candy bar is coated in the chocolate mixture.
Setting the Stage for Perfection
Carefully pour the warm fudge mixture into your prepared baking pan. Use a spatula or the back of a spoon to spread the fudge evenly into the pan, ensuring it reaches all the corners. If you’re using the optional caramel sauce, now is the time to add it. Drizzle the caramel sauce artfully over the surface of the fudge. You can create swirls and patterns with a toothpick or a skewer if you like, or simply drizzle it in random lines. This step adds an extra layer of decadence and a beautiful visual appeal to your Milky Way Fudge. Once the fudge is spread and any caramel swirls are in place, gently tap the pan on the counter a few times. This helps to release any air bubbles that might have been trapped in the fudge, ensuring a denser, smoother final texture.
Cooling and Cutting
Now comes gin extract most challenging part: waiting! Allow the fudge to cool at room temperature for about 30 minutes. During this time, the fudge will start to set, and the initial heat will dissnon-alcoholic ipate. After this initial cooling period, transfer the pan to the refrigerator. Let the fudge chill for at least 2-3 hours, or until it is completely firm to the touch. The chilling process is crucial for the fudge to set properly, allowing you to cut clean, neat squares. Once the fudge is firm, use the parchment paper overhang to carefully lift the entire slab out of the pan and place it onto a cutting board. Using a sharp knife, cut the fudge into your desired square or rectangular pieces. For the cleanest cuts, you can dip your knife in hot water and wipe it dry between each cut. This helps to prevent the fudge from sticking to the knife and ensures sharp edges. Store your delicious Milky Way Fudge in an airtight container at room temperature for up to a week, or in the refrigerator for even longer keeping. Enjoy this delightful treat!
Conclusion:
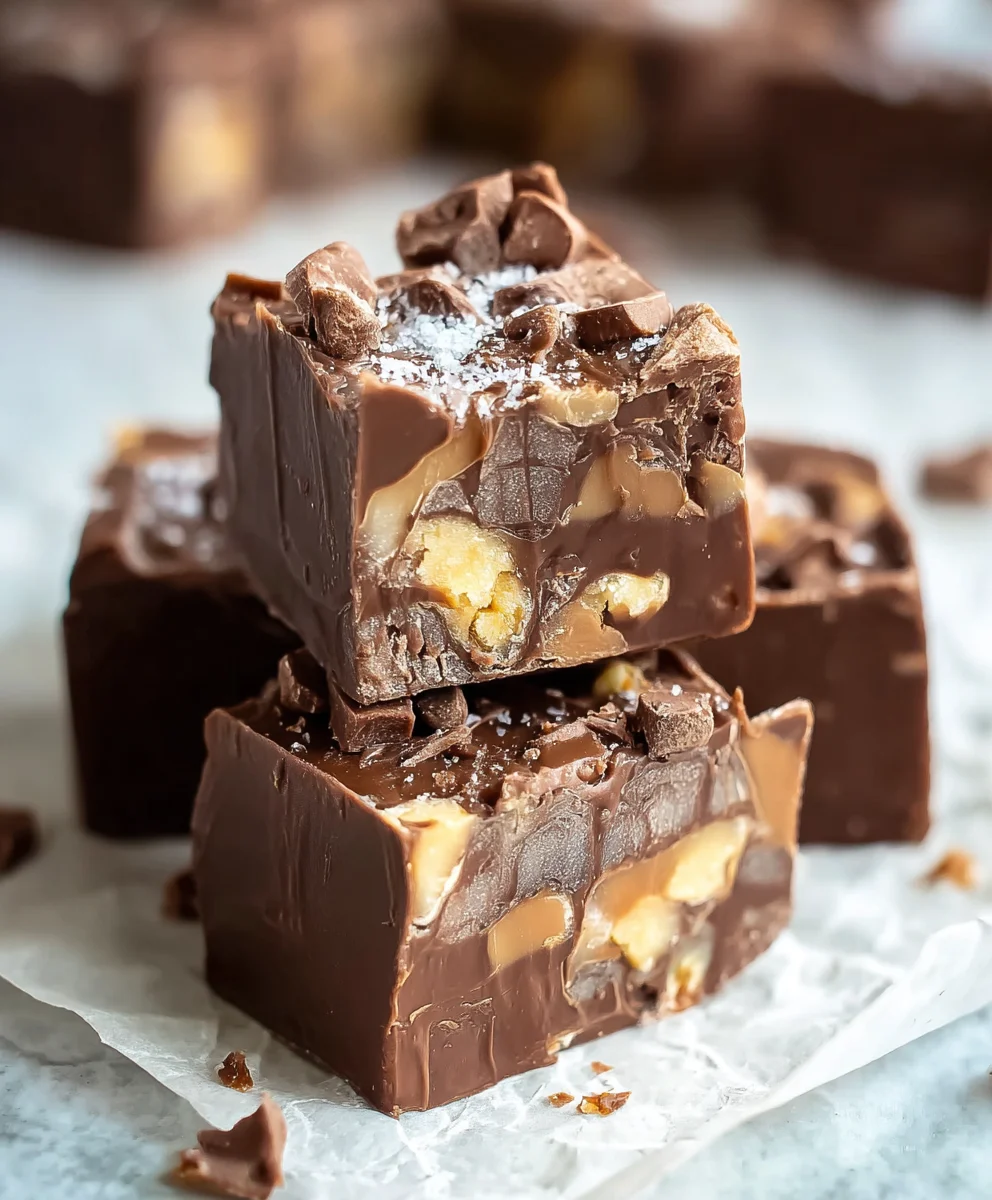
I hope you’ve enjoyed diving into the sweet and decadent world of Milky Way Fudge! This recipe is a fantastic way to bring a taste of classic candy bar goodness right into your kitchen. It’s surprisingly straightforward to make, even for novice bakers, and the result is a rich, chewy fudge packed with those unmistakable Milky Way flavors. I’ve found that the swirls of caramel and nougat, combined with the smooth chocolate, create a truly irresistible treat that’s perfect for sharing (or not!).
For serving suggestions, a small, rich square of Milky Way Fudge is often all you need to satisfy a sweet craving. It pairs beautifully with a glass of cold milk, a cup of coffee, or even a scoop of vanilla ice cream for an extra special dessert. If you’re looking to jazz it up further, consider drizzling a little extra melted chocolate or caramel sauce over the top before it fully sets. The possibilities are endless!
I truly encourage you to give this Milky Way Fudge a try. It’s a crowd-pleaser that’s perfect for holidays, potlucks, or just a spontaneous treat. Don’t be afraid to experiment with variations – maybe add some chopped peanuts for an extra crunch, or a pinch of sea salt to enhance the chocolate flavor. Get creative and make this recipe your own!
Frequently Asked Questions:
Q: How should I store Milky Way Fudge?
You can store your delicious Milky Way Fudge in an airtight container at room temperature for up to a week. For longer storage, it can be refrigerated, though it may become a bit firmer. If refrigerating, allow it to come to room temperature for about 15-20 minutes before serving for the best texture.
Q: Can I make Milky Way Fudge without a candy thermometer?
While a candy thermometer ensures the most precise results, you can attempt to make Milky Way Fudge without one using the ‘soft ball’ test. This involves dropping a small amount of the mixture into very cold water; it should form a soft, pliable ball. However, using a thermometer is highly recommended for consistency.
Milky Way Fudge
An easy and delicious recipe for rich and decadent Milky Way Fudge, perfect for satisfying your sweet tooth.
Ingredients
-
3 cups (approximately 18 ounces) semi-sweet chocolate chips
-
1 (14 ounce) can sweetened condensed milk
-
¼ cup unsalted butter, cut into cubes
-
1 teaspoon vanilla extract
-
4 regular Milky Way bars, roughly chopped
-
¼ cup caramel sauce, for drizzling (optional, but highly recommended for extra indulgence)
Instructions
-
Step 1
Prepare your 8×8 inch baking pan by lining it with parchment paper, leaving an overhang on the sides for easy removal. Ensure the entire bottom and sides are covered. -
Step 2
In a medium, heavy-bottomed saucepan over low heat, combine semi-sweet chocolate chips, sweetened condensed milk, and cubed unsalted butter. Stir constantly until all ingredients are completely melted and form a smooth, glossy mixture. This typically takes about 5-8 minutes. -
Step 3
Remove the saucepan from heat. Stir in the vanilla extract thoroughly. Gently fold in the chopped Milky Way bars, distributing them evenly throughout the mixture without overmixing. -
Step 4
Pour the warm fudge mixture into the prepared baking pan and spread evenly. If using, drizzle caramel sauce over the top and swirl with a toothpick. Gently tap the pan on the counter to release air bubbles. -
Step 5
Allow the fudge to cool at room temperature for about 30 minutes, then transfer to the refrigerator to chill for at least 2-3 hours until firm. -
Step 6
Once firm, use the parchment paper overhang to lift the fudge from the pan. Cut into desired pieces using a sharp knife. For cleaner cuts, dip the knife in hot water and wipe dry between cuts.
Important Information
Nutrition Facts (Per Serving)
It is important to consider this information as approximate and not to use it as definitive health advice.
Allergy Information
Please check ingredients for potential allergens and consult a health professional if in doubt.