Easy No-Bake Chocolate Biscuit Bars – Quick Treat
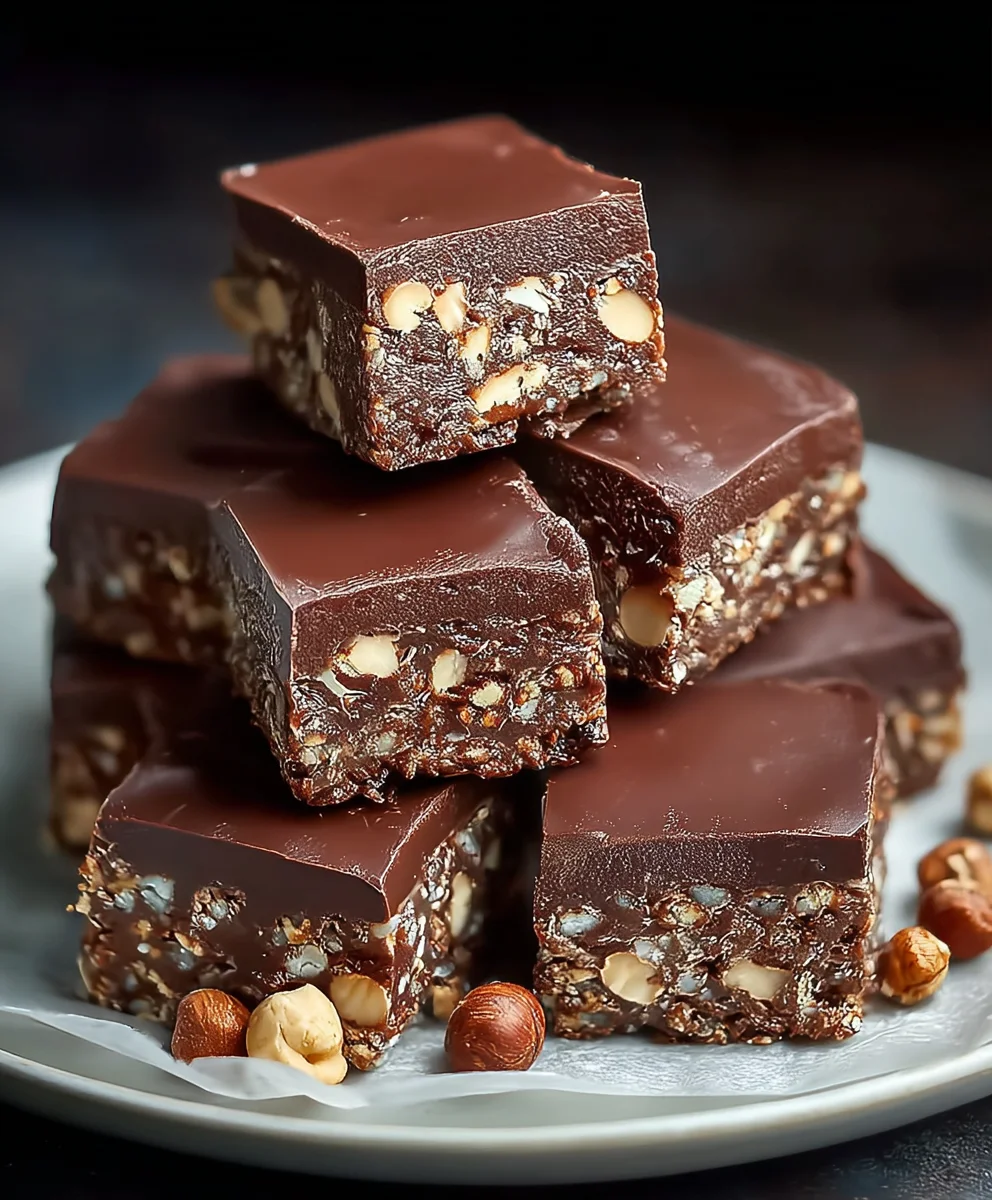
No-Bake Chocolate Biscuit Bars are a timeless classic for a reason, and today we’re diving deep into what makes these delightful treats so utterly irresistible. Forget the oven, the preheating, and the potential for burnt edges; these bars are the epitome of effortless indulgence. They’re the perfect antidote to a scorching summer day or a craving for something sweet and satisfying without the fuss. Imagin extracte layers of crunchy biscuits, rich chocolate, and a hint of sweetness, all coming together in a fuss-free confection that’s ready to be devoured in mere hours. What’s not to love? They’re incredibly versatile, allowing you to experiment with different types of biscuits, add-ins like nuts or dried fruit, and a variety of chocolates to suit your mood. The magic truly lies in their simplicity and the sheer joy they bring to every bite. We’re going to guide you through creating the ultimate batch of these beloved No-Bake Chocolate Biscuit Bars, ensuring a delightful experience from preparation to the last crum extractb.
Ingredients:
- 12.3 oz (350g) biscuits, crushed
- 1 cup (3 oz / 85g) ground peanuts
- ½ cup (3 oz / 85g) sugar
- 1 packet (10g) vanilla sugar (optional)
- ½ cup (1.6 oz / 45g) cocoa powder
- ¾ cup (6 fl oz / 180ml) sweet cream
- ½ cup (3.9 oz / 110g) butter
- 3.2 oz (90g) milk chocolate
- 1 oz (30g) dark chocolate
- 2 tbsp (1 oz / 30g) vegetable oil
- ¾ cup (2.5 oz / 70g) ground peanuts (for topping)
Preparing the Biscuit Base
Step 1: Crushing the Biscuits and Mixing the Dry Ingredients
First things first, let’s get our biscuit base ready. You’ll need to take your 12.3 oz (350g) of biscuits and crush them into fine crum extractbs. You can do this by placing them in a sturdy zip-top bag and using a rolling pin or the bottom of a heavy pan to break them down. Alternatively, a food processor will make quick work of this task, achieving a nice, even texture. Once your biscuits are finely crushed, transfer them to a large mixing bowl. To this, add 1 cup (3 oz / 85g) of ground peanuts. These will give our base a wonderful nutty depth. Next, add ½ cup (3 oz / 85g) of sugar for sweetness. If you like a hint of vanilla, and it’s optional, now is the time to stir in 1 packet (10g) of vanilla sugar. Finally, sift in ½ cup (1.6 oz / 45g) of cocoa powder. Sifting is key here to prevent any lumps and ensure a smooth incorporation into the dry ingredients. Give everything a really good stir with a whisk or a fork until all the ingredients are evenly distributed. You should have a lovely, fragrant dry mixture.
Step 2: Incorporating the Wet Ingredients for the Base
Now it’s time to bring our dry ingredients together with some moisture. In a separate, smaller saucepan, combine ¾ cup (6 fl oz / 180ml) of sweet cream and ½ cup (3.9 oz / 110g) of butter. Place this saucepan over medium-low heat. Stir gently and continuously until the butter has completely melted and the cream is warm. You don’t want the cream to boil, just to be heated through, which will help emulsify the mixture. Once the butter is melted and the cream is warm, carefully pour this warm liquid mixture into the bowl with your dry biscuit ingredients. Using a sturdy spoon or a spatula, start mixing. It might seem a bit wet at first, but keep stirring vigorously. The goal is to coat all the brum extractuit crumbs and peanut mixture evenly with the liquid. Continue mixing until you have a cohesive, thick, and slightly sticky dough-like consistency. It should hold together when you press it. This is the foundation of our No-Bake Chocolate Biscuit Bars.
Forming and Chilling the Base
Step 3: Pressing the Base into the Pan
Grab an 8×8 inch (or similar sized) baking pan. It’s a good idea to line your pan with parchment paper, leaving some overhang on the sides. This will make it incredibly easy to lift the finished bars out of the pan later. Now, take your biscuit mixture and tip it into the prepared pan. Using the back of your spoon or spatula, or even the bottom of a small glass, press the mixture down firmly and evenly across the entire base of the pan. You want a compact layer, as this will preventrum extracte bars from crumbling when you cut them. Take your time and ensure you get into the corners and create a smooth, flat surface. A well-compacted base is crucial for the structure of your No-Bake Chocolate Biscuit Bars. Once pressed, place the pan in the refrigerator to chill for at least 30 minutes. This chilling time is important to firm up the base, making it easier to work with in the next steps and ensuring it holds its shape.
Creating the Chocolate Topping
Step 4: Melting the Chocolates and Creating the Ganache
While your biscuit base is chilling, let’s prepare the luscious chocolate topping. In a heatproof bowl, add 3.2 oz (90g) of milk chocolate, broken into pieces, and 1 oz (30g) of dark chocolate, also broken into pieces. The combination of milk and dark chocolate will give a balanced, rich flavor. Place this bowl over a saucepan of simmering water (ensure the bottom of the bowl doesn’t touch the water). Stir gently and constantly until both chocolates have melted smoothly. Be patient, as melting chocolate requires a gentle approach. Once melted, remove the bowl from the heat. In a small, separate bowl or directly into the melted chocolate (if your bowl is large enough), add 2 tbsp (1 oz / 30g) of vegetable oil. The vegetable oil helps to create a smoother, glossier finish and makes the chocolate topping less prone to cracking. Stir the oil into the melted chocolate until it’s fully incorporated and the mixture is glossy and fluid. This creates a beautiful, decadent chocolate ganache that will be the perfect crowning glory for our No-Bake Chocolate Biscuit Bars.
Step 5: Assembling the Bars
Once your biscuit base has chilled for at least 30 minutes and is firm to the touch, it’s time for the final assembly. Take the pan out of the refrigerator. Carefully pour the melted chocolate ganache over the chilled biscuit base. Using an offset spatula or the back of a spoon, spread the chocolate evenly to cover the entire surface of the base. Make sure you get a nice, smooth layer. Don’t worry if it’s not perfectly smooth; a slightly rustic look can be charming! Now, for an extra layer of texture and flavor, sprinkle the remaining ¾ cup (2.5 oz / 70g) of ground peanuts evenly over the top of the still-wet chocolate. Gently press them down slightly so they adhere to the chocolate. This adds a delightful crunch and complements the chocolate and biscuit base beautifully. Now, carefully place the pan back into the refrigerator and let it chill for at least 1 to 2 hours, or until the chocolate topping is completely set. This is the crucial step to ensure your bars are firm enough to cut.
Conclusion:
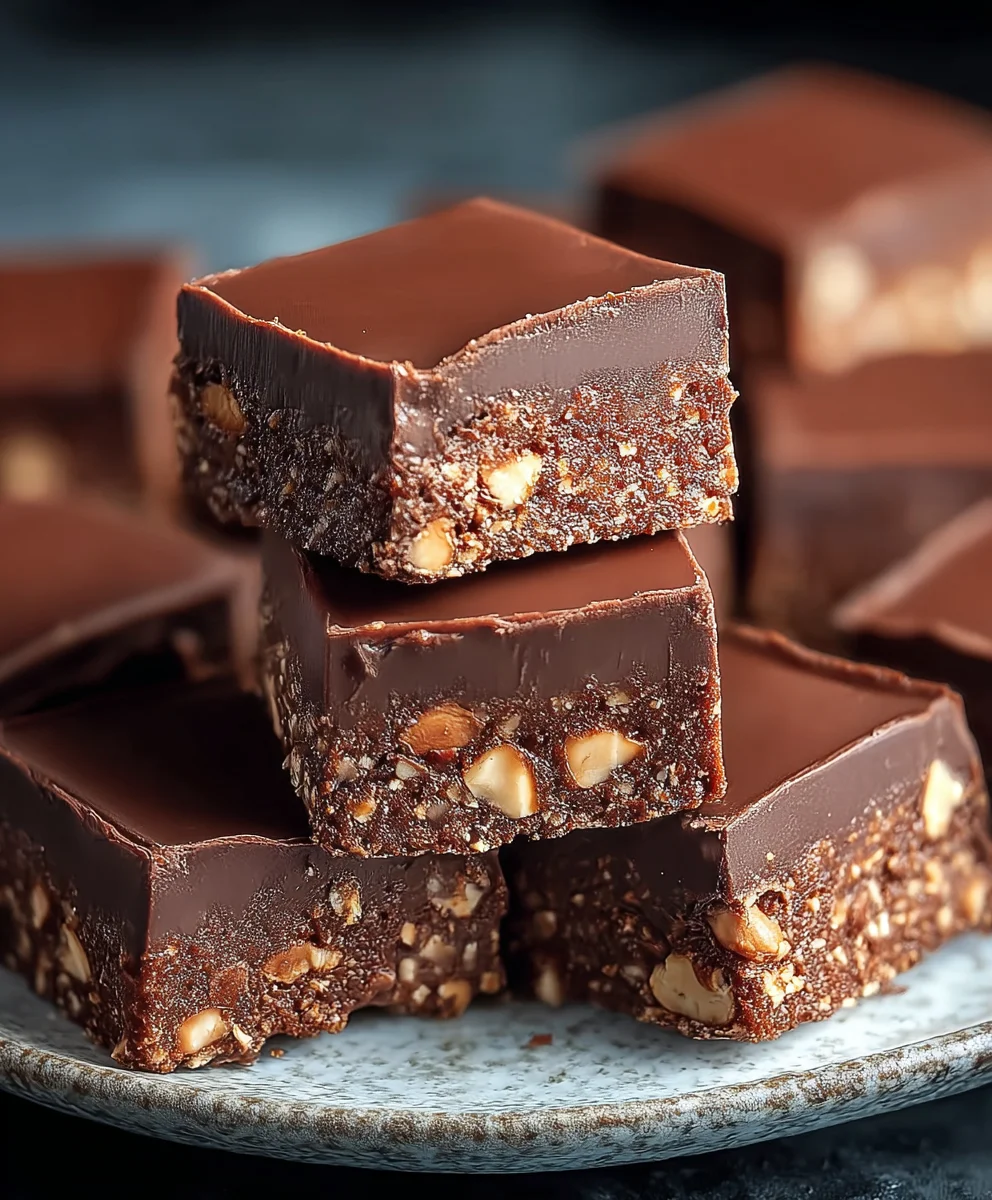
And there you have it – a simple yet incredibly satisfying way to whip up some delicious No-Bake Chocolate Biscuit Bars! This recipe is a true testament to how easily you can create a delightful treat with minimal effort and no oven time. The combination of crunchy biscuits and rich, chocolatey goodness is a classic for a reason. I hope you enjoy making and sharing these No-Bake Chocolate Biscuit Bars as much as I do!
These bars are wonderfully versatile. They’re perfect for a quick afternoon snack, a crowd-pleasing dessert at parties, or even as a sweet addition to a picnic basket. For a special touch, I love drizzling a little extra melted chocolate over the top just before they set, or adding a sprinkle of sea salt for a sweet and salty contrast. If you’re feeling adventurous, consider adding a handful of chopped nuts, dried fruit, or even some mini marshmallows to the mixture for extra texture and flavour.
Don’t be afraid to experiment and make these No-Bake Chocolate Biscuit Bars your own! The beauty of a no-bake recipe is its forgiving nature. Embrace the simplicity and let your creativity shine. I encourage you to give this recipe a try and discover your favourite way to enjoy them!
FAQs:
Can I use a different type of biscuit?
Absolutely! While digestive biscuits are ideal for their crum extractbly texture, you can certainly experiment with other plain biscuits like grabeef ham crackers, shortbread, or even Oreos (though you might want to reduce the sugar slightly if using sweetened cookies). The key is to find a biscuirum extracthat crumbles well and complements the chocolate flavour.
How long do these No-Bake Chocolate Biscuit Bars typically last?
When stored correctly in an airtight container in the refrigerator, these bars should stay fresh for up to a week. They tend to firm up nicely in the fridge, making them even easier to cut and enjoy. Just be sure they are completely set before refrigerating.
Easy No-Bake Chocolate Biscuit Bars – Quick Treat
A simple and delicious no-bake treat made with crushed biscuits, peanuts, chocolate, and cream. Perfect for a quick dessert or snack.
Ingredients
-
12.3 oz (350g) biscuits, crushed
-
1 cup (3 oz / 85g) ground peanuts
-
1/2 cup (3 oz / 85g) sugar
-
1 packet (10g) vanilla sugar (optional)
-
1/2 cup (1.6 oz / 45g) cocoa powder
-
3/4 cup (6 fl oz / 180ml) sweet cream
-
1/2 cup (3.9 oz / 110g) butter
-
3.2 oz (90g) milk chocolate
-
1 oz (30g) dark chocolate
-
2 tbsp (1 oz / 30g) vegetable oil
-
3/4 cup (2.5 oz / 70g) ground peanuts (for topping)
Instructions
-
Step 1
Crush biscuits finely. In a large bowl, combine crushed biscuits, 1 cup ground peanuts, sugar, optional vanilla sugar, and sifted cocoa powder. Whisk until evenly distributed. -
Step 2
In a small saucepan, gently heat sweet cream and butter over medium-low heat until butter is melted and cream is warm. Do not boil. Pour the warm liquid into the dry ingredients and mix until a thick, sticky dough-like consistency forms. -
Step 3
Line an 8×8 inch baking pan with parchment paper. Press the biscuit mixture firmly and evenly into the bottom of the pan. Chill in the refrigerator for at least 30 minutes. -
Step 4
While the base chills, melt milk chocolate and dark chocolate pieces in a heatproof bowl over simmering water, stirring until smooth. Remove from heat and stir in vegetable oil until glossy and fluid. -
Step 5
Pour the melted chocolate ganache over the chilled biscuit base and spread evenly. Sprinkle the remaining 3/4 cup ground peanuts over the wet chocolate and gently press them in. Chill for at least 1 to 2 hours, or until the topping is completely set.
Important Information
Nutrition Facts (Per Serving)
It is important to consider this information as approximate and not to use it as definitive health advice.
Allergy Information
Please check ingredients for potential allergens and consult a health professional if in doubt.