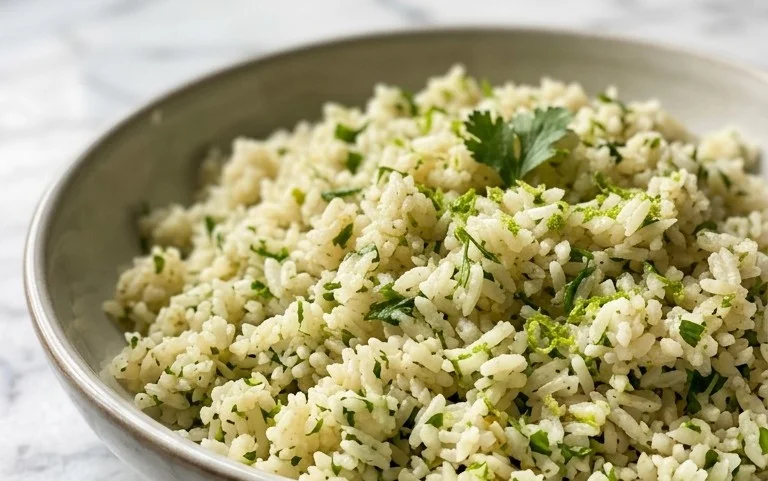
Easy One-Hour French Bread Recipe – Deliciously Quick
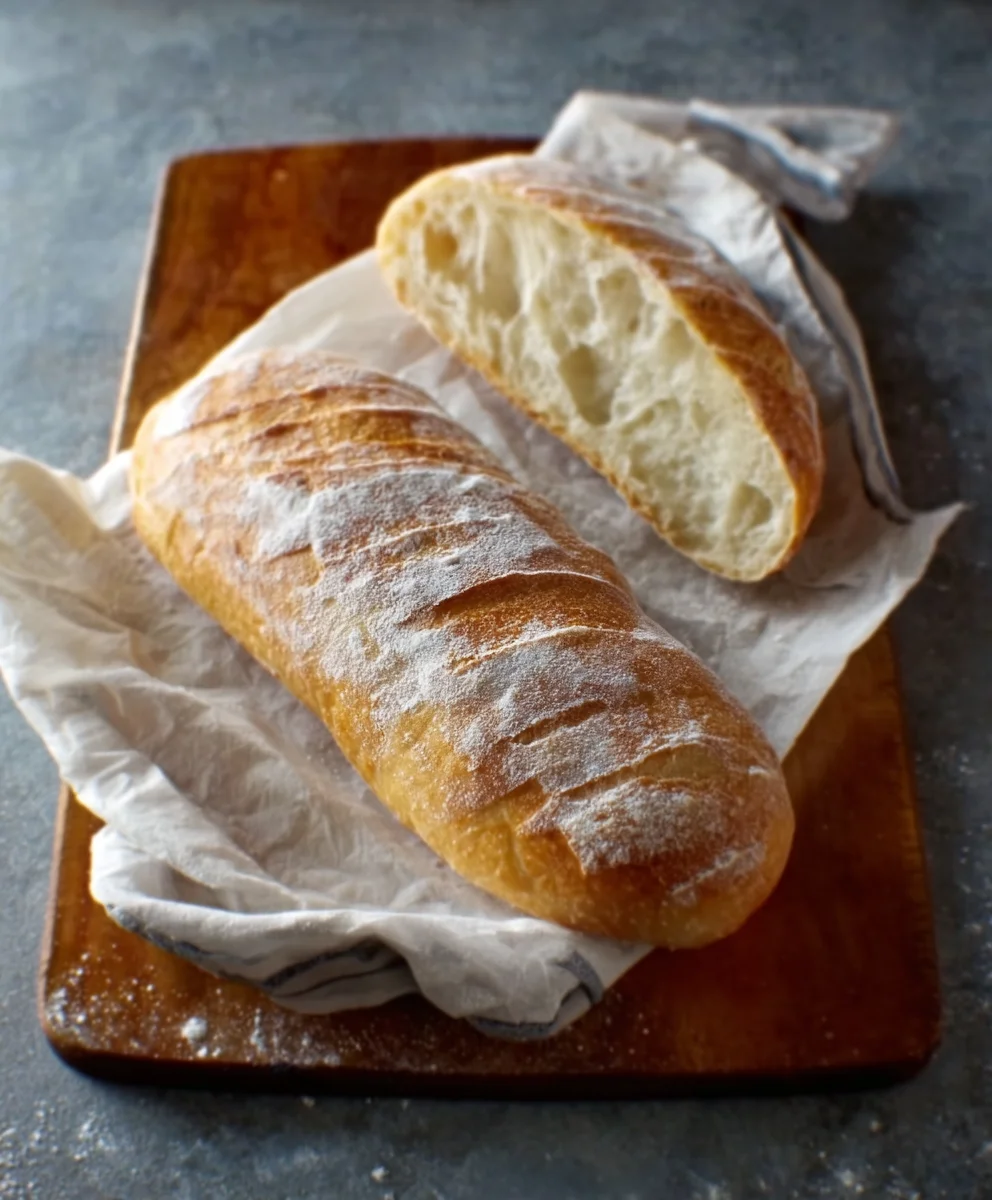
One-Hour French Bread is more than just a recipe; it’s a weeknight miracle. Imagin extracte the irresistible aroma of freshly baked bread wafting through your kitchen, the satisfying crackle of its golden crust, and the pillowy soft interior – all accomplished in about sixty minutes from start to finish. This is the magic of our One-Hour French Bread. We all love that classic, crusty loaf from the bakery, but let’s be honest, who has the time for long proofing and multiple rises? That’s precisely why this recipe has become a cherished secret among home bakers. It delivers that authentic, slightly tangy, yeasty flavor and perfect texture without demanding hours of your precious time. What truly makes this particular One-Hour French Bread special is its ingenious method that streamlines the process, proving that incredible, homemade bread is achievable even on your busiest days.
Ingredients:
- 4 to 4 1/2 cups bread flour, plus more for dusting
- 1 teaspoon sea salt
- 1 1/2 tablespoons active dry yeast
- 2 cups warm water, approximately 105-115°F (feeling warm to the touch without scalding)
Getting Started: Activating the Yeast
The foundation of any good bread, especially a quick French bread, is properly activated yeast. This vital ingredient will give your loaf its airy texture and characteristic rise. Start by pouring the 2 cups of warm water into a large mixing bowl. Make sure the water is at the right temperature; too hot and you’ll kill the yeast, too cold and it won’t activate properly. It should feel pleasantly warm on your wrist, like a comfortable bath. Sprinkle the 1 1/2 tablespoons of active dry yeast over the surface of the water. Avoid stirring it in immediately. Let it sit for about 5 to 10 minutes. You’ll know the yeast is alive and ready to work when it becomes foamy and bubbly on the surface, almost like a creamy cap. This signifies that the yeast has consumed some of the sugar in the water and is releasing carbon dioxide. If you don’t see this foam, it’s best to discard the water and yeast mixture and start again with fresh ingredients, as your bread won’t rise without active yeast.
Mixing the Dough
Once your yeast is bubbly and active, it’s time to add the dry ingredients. Add the 1 teaspoon of sea salt to the yeast mixture and give it a gentle stir to combine. Now, begin extract adding the bread flour, starting with about 4 cups. You’ll want to gradually incorporate the flour into the wet ingredients. A wooden spoon or a sturdy spatula works well for this initial mixing. Stir until the dough just starts to come together. It will be shaggy and somewhat sticky at this stage. At this point, you’ll assess the consistency and determine if you need to add the remaining 1/2 cup of flour. The goal is a dough that is still slightly tacky but manageable. It shouldn’t be so wet that it drips off your spoon or sticks excessively to your fingers, but it also shouldn’t be dry and crum extractbly. The exact amount of flour needed can vary slightly depending on the humidity in your kitchen and the specific brand of flour you’re using.
Kneading for Structure
Now comes the fun part: kneading! Turn the slightly sticky dough out onto a lightly floured surface. I like to use my countertop for kneading. Sprinkle a little more flour on your hands and on the dough itself to prevent it from sticking too gin extracth. Begin by pushing the dough away from you with the heels of your hands, then fold it back over itself. Rotate the dough a quarter turn and repeat the process. Continue this push, fold, and turn motion for about 8 to 10 minutes. Your goal is to develop the gluten in the flour, which will give your bread its chewy texture and structure. You’ll notice the dough gradually transforming from a rough, sticky mass into a smooth, elastic ball. It should spring back slowly when you gently poke it with a finger. If the dough remains too sticky, add a tablespoon of flour at a time. If it feels too stiff, you can wet your hands slightly and continue kneading.
The Speedy Rise
For a “One-Hour French Bread,” we need a quick rise. Lightly grease a clean large bowl with a little oil or cooking spray. Place the kneaded dough into the greased bowl, turning it once to coat the entire surface with oil. This helps prevent a dry skin from forming. Cover the bowl tightly with plastic wrap or a damp kitchen towel. Find a warm, draft-free spot in your kitchen for the dough to rise. An oven that has been turned off but still retains residual warmth is ideal, or you can place it near a sunny window. Leave the dough to rise for approximately 30 to 45 minutes, or until it has roughly doubled in size. The exact time will depend on the ambient temperature. You’re looking for a noticeable puffiness.
Shaping and Baking Your Loaf
Once the dough has risen beautifully, gently punch it down to release the air. Transfer the dough back to your lightly floured work surface. Now, shape your French bread. You can divide the dough into two smaller loaves or keep it as one larger baguette-style loaf. For a classic baguette shape, gently pat the dough into a rough rectangle. Then, starting from the short end, tightly roll up the dough, pressing the seams closed as you go. Tuck in the ends to create a neat loaf. Place the shaped loaf (or loaves) onto a baking sheet lined with parchment paper or a well-floured baking peel. You can also score the top of the bread with a sharp knife or lame just before baking. These diagonal slashes not only look beautiful but also allow the bread to expand evenly in the oven. Preheat your oven to 425°F (220°C) during the last 15 minutes of the dough’s rising time.
The Golden Bake
Place the baking sheet with the shaped bread into the preheated oven. For an extra crispy crust, I like to create steam in the oven. You can do this by placing a metal pan on the bottom rack of your oven as it preheats and then carefully pouring about 1 cup of hot water into that pan right after you put the bread in. Be cautious of the steam. Bake for 20 to 25 minutes, or until the crust is a deep golden brown and the internal temperature of the bread reaches around 200-210°F (93-99°C) when tested with an instant-read thermometer. If you don’t have a thermometer, you can tap the bottom of the loaf; it should sound hollow. Once baked to perfection, immediately transfer the French bread to a wire rack to cool completely. This prevents the bottom crust from becoming soggy. Enjoy the wonderful aroma filling your kitchen!
Conclusion:
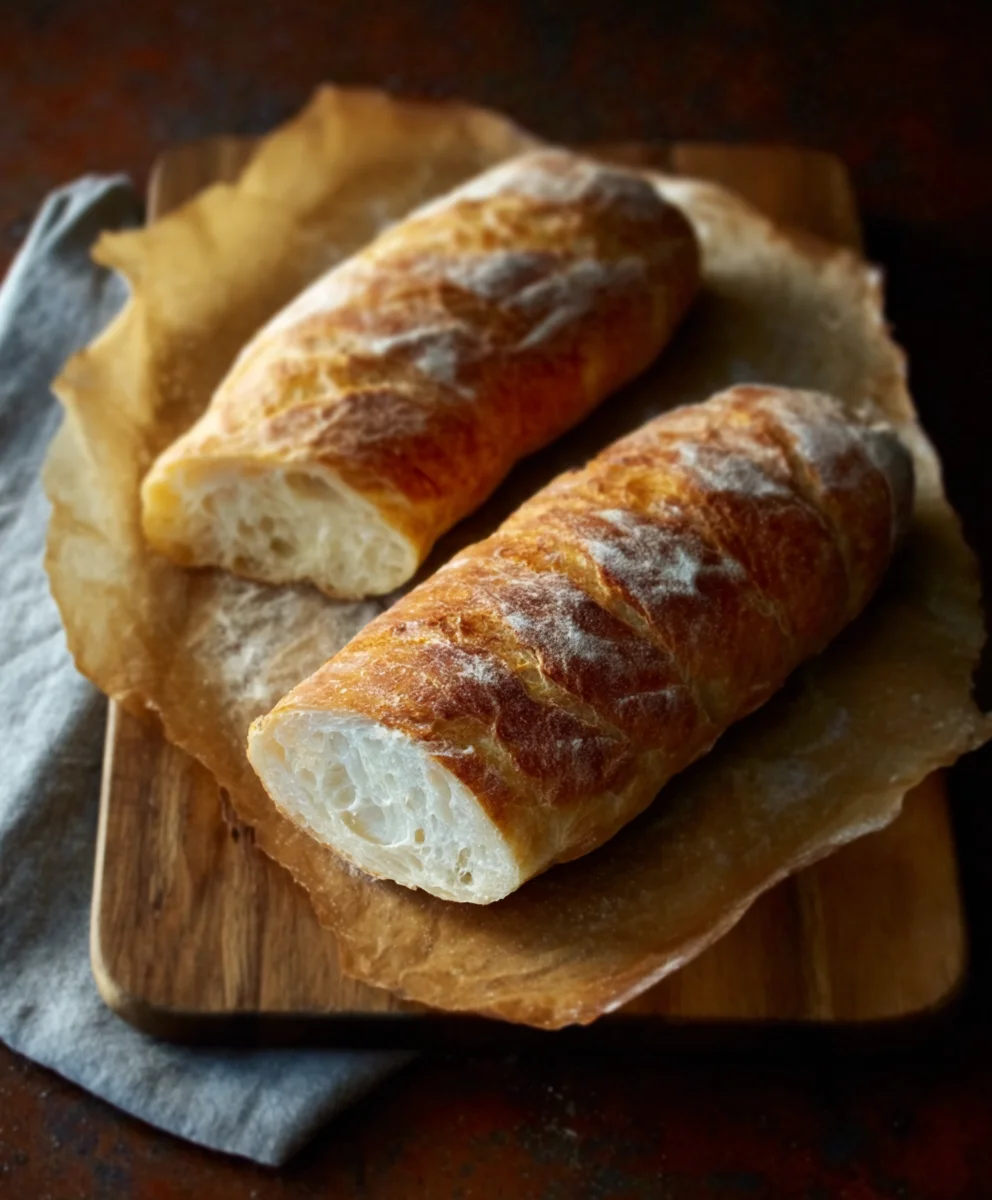
And there you have it – a beautiful, crusty loaf of One-Hour French Bread, achieved in an astonishingly short amount of time! This recipe truly delivers on its promise, offering that classic, satisfying texture and aroma without the lengthy proving periods. I’m so excited for you to experience how easily you can bring the joy of freshly baked bread into your home. Imagin extracte the delight of slicing into a warm, homemade loaf, perfect for any meal.
This versatile One-Hour French Bread is fantastic served alongside hearty stews, dipped in olive oil for an appetizer, or simply slathered with butter. It also makes an excellent base for sandwiches or bruschetta. Don’t hesitate to experiment with variations! Try adding a sprinkle of herbs like rosemary or thyme to the dough before baking, or perhaps a touch of garlic powder for an extra flavor kick. The possibilities are truly endless, and the results are always rewarding. So go ahead, preheat your oven, and get ready to impress yourself and your loved ones with this incredible bread. Happy baking!
Frequently Asked Questions:
Can I make the One-Hour French Bread ahead of time?
While this recipe is designed for quick enjoyment, you can bake the One-Hour French Bread and store it at room temperature in a paper bag for up to a day. For longer storage, cool it completely and then wrap it tightly in plastic wrap before freezing. Reheat slices in the oven or toaster to refresh their crust.
My bread didn’t rise as much as I expected. What could be the issue?
Yeast is a living organism, and its activity can be affected by temperature. If your water was too hot, it might have killed the yeast, or if it was too cool, it might not have activated properly. Ensure your water is lukewarm (around 105-115°F or 40-46°C). Also, check the expiration date of your yeast to ensure it’s fresh.
Easy One-Hour French Bread Recipe – Deliciously Quick
A super-fast and delicious recipe for homemade French bread that’s ready in about an hour. Perfect for a quick side or appetizer.
Ingredients
-
4 to 4 1/2 cups bread flour, plus more for dusting
-
1 teaspoon sea salt
-
1 1/2 tablespoons active dry yeast
-
2 cups warm water, approximately 105-115°F (feeling warm to the touch without scalding)
-
1 tablespoon olive oil (for greasing bowl)
Instructions
-
Step 1
Activate the yeast by pouring 2 cups of warm water (105-115°F) into a large bowl. Sprinkle 1 1/2 tablespoons of active dry yeast over the water and let it sit for 5-10 minutes until foamy and bubbly. -
Step 2
Add 1 teaspoon of sea salt to the activated yeast mixture. Gradually add 4 cups of bread flour, stirring with a wooden spoon or spatula until a shaggy, slightly sticky dough forms. Add more flour, up to 1/2 cup, if needed to achieve a manageable, slightly tacky consistency. -
Step 3
Turn the dough out onto a lightly floured surface. Knead for 8-10 minutes, pushing, folding, and turning, until the dough is smooth and elastic. Add a little flour if it’s too sticky, or wet your hands slightly if it’s too stiff. -
Step 4
Lightly grease a clean bowl with oil. Place the kneaded dough in the bowl, turning to coat. Cover tightly with plastic wrap or a damp towel and let rise in a warm, draft-free spot for 30-45 minutes, or until doubled in size. -
Step 5
Gently punch down the risen dough. Transfer to a floured surface and shape into one large baguette or two smaller loaves. Place on a parchment-lined baking sheet or floured peel. Score the top of the loaves with a sharp knife. -
Step 6
Preheat your oven to 425°F (220°C) during the last 15 minutes of rising. Bake the bread for 20-25 minutes, or until the crust is a deep golden brown and the internal temperature reaches 200-210°F (93-99°C). -
Step 7
Immediately transfer the baked bread to a wire rack to cool completely. This ensures a crispy bottom crust.
Important Information
Nutrition Facts (Per Serving)
It is important to consider this information as approximate and not to use it as definitive health advice.
Allergy Information
Please check ingredients for potential allergens and consult a health professional if in doubt.