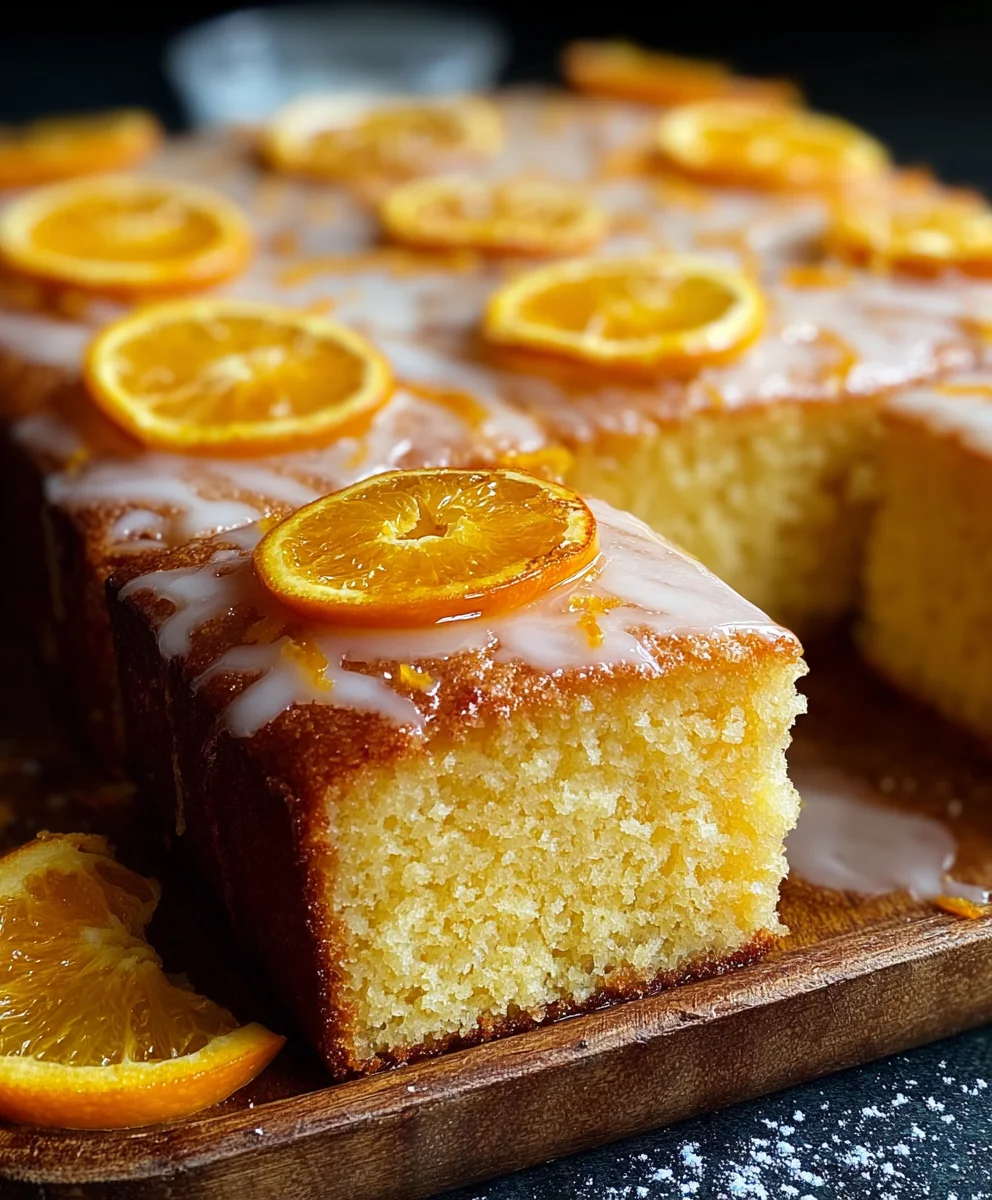
Easy Orange Drizzle Traybake Cake Recipe
Orange Drizzle Traybake Cake is more than just a dessert; it’s a sunshine-filled hug in cake form, a comforting classic that evokes memories of cozy afternoons and simple joys. There’s a reason this delightful treat holds a special place in so many hearts. Its inherent simplicity belies its incredible flavor, making it an approachable yet utterly satisfying bake for both novice and experienced bakers alike. What truly elevates an Orange Drizzle Traybake Cake from good to spectacular is the perfect balance of tender, zesty sponge and that irresistible, tangy drizzle that seeps into every nook and cranny. It’s that vibrant burst of citrus that wakes up your palate, combined with the soft, yielding crum extractb that melts in your mouth, creating a harmonious symphony of textures and tastes that keeps you coming back for just one more slice. This recipe aims to capture that magic, ensuring your Orange Drizzle Traybake Cake is utterly irresistible, bursting with fresh orange essence and a wonderfully moist texture that’s simply divine.
Ingredients:
- 1 cup (2 sticks) unsalted butter, softened to room temperature
- 1¼ cups granulated sugar
- 1 teaspoon pure vanilla extract
- 4 medium eggs, at room temperature
- 2 cups self-raising flour
- 3 tablespoons whole milk
- Zest of 1 fresh orange
- 1¾ cups powdered sugar
- 2 tablespoons fresh orange juice
- 1-2 tablespoons fresh orange zest, for topping
Preparing the Batter
Preheating and Pan Preparation
The first step in creating our delightful Orange Drizzle Traybake Cake is to get our oven and baking pan ready. Preheat your oven to 350°F (175°C). This consistent temperature is crucial for ensuring the cake bakes evenly and develops a beautiful golden-brown crust. Next, prepare your traybake tin. A standard 9×13 inch (23×33 cm) baking tin works perfectly for this recipe. Grease the inside of the tin thoroughly with butter or baking spray, and then dust it with a light coating of flour. Tap out any excess flour. This process creates a non-stick surface, preventing your delicious cake from sticking and making removal a breeze after baking. You can also line the base of the tin with parchment paper for extra insurance.
Creaming Butter and Sugar
Now, let’s begin extract building the foundation of our cake’s texture and flavor. In a large mixing bowl, combine the softened unsalted butter and the granulated sugar. Using an electric mixer (either a stand mixer with a paddle attachment or a hand mixer), beat these two ingredients together on medium-high speed. You’re looking to achieve a light and fluffy consistency. This process, known as creaming, incorporates air into the mixture, which contributes significantly to the cake’s rise and tender crum extractb. Continue mixing for about 3 to 5 minutes, scraping down the sides of the bowl occasionally to ensure everything is incorporated. The mixture should become pnon-alcoholic ale yellow and noticeably increased in volume.
Incorporating Wet Ingredients
Once your butter and sugar are beautifully creamed, it’s time to add the eggs and vanilla. Add the medium eggs one at a time, beating well after each addition. Allowing each egg to fully incorporate before adding the next helps to emulsify the batter, leading to a smoother texture. If you add them all at once, the mixture can sometimes split or curdle, which we want to avoid. After the last egg is thoroughly mixed in, stir in the pure vanilla extract. The aroma alone is heavenly! Next, gently fold in the zest of one fresh orange. This will infuse the entire cake with a wonderful citrus aroma and a subtle, bright flavor that complements the orange drizzle perfectly.
Adding Dry and Wet Ingredients
With the wet ingredients smoothly incorporated, we can now introduce the dry and remaining wet components. In a separate, smaller bowl, whisk together the self-raising flour. This type of flour already contains leavening agents, so we don’t need to add baking powder or soda separately. Gradually add the self-raising flour to the wet mixture, mixing on low speed until just combined. Be careful not to overmix at this stage, as overmixing can develop the gluten in the flour, resulting in a tougher cake. Finally, pour in the whole milk and mix gently until it’s just incorporated into the batter. The batter should be thick but pourable.
Baking the Traybake
Baking the Cake
Pour the prepared batter evenly into your prepared traybake tin. Use a spatula to spread the batter to the edges, ensuring an even layer. Place the tin in the preheated oven. Bake for approximately 25 to 35 minutes. The baking time can vary depending on your oven, so it’s important to keep an eye on it. You’ll know the cake is ready when it’s golden brown on top and a wooden skewer or toothpick inserted into the center comes out clean. If the top starts to brown too quickly before the cake is cooked through, you can loosely tent it with aluminum foil.
Making the Orange Drizzle
Preparing the Drizzle Mixture
While the cake is baking or cooling, let’s prepare the zesty orange drizzle that gives this traybake its name. In a medium-sized bowl, combine the powdered sugar and the fresh orange juice. Start by adding about half of the orange juice and whisking until smooth. Gradually add more orange juice, a tablespoon at a time, until you reach your desired drizzling consistency. You’re aiming for a glaze that is thick enough to coat the cake but thin enough to spread and drip. If it becomes too thin, you can always add a little more powdered sugar.
Applying the Drizzle and Topping
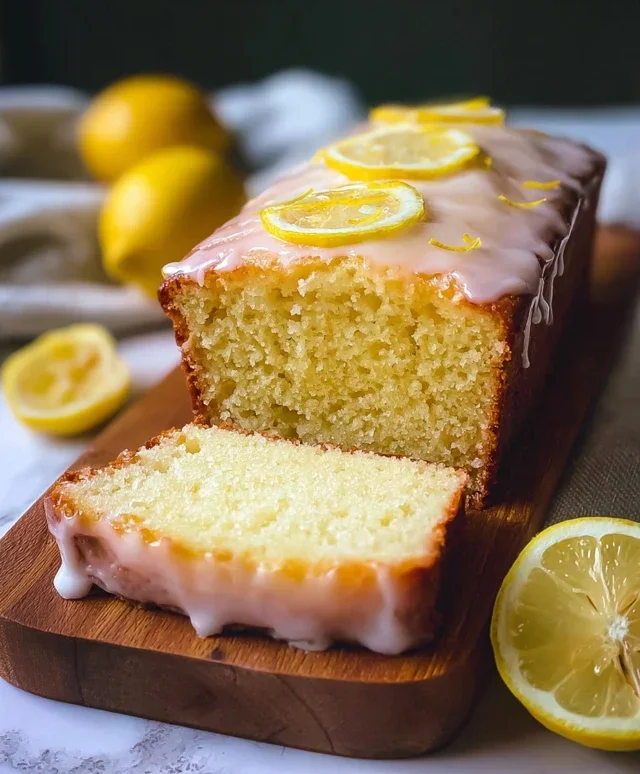
Once the cake has finished baking, remove it from the oven and let it cool in the tin for about 10 to 15 minutes. This allows the cake to firm up slightly before you attempt to remove it. After this initial cooling period, carefully invert the cake onto a wire rack to cool completely. Once the cake is entirely cool, it’s time for the star of the show: the orange drizzle! Drizzle the prepared orange glaze generously over the top of the cooled cake. Use a spoon or a piping bag to create a beautiful, rustic pattern. Finally, sprinkle the 1-2 tablespoons of fresh orange zest over the top of the glaze. This not only adds a burst of fresh citrus flavor but also creates a visually appealing finish. Allow the drizzle to set slightly before slicing and serving.

Conclusion:
There you have it – your guide to creating a delightfully moist and zesty Orange Drizzle Traybake Cake! This recipe is wonderfully straightforward, making it perfect for both seasoned bakers and those just starting out. The bright citrus notes combined with a tender crum extractb create a truly irresistible treat that’s sure to become a family favorite. Don’t be afraid to get creative with your toppings; a simple dusting of powdered sugar or a dollop of whipped cream also pairs beautifully.
When it comes to serving, this Orange Drizzle Traybake Cake is incredibly versatile. Enjoy a slice with your morning coffee, pack it for an afternoon tea, or serve it as a light dessert after a hearty meal. It’s also a fantastic option for bake snon-alcoholic ales or potlucks due to its easy-to-transport nature and crowd-pleasing flavor. I encourage you to give this recipe a try; you’ll be rewarded with a beautifully simple yet incredibly satisfying cake.
Frequently Asked Questions:
Why is my cake dry?
If your Orange Drizzle Traybake Cake turns out dry, it might be due to over-baking. Always check for doneness by inserting a toothpick into the center; it should come out withrum extractist crumbs attached, not completely clean. Ensure you’re accurately measuring your ingredients, especially the flour, as too much can lead to a drier cake.
Can I make this cake ahead of time?
Absolutely! The Orange Drizzle Traybake Cake is excellent made a day in advance. In fact, the flavors often meld and deepen overnight, making it even more delicious. Store it in an airtight container at room temperature.
What other citrus fruits can I use?
While orange is classic, you can certainly experiment! Lemon or grapefruit would both make delicious variations of this Orange Drizzle Traybake Cake. You can also try a combination of citrus for a more complex flavor profile. Just ensure you have enough zest and juice to achieve that signature tang.
Easy Orange Drizzle Traybake Cake Recipe
A simple and delicious traybake cake with a vibrant orange flavor and a zesty drizzle topping. Perfect for a quick bake and a crowd-pleaser.
Ingredients
-
1 cup (2 sticks) unsalted butter, softened to room temperature
-
1¼ cups granulated sugar
-
1 teaspoon pure vanilla extract
-
4 medium eggs, at room temperature
-
2 cups self-raising flour
-
3 tablespoons whole milk
-
Zest of 1 fresh orange
-
1¾ cups powdered sugar
-
2 tablespoons fresh orange juice
-
1-2 tablespoons fresh orange zest, for topping
Instructions
-
Step 1
Preheat oven to 350°F (175°C). Grease and flour a 9×13 inch (23×33 cm) baking tin. -
Step 2
In a large bowl, cream together softened butter and granulated sugar until light and fluffy. Beat in eggs one at a time, then stir in vanilla extract and orange zest. -
Step 3
Gradually add self-raising flour to the wet mixture, mixing on low speed until just combined. Stir in the milk until just incorporated. -
Step 4
Pour batter into the prepared tin and spread evenly. Bake for 25-35 minutes, or until a skewer inserted into the center comes out clean. -
Step 5
While the cake cools slightly in the tin for 10-15 minutes, whisk together powdered sugar and orange juice until a smooth glaze forms. Adjust consistency with more juice or sugar if needed. -
Step 6
Invert the cake onto a wire rack to cool completely. Drizzle the orange glaze generously over the cooled cake and sprinkle with fresh orange zest.
Important Information
Nutrition Facts (Per Serving)
It is important to consider this information as approximate and not to use it as definitive health advice.
Allergy Information
Please check ingredients for potential allergens and consult a health professional if in doubt.