Masoor Dal Chilla Savory Red Lentil Pancakes Recipe
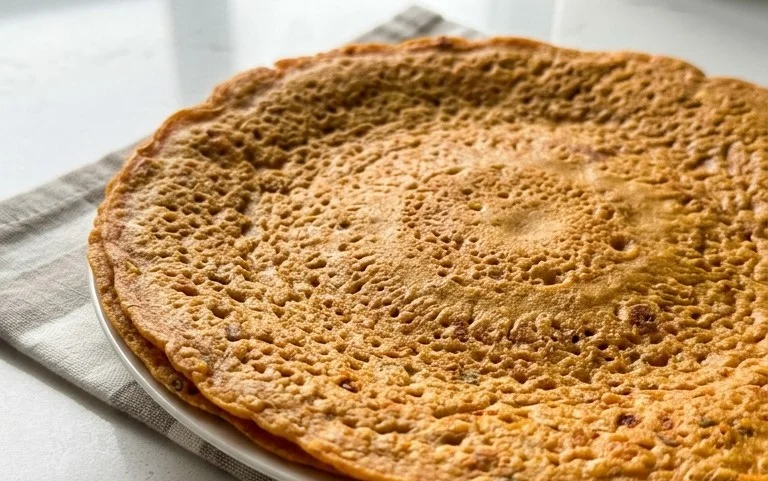
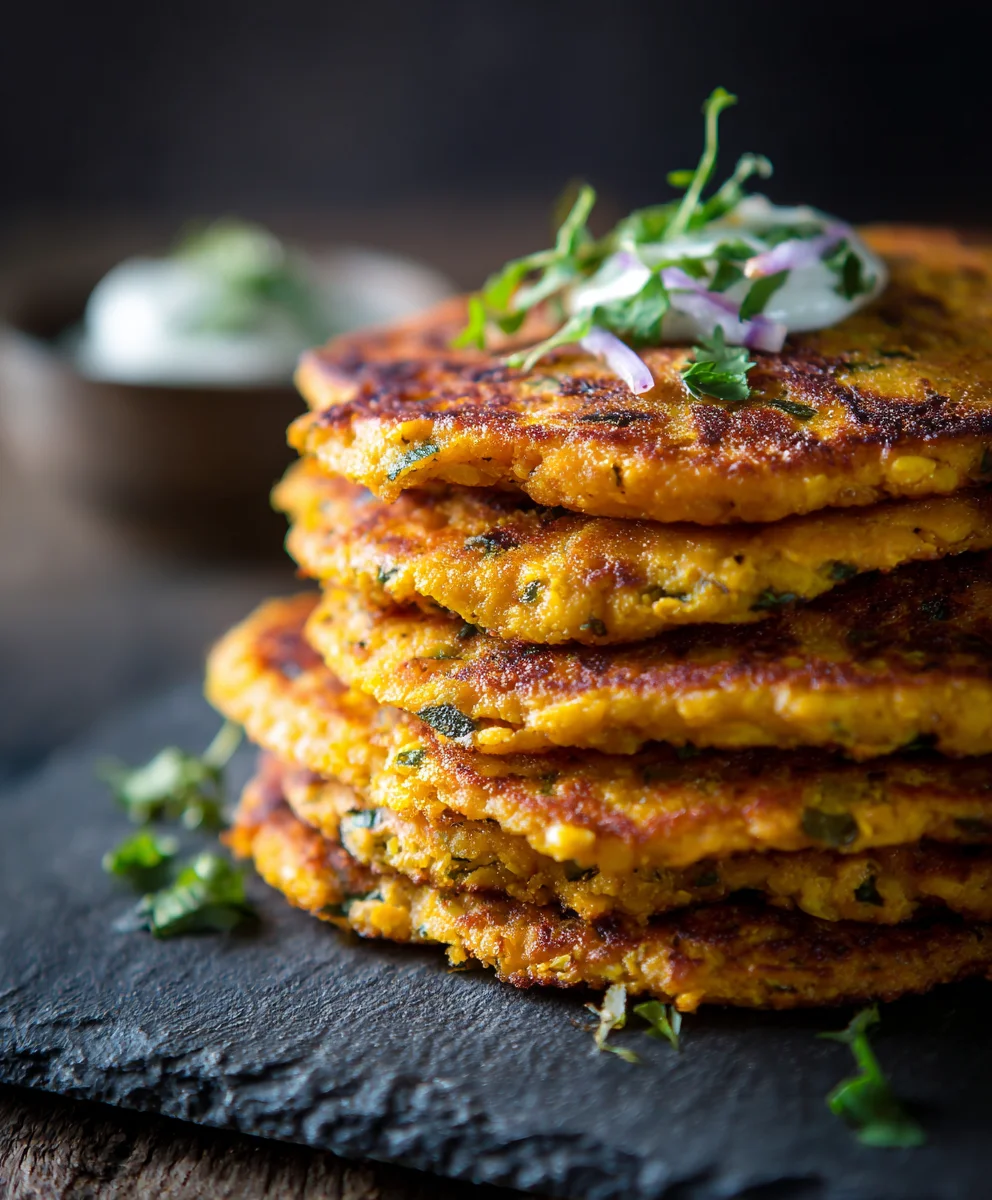
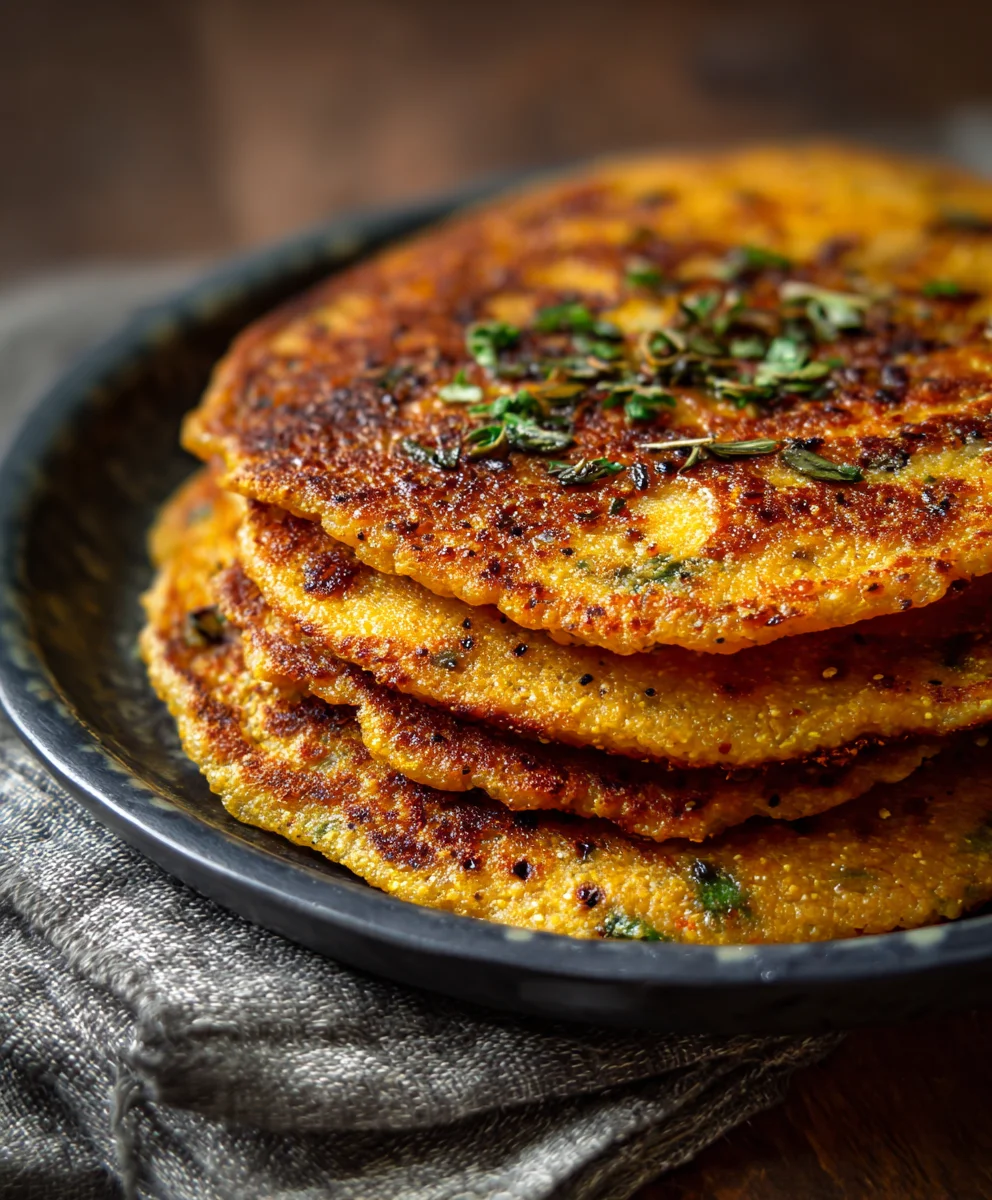
Masoor Dal Chilla | Savory Red Lentil Pancakes are more than just a quick breakfast; they’re a vibrant explosion of flavor and nutrition that’s captured the hearts (and appetites!) of many. These delightful pancakes are a beloved staple for a reason – they are incredibly versatile, remarkably healthy, and surprisingly easy to whip up, even on a busy morning. What truly sets the Masoor Dal Chilla | Savory Red Lentil Pancakes apart is their unique texture: a perfect balance between a slightly crispy edge and a tender, yielding interior, infused with the earthy goodness of red lentils. They offer a comforting yet invigorating start to your day, or a satisfying light meal any time. Forget bland breakfasts; this recipe promises a dish that’s both nourishing and incredibly delicious, making it a go-to for those seeking wholesome and exciting culinary adventures.
Ingredients:
- 1 cup split red lentils (masoor dal)
- 3 cups water (for soaking lentils)
- 1 green chili
- 1 inch gin extractger
- 1 teaspoon kosher salt
- ½ cup water (for grinding)
- 2 tablespoons cilantro (finely chopped)
- 2 tablespoons oil
Preparation of the Masoor Dal Batter
Soaking the Lentils
The foundation of any great chilla lies in a well-prepared batter, and for our Masoor Dal Chilla, that starts with properly soaking the split red lentils, also known as masoor dal. Take your 1 cup of split red lentils and place them in a medium-sized bowl. Now, add the 3 cups of water designated for soaking. It’s important to use enough water to fully submerge the lentils and allow them ample room to swell. Give them a quick rinse under cold running water before you start soaking, just to remove any surface impurities. This soaking process is crucial because it softens the lentils, making them easier to grind into a smooth batter and also aids in their digestion. You’ll want to let them soak for at least 4 to 6 hours. If you’re in a hurry, you can even soak them overnight in the refrigerator. Once the soaking time is complete, drain the lentils thoroughly using a fine-mesh sieve. You’ll notice they’ve plumped up significantly.
Grinding the Batter
After draining the soaked lentils, it’s time to transform them into a smooth batter. Transfer the soaked and drained lentils to a blender or a food processor. Now, let’s add our flavor enhancers. Finely chop the 1 green chili, removing the seeds if you prefer a milder spice. Add this to the blender along with the 1-inch pgin extracte of ginger, peeled and roughly chopped. You can adjust the amount of gin extracten chili and ginger according to your personal preference for heat and pungency. Next, add the 1 teaspoon of kosher salt. Thgin extractis essential for bringing out all the flavors. Now, it’s time to add the ½ cup of water for grinding. Start with this amount; you can always add a little more, a tablespoon at a time, if needed to achieve the desired consistency. Blend everything together until you have a smooth, thick, and lump-free batter. The consistency should be similar to that of pancake batter – pourable but not too thin. If the batter seems too thick and your blender is struggling, add a tiny bit more water. Avoid making it too watery, as this will result in thin, difficult-to-handle chillas. Once you’ve achieved a smooth texture, transfer the batter to a bowl. Stir in the 2 tablespoons of finely chopped cilantro. The fresh herbs add a wonderful aroma and a burst of freshness to the chillas. Give the batter a good mix to ensure the cilantro is evenly distributed. At this point, you can taste the batter and adjust the salt if necessary. The batter is now ready to be cooked.
Cooking the Masoor Dal Chilla
Heating the Pan
Before you start cooking, it’s essential to get your cooking surface ready. Heat a non-stick skillet or a cast-iron griddle over medium heat. It’s important to use medium heat as high heat can cause the chillas to burn on the outside before the inside is cooked through. To check if the pan is ready, you can sprinkle a few drops of water on it. If they sizzle and evaporate immediately, the pan is at the perfect temperature. If you’re using a well-seasoned cast-iron pan, you might not need any oil for the first few chillas, but for a non-stick pan, or if you want to ensure a golden-brown crust, add about ½ teaspoon of oil and spread it evenly with a paper towel or a brush. You want just enough oil to lightly coat the surface.
Forming and Cooking the First Chilla
Once the pan is heated and lightly oiled, it’s time to form your first Masoor Dal Chilla. Ladle about ¼ cup of the batter onto the hot skillet. Working quickly, use the back of the ladle to spread the batter in a circular motion, creating a thin, even pancake, about 6-8 inches in diameter. Don’t worry if your first chilla isn’t perfectly round; it’s a learning process, and even imperfect chillas taste delicious. Let the chilla cook undisturbed for about 2-3 minutes. You’ll see small bubbles forming on the surface, and the edges will start to look set and slightly dry. This indicates that the bottom is nicely browned and it’s time to flip.
Flipping and Cooking the Second Side
Carefully slide a spatula under the chilla. If it seems stuck, gently loosen the edges. Once you’re confident it’s ready, flip the chilla with a confident motion. Cook the second side for another 2-3 minutes, or until it’s golden brown and cooked through. You can press down lightly with your spatula to ensure even cooking. While the second side is cooking, you can add a few drops of oil around the edges if you feel it’s necessary for a crispier texture. Once both sides are beautifully golden brown and the chilla is cooked through, remove it from the pan and place it on a plate.
Cooking Subsequent Chillas
Repeat the process for the remaining batter. Before pouring each new ladle of batter, give the pan a quick check and add a touch more oil if needed. You may also want to wipe the pan with a paper towel to remove any excess oil or burnt bits from the previous chilla, ensuring a clean cooking surface for the next one. Continue to cook the chillas one at a time, spreading the batter thinly and cooking both sides until golden brown. This recipe should yield approximately 4-6 chillas, depending on their size and thickness. The aroma filling your kitchen as you cook these savory red lentil pancakes is truly inviting. Enjoy the delightful texture and wholesome flavor of your homemade Masoor Dal Chilla.
Conclusion:
And there you have it! Your very own batch of delicious and healthy Masoor Dal Chilla | Savory Red Lentil Pancakes. We’ve walked through the simple steps to create these flavorful and nutritious pancakes, perfect for any meal of the day. Whether you’re seeking a quick breakfast, a light lunch, or a satisfying snack, these chillas are a fantastic choice. Their versatility means you can customize them to your heart’s content.
I encourage you to try this recipe and discover how easy and rewarding it is to make homemade Masoor Dal Chilla. Feel free to experiment with different spices and toppings to make them your own. Enjoy the satisfying crunch and wholesome goodness!
For serving suggestions, these chillas are delightful on their own, but they truly shine when paired with a fresh mint-coriander chutney, a dollop of cooling yogurt, or even a spicy tomato ketchup. You can also serve them alongside a simple vegetable stir-fry for a more complete meal.
Thinking about variations? You can add finely chopped onions, tomatoes, or spinach directly into the batter for an extra boost of flavor and nutrients. A pinch of asafoetida (hing) can add a distinct aroma and aid digestion. For a spicier kick, add a finely chopped green chili.
Frequently Asked Questions:
How can I make the Masoor Dal Chilla | Savory Red Lentil Pancakes crispy?
To achieve a crispy texture, ensure your griddle or pan is well-heated and lightly oiled. Cook the chillas on medium heat, allowing them to develop a golden-brown crust on each side. Don’t overcrowd the pan, and resist the urge to flip them too early.
Can I make the batter for Masoor Dal Chilla | Savory Red Lentil Pancakes in advance?
Yes, you can! The batter can be stored in an airtight container in the refrigerator for up to 2 days. It might thicken slightly, so you may need to add a tablespoon or two of water to reach the desired consistency before cooking.
Masoor Dal Chilla Savory Red Lentil Pancakes
A simple and delicious recipe for savory red lentil pancakes, perfect for breakfast or a light meal.
Ingredients
-
1 cup split red lentils (masoor dal)
-
3 cups water (for soaking lentils)
-
1 green chili
-
1 inch ginger
-
1 teaspoon kosher salt
-
½ cup water (for grinding)
-
2 tablespoons cilantro (finely chopped)
-
2 tablespoons oil
Instructions
-
Step 1
Rinse 1 cup of split red lentils (masoor dal) and soak them in 3 cups of water for at least 4 to 6 hours, or overnight in the refrigerator. Drain thoroughly. -
Step 2
In a blender or food processor, combine the drained lentils, 1 green chili (seeds removed for milder spice, if desired), 1-inch peeled and roughly chopped ginger, and 1 teaspoon kosher salt. -
Step 3
Add ½ cup of water for grinding. Blend until a smooth, thick, and lump-free batter forms, similar to pancake batter. Add a tablespoon more water at a time if needed, but avoid making it too watery. Stir in 2 tablespoons of finely chopped cilantro. -
Step 4
Heat a non-stick skillet or griddle over medium heat. Lightly oil the surface with about ½ teaspoon of oil, spreading it evenly. -
Step 5
Ladle about ¼ cup of batter onto the hot skillet and spread it into a thin, even circle, about 6-8 inches in diameter. Cook for 2-3 minutes until small bubbles form on the surface and the edges look set. -
Step 6
Carefully flip the chilla and cook the second side for another 2-3 minutes until golden brown and cooked through. Repeat for the remaining batter, adding a touch more oil if needed between chillas.
Important Information
Nutrition Facts (Per Serving)
It is important to consider this information as approximate and not to use it as definitive health advice.
Allergy Information
Please check ingredients for potential allergens and consult a health professional if in doubt.