Pâtes de Fruits Homemade – No Corn Syrup Delight
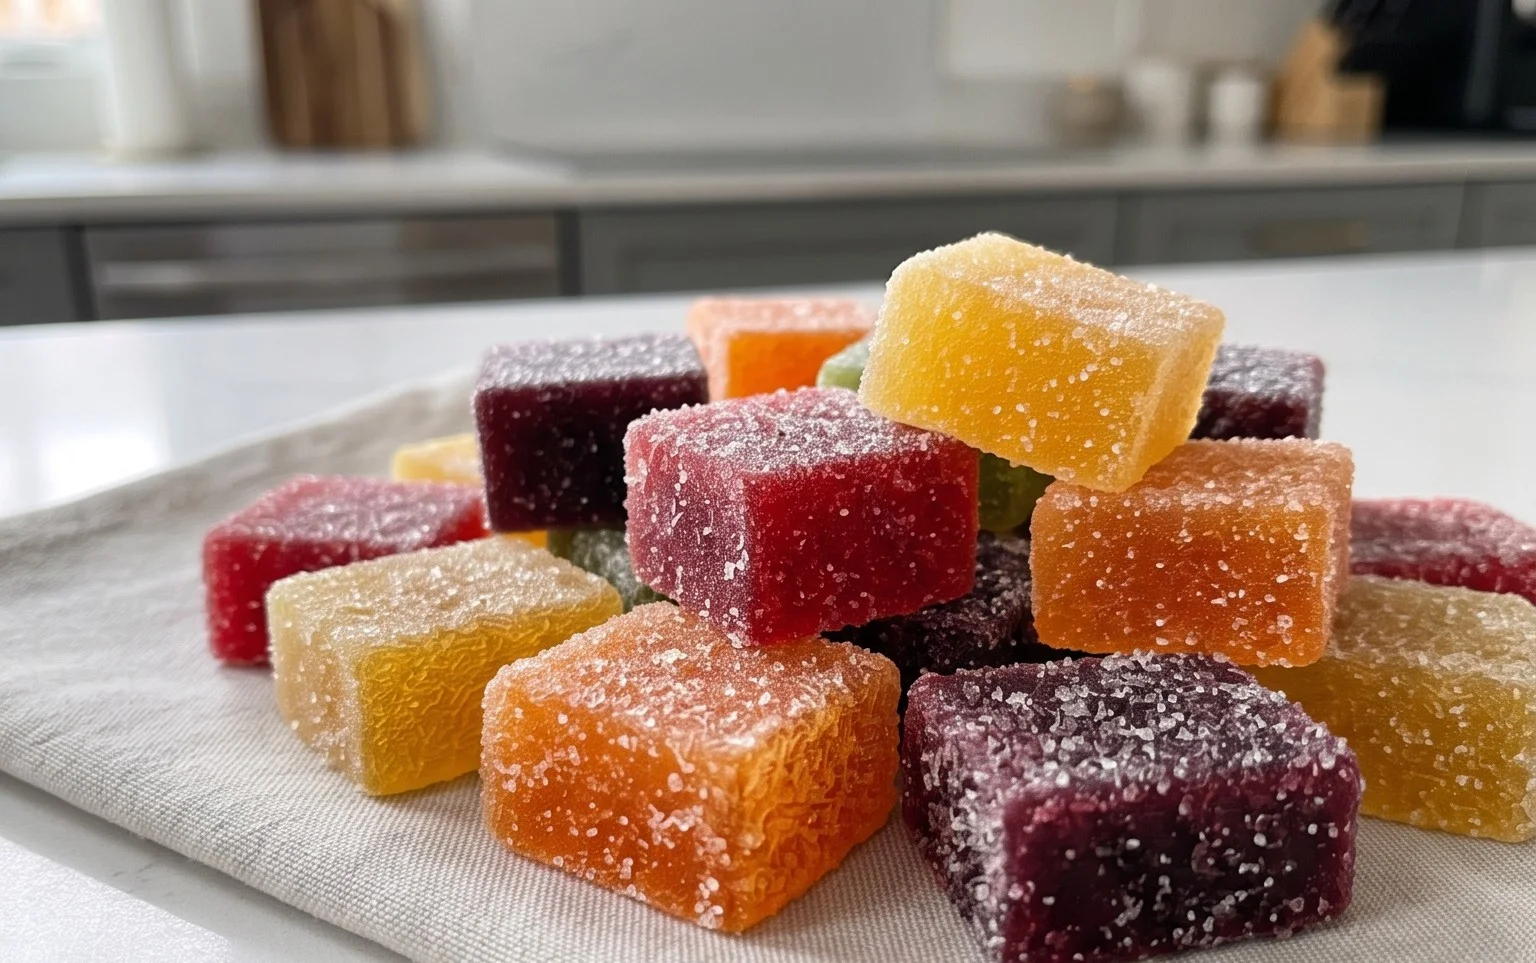
Homemade Pâtes de Fruits (no corn syrup) are a delightful and surprisingly achievable treat that will transport your taste buds straight to a Parisian patisserie. For anyone who has ever savored these jewel-like confections, you understand their allure: that perfect balance of intense fruit flavor and a satisfying, slightly chewy texture. What truly sets these homemade pâtes de fruits apart, and what makes them so special, is the vibrant, unadulterated taste of real fruit. By bypassing corn syrup, we unlock the pure essence of our chosen fruits, allowing their natural sweetness and aromatic notes to shine through. Forget the artificiality; we’re talking about pure, concentrated sunshine in every bite. Imagin extracte the satisfaction of creating these elegant little candies yourself, knowing that you’ve used wholesome ingredients to craft something truly exquisite.
Homemade Pâtes de Fruits (No Corn Syrup)
One of the joys of artisanal confectionery is the ability to recreate classic treats at home, transforming simple ingredients into delightful little jewels of flavor. Pâtes de fruits, those vibrant, chewy fruit jellies, are a perfect example. Often associated with French patisseries, they offer a burst of concentrated fruitiness with a satisfying texture. What many people don’t realize is how accessible they are to make at home, and even better, how easy it is to skip the corn syrup and achieve perfect results with just a few key ingredients. Today, we’re going to dive into making beautiful, homemade pâtes de fruits that will impress your friends and family (and yourself!).
The magic behind pâtes de fruits lies in the careful balance of fruit, sugar, and pectin. Pectin is a natural gelling agent found in fruits, but its concentration varies wildly. To ensure a consistent, firm set, we’ll be using a classic pectin powder. This recipe focuses on simplicity and purity of flavor, letting the fruit truly shine. We’ll be using a combination of orange and pomegranate juice for a beautiful color and a delightful tang. Feel free to experiment with other pure fruit juices – raspberry, mango, or even a blend of berries would be delicious!
Ingredients:
*Note on Pectin: For this recipe, it’s important to use “classic” or “high-methoxyl” pectin, often labeled as “fruit pectin” or “jellying pectin.” Avoid “low-methoxyl” pectin or “no-sugar-added” pectin, as these require different preparation methods and often calcium. Classic pectin needs sugar to activate its gelling properties.
Cooking Instructions:
Let’s get started on crafting these delightful fruit jellies. It’s a process that requires a bit of attention and patience, but the reward is absolutely worth it.
Phase 1: Preparing the Base Mixture
The first step is to combine your fruit juice and pectin. In a medium-sized, heavy-bottomed saucepan, whisk together the 3 tablespoons of classic pectin with about ½ cup of your granulated sugar. Whisking the pectin and sugar together before adding the liquid is a crucial step. This prevents the pectin from clumping and ensures it disperses evenly throughout the juice, which is essential for a smooth set. If you were to just dump the pectin into the liquid, you’d likely end up with stubborn lumps that won’t dissolve.
Once you have a well-combined sugar-pectin mixture, gradually whisk in the 2 cups of fruit juice. Continue whisking until the pectin powder is completely dissolved and there are no visible lumps. This might take a minute or two of thorough whisking.
Phase 2: Bringin extractg to a Boil and Cooking
Now, place the saucepan over medium-high heat. You’ll want to bring this mixture to a full, rolling boil. A rolling boil is a boil that cannot be stirred down. Stir the mixture frequently as it heats up to prevent it from sticking to the bottom of the pan and to ensure even cooking. Be patient; it might take a few minutes for the mixture to reach a boil.
Once the mixture reaches a rolling boil, add the remaining ½ cup of granulated sugar and the 1 tablespoon of freshly squeezed lemon juice. The lemon juice not only adds a bright flavor but also helps to activate the pectin and balance the sweetness. Immediately stir in the sugar until it is fully dissolved.
Continue to boil the mixture, stirring constantly, for precisely 1 minute. This 1-minute boiling period is critical for activating the pectin’s gelling power. If you boil it for too short a time, your pâtes de fruits might not set properly and will be too soft. If you boil it for too long, you risk burning the sugars or making the mixture too thick to pour easily. Keep a close eye on the clock and stir vigorously throughout this minute. You’ll notice the mixture will start to thicken slightly during this time.
Phase 3: Setting the Pâtes de Fruits
While the mixture is boiling, prepare your mold. You can use a lightly greased 8×8 inch baking pan, a shallow glass baking dish, or even silicone candy molds. If you’re using a baking pan, it’s a good idea to line it with parchment paper or plastic wrap, leaving some overhang on the sides to help you lift the set jelly out later. Lightly greasing the parchment paper or the pan itself can also be helpful for easy release.
After the 1-minute boil, immediately remove the saucepan from the heat. The mixture will be very hot and quite viscous. Carefully and steadily pour the hot mixture into your prepared mold. Work quickly but safely, as the mixture will begin extract to set as it cools. Gently tap the mold on the counter a few times to release any trapped air bubbles and ensure an even surface.
Allow the pâtes de fruits to cool at room temperature for about 1 hour. Then, cover the mold with plastic wrap and transfer it to the refrigerator for at least 4 hours, or preferably overnight, to allow it to fully set and firm up. Patience here is key for achieving that perfect chewy texture.
Phase 4: Cutting and Coating
Once the mixture has fully set and is firm to the touch, it’s time to cut your pâtes de fruits. If you used a baking pan, lift the entire slab out using the parchment paper overhang. Place it on a clean cutting board. You can use a sharp knife or a pizza cutter to slice the jelly into your desired shapes. Traditional shapes are squares or small rectangles, but feel free to get creative! Dust your knife or cutter with a little sugar to prevent sticking.
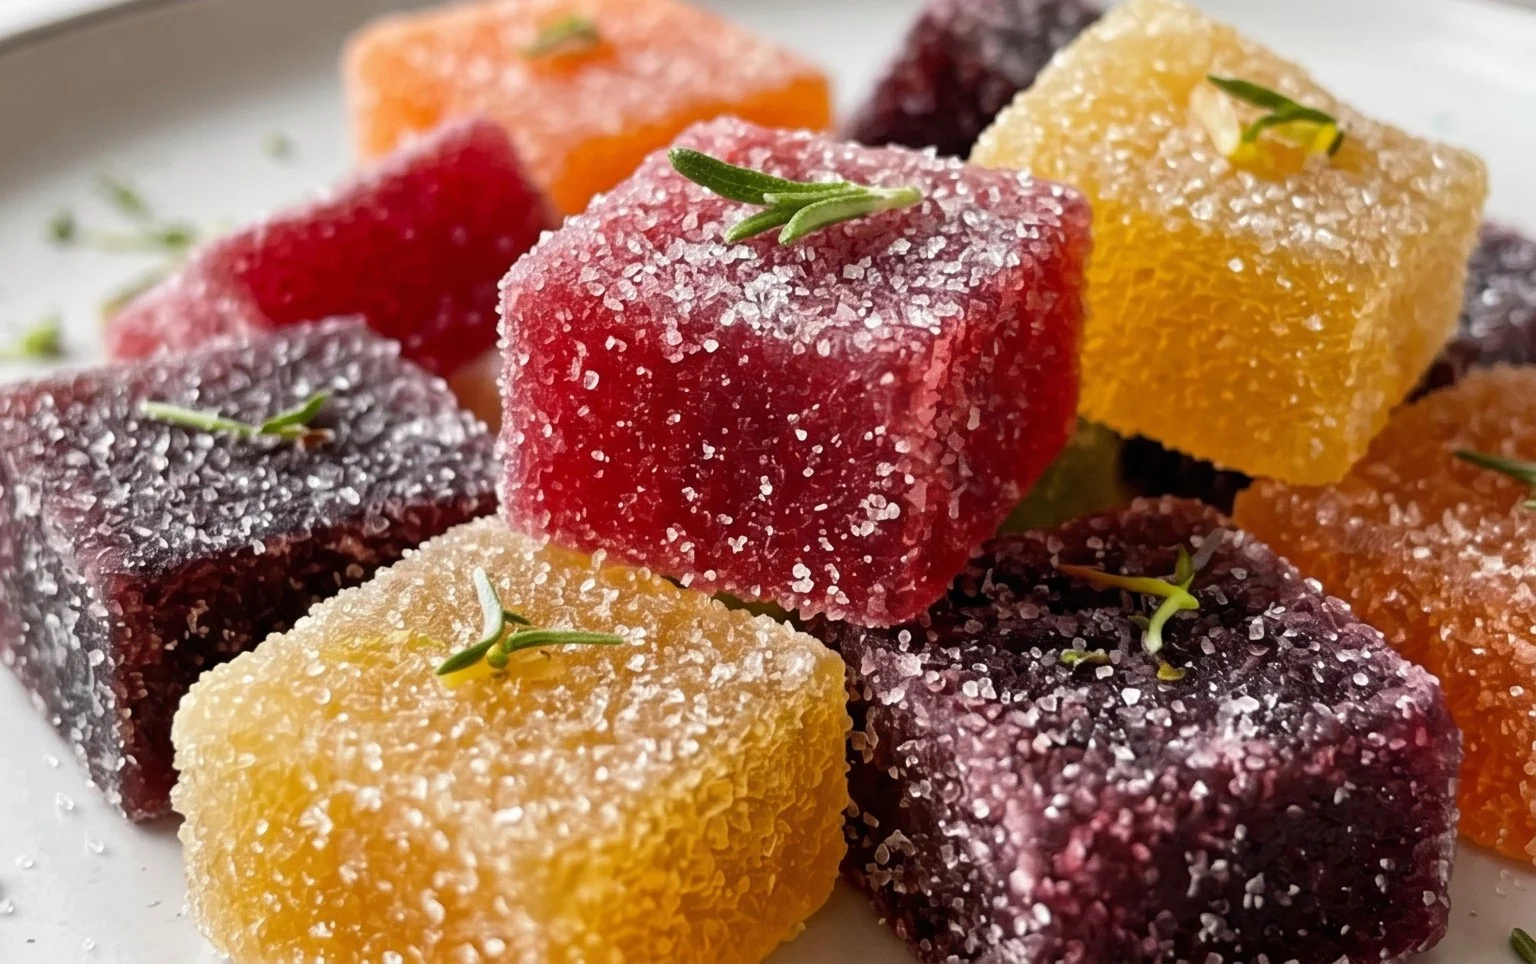
Now for the fun part: coating! Pour a generous amount of granulated sugar onto a clean plate or into a shallow bowl. Gently toss each cut piece of pâte de fruits in the sugar, ensuring it’s lightly coated on all sides. This coating not only adds a delightful textural contrast but also helps prevent the pieces from sticking to each other.
Your delicious homemade pâtes de fruits are now ready to be enjoyed! Store them in an airtight container at room temperature for a week or two. They make a wonderful homemade gift or a special treat to have with your afternoon tea or coffee. Enjoy the pure, vibrant taste of fruit!
Conclusion:
Congratulations! You’ve discovered the secret to making exquisite homemade pâtes de fruits without relying on corn syrup. This recipe truly shines because it allows the natural flavors of your chosen fruit to take center stage, resulting in vibrant, naturally sweet confections. The satisfyingly chewy texture is incredibly rewarding to achieve, and the process itself is a delightful culinary adventure. These beautiful little gems are perfect for gifting, elevating a cheese board, or simply enjoying as a sophisticated treat. Feel free to experiment with a wide array of fruits – think tangy raspberries, sweet apricots, juicy mangoes, or even floral elderflower. Don’t be shy about adding a hint of complementary spice like gin extractger or a touch of vanilla. I wholeheartedly encourage you to give this recipe a try; you’ll be amazed at how easily you can create these gourmet delights in your own kitchen!
Frequently Asked Questions:
Why are my pâtes de fruits not setting?
This is most likely due to not reaching the correct temperature. Pâtes de fruits need to reach the “soft ball” stage, typically around 235-240°F (113-116°C). Ensure your thermometer is accurate and that the mixture is heated thoroughly. Over-stirring can also sometimes affect the setting process, so try to stir gently and only as needed.
Can I use fresh fruit instead of purée?
While you can, it’s best to use fruit purée for a smoother texture. If you prefer to use fresh fruit, you’ll need to cook it down and then purée it, straining out any seeds or fibrous material. This ensures a consistent and pleasant mouthfeel for your homemade pâtes de fruits.
How long do homemade pâtes de fruits last?
Stored properly in an airtight container at cool room temperature, your homemade pâtes de fruits should last for about 1-2 weeks. For longer storage, you can refrigerate them, but be aware that this might slightly alter their texture. Ensure they are completely cooled and cut before storing.
Homemade Pâtes de Fruits (no corn syrup)
Delightful fruit jellies made from scratch without corn syrup, showcasing pure fruit flavor. Perfect for candy making.
Ingredients
-
2 cups fruit juice (orange and pomegranate)
-
1 cup granulated sugar, plus more for coating
-
3 tablespoons classic pectin
-
1 tablespoon freshly squeezed lemon juice
Instructions
-
Step 1
Combine fruit juice, granulated sugar, and lemon juice in a saucepan. Whisk to combine. -
Step 2
Stir in the pectin and whisk until fully incorporated. -
Step 3
Bring the mixture to a boil over medium-high heat, stirring constantly. -
Step 4
Continue to boil for 1-2 minutes, or until the mixture thickens. -
Step 5
Pour the hot mixture into a shallow, parchment-lined baking dish. -
Step 6
Let it cool completely at room temperature for about 30 minutes, then refrigerate for at least 4 hours, or until firm. -
Step 7
Once firm, cut into desired shapes and coat each piece in granulated sugar.
Important Information
Nutrition Facts (Per Serving)
It is important to consider this information as approximate and not to use it as definitive health advice.
Allergy Information
Please check ingredients for potential allergens and consult a health professional if in doubt.