Simple Honey Wheat Bread Recipe – Easy & Delicious Bake
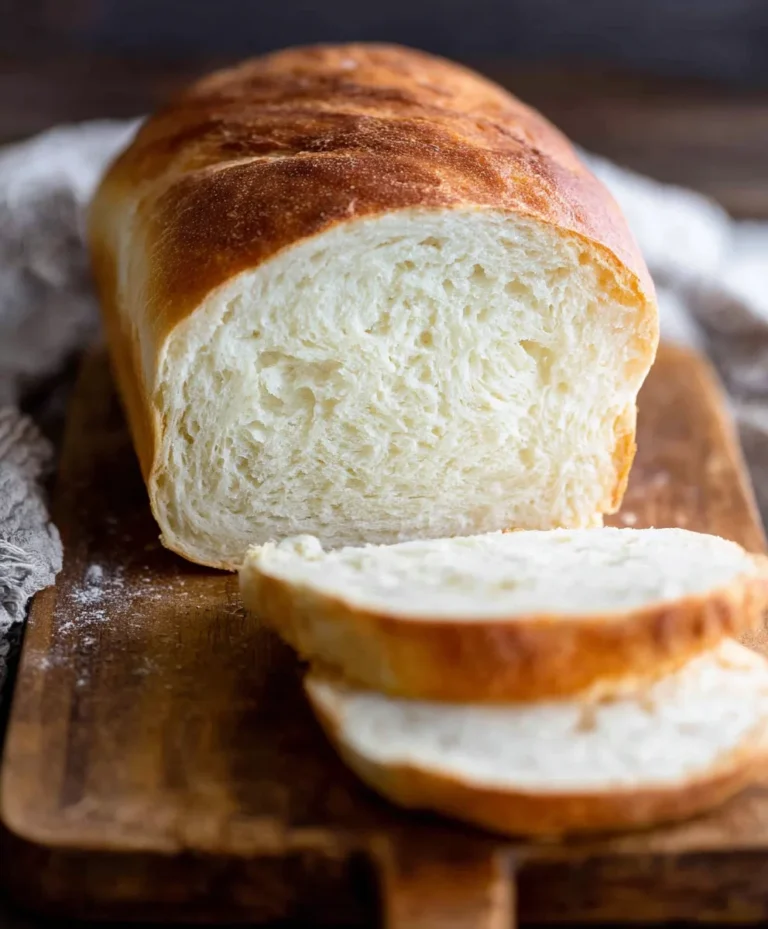
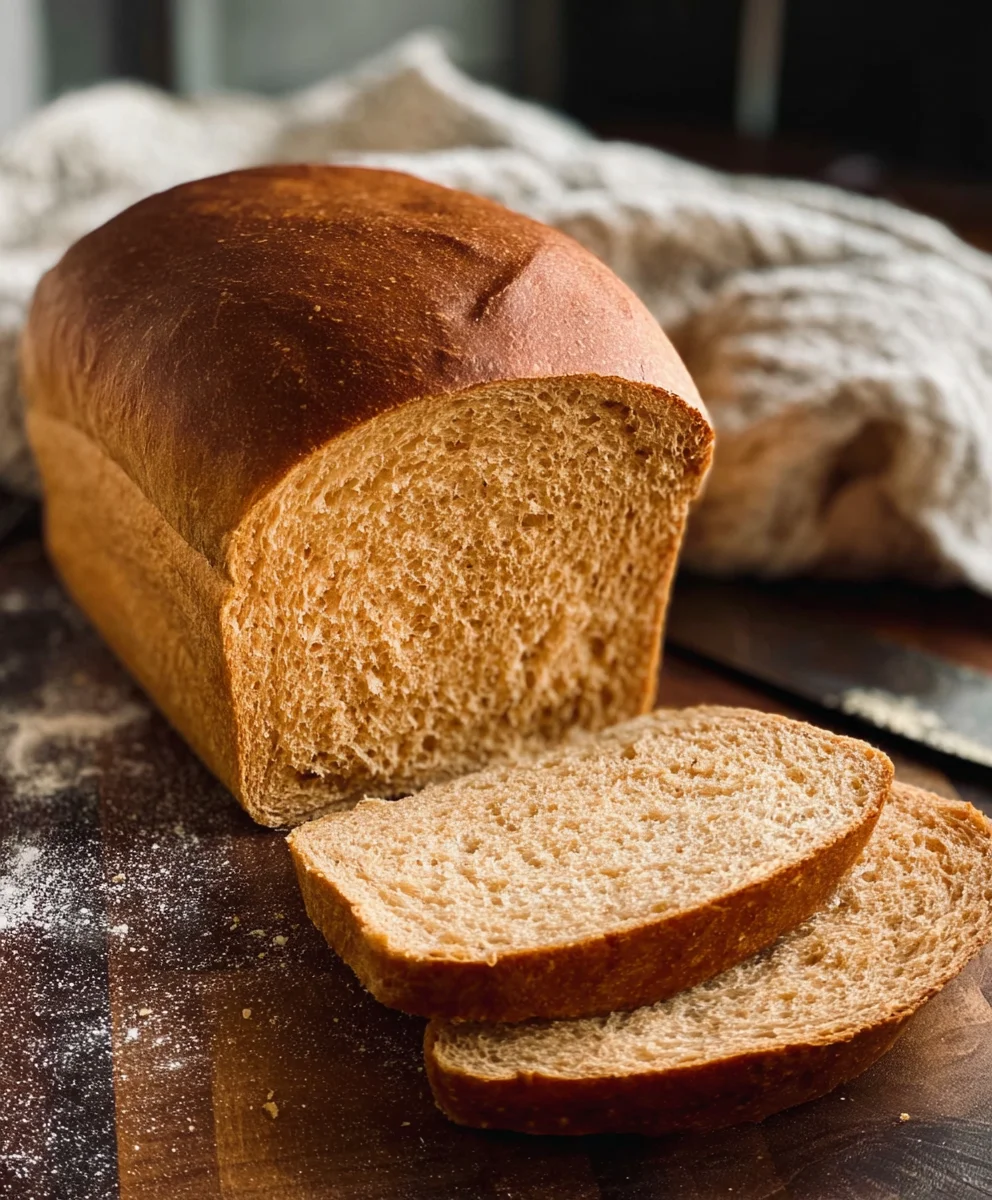
Simple Honey Wheat Bread is more than just a loaf; it’s a warm embrace, a foundational element that elevates everyday meals into comforting experiences. There’s a primal satisfaction in the aroma that wafts from your oven as this beautiful, golden-brown creation bakes, a scent that speaks of home and nourishment. What is it about this particular loaf that captures our hearts and taste buds? It’s the perfect balance of wholesome, nutty wheat flavor mingling with the subtle, natural sweetness of honey. This isn’t your average bland whole wheat; the honey infuses a tender crum extractb and a delightful, slightly caramelized crust that makes every slice an occasion. Whether you’re toasting it for breakfast, crafting the ultimate sandwich, or simply enjoying it with a smear of butter, this Simple Honey Wheat Bread delivers pure, unadulterated comfort. Its remarkable versatility and irresistible flavor profile make it a recipe you’ll turn to again and again.
Ingredients:
- 2 cups warm milk (about 110-115 degrees Fahrenheit)
- 1-1/2 Tablespoons instant yeast
- 1 teaspoon sugar
- 1/2 cup warm water
- 2-1/2 cups whole wheat flour
- 3 to 3-1/2 cups bread flour or all-purpose flour (start with 3 cups and add more as needed)
- 3 Tablespoons shortening (butter-flavored is recommended for extra richness)
- 1/4 cup honey
- 1 Tablespoon salt
- For the Egg Wash: 1 large egg whisked with 1 Tablespoon water
Preparing the Dough
Activating the Yeast and Mixing the Wet Ingredients
The first step to a wonderful Simple Honey Wheat Bread is ensuring our yeast is active and ready to work its magic. In a large mixing bowl, combine the 2 cups of warm milk with the 1 teaspoon of sugar. Give it a quick stir to dissolve the sugar. Then, sprinkle the 1-1/2 Tablespoons of instant yeast over the surface. Let this mixture sit undisturbed for about 5 to 10 minutes. You’ll know the yeast is alive and well when it becomes foamy and bubbly on top, indicating it’s actively consuming the sugar and producing carbon dioxide. If you don’t see this activity, your yeast might be old or the milk wasn’t the right temperature, and it’s best to start again with fresh yeast. While the yeast is blooming, in a separate small bowl, combine the 1/2 cup of warm water with the 1/4 cup of honey and the 3 Tablespoons of shortening. Stir this mixture until the honey is fully dissolved and the shortening has begun to melt. This will create a sweet, slightly thickened liquid that will contribute to the bread’s tender crum extractb and lovely golden crust.
Combining Dry Ingredients and Initial Dough Formation
Once your yeast is foamy, gently whisk the milk and yeast mixture to incorporate any settled yeast. Now, add the honey and shortening mixture to the yeast mixture. Give it another gentle stir to combine these wet ingredients. In a separate, large bowl (or the bowl of your stand mixer), add the 2-1/2 cups of whole wheat flour and the 1 Tablespoon of salt. Whisk these dry ingredients together briefly to distribute the salt evenly. Make a well in the center of the dry ingredients and pour in the combined wet ingredients. Using a sturdy spoon or a dough whisk, begin extract to mix everything together, working from the center outwards. You’ll start by incorporating the flour into the wet ingredients. At this stage, you’llgin extractso begin adding your bread flour, starting with the 3 cups. Continue mixing until a shaggy dough starts to form. It will look quite sticky and a bit unmanageable, which is perfectly normal. The goal here is just to bring everything together into a cohesive mass.
Kneading the Dough
Developing Gluten for Structure
Now comes the crucial step of kneading, which is essential for developing the gluten network that gives our Simple Honey Wheat Bread its structure and chew. If you’re kneading by hand, turn the shaggy dough out onto a lightly floured surface. Your surface can be a clean countertop or a large cutting board. Dust your hands lightly with fgin extractr as well. Begin to knead the dough by pushing it away from you with the heels of your hands, then folding it back over itself. Rotate the dough a quarter turn and repeat the process. Initially, the dough will be very sticky and may cling to your hands and the surface. Resist the urge to add too much extra flour at this stage, as this can make the bread dense. Instead, use a bench scraper to help lift the dough and incorporate any stray bits. Continue kneading for about 8 to 10 minutes. The dough will gradually transform from a sticky, lumpy mass into a smooth, elastic ball. You’ll know it’s ready when it springs back slowly when poked gently with your finger. If you’re using a stand mixer, attach the dough hook and knead on medium-low speed for about 6 to 8 minutes. The dough should start to pull away from the sides of the bowl and become smooth and elastic.
First Rise (Bulk Fermentation)
Creating the Perfect Environment for Dough to Double
Lightly grease a clean, large bowl with a little oil or cooking spray. Take your kneaded dough and place it into the greased bowl, turning it once to coat all sides with the oil. This prevents a dry skin from forming on the dough as it rises. Cover the bowl tightly with plastic wrap or a damp kitchen towel. Find a warm, draft-free place for the dough to rise. An oven that has been turned off but is still slightly warm from a previous use is ideal, or you can place it on top of your refrigerator. Let the dough rise for about 1 to 1-1/2 hours, or until it has doubled in size. This process, known as bulk fermentation, allows the yeast to work its magic, producing the gases that make the bread light and airy. You’ll see the dough visibly puff up and become noticeably larger and softer. The time it takes can vary depending on the temperature of your environment, so keep an eye on the dough rather than strictly adhering to the clock.
Shaping and Second Rise
Deflating and Forming the Loaves
Once the dough has doubled in size, gently punch it down to release the accumulated gases. This helps to redistribute the yeast and sugars and create a more even texture. Turn the dough out onto a lightly floured surface again. Divide the dough into two equal portions. If you’re making a standard loaf, shape each portion into a smooth ball by tucking the edges underneath. For a classic loaf pan shape, gently flatten each ball into a rectangle, then tightly roll it up like a jelly roll, pinching the seam to seal. Tuck the ends under to create a uniform shape. Place each shaped loaf into a greased loaf pan (9×5 inch pans are standard). You can also lightly grease your hands or the dough surface if it becomes a bit sticky during shaping.
The Final Proofing Stage
Cover the loaf pans loosely with plastic wrap or a clean kitchen towel. Place them back in a warm, draft-free spot to let the dough rise again. This second rise, or proofing, is crucial for achieving that beautiful oven spring. Allow the dough to rise for another 45 minutes to 1 hour, or until it has nearly doubled in size and the dough has risen above the rim of the pan by about an inch. You should be able to see a significant increase in volume. As the dough is proofing, preheat your oven to 375 degrees Fahrenheit (190 degrees Celsius).
Baking the Bread
Achieving a Golden Brown Crust
Just before you’re ready to bake, gently brush the tops of the risen loaves with the prepared egg wash. This egg wash is what will give your Simple Honey Wheat Bread that beautiful, glossy golden-brown crust. You can add a light sprinkle of seeds like sesame or poppy seeds at this point if you like, but it’s entirely optional. Carefully place the loaf pans into the preheated oven. Bake for 30 to 35 minutes, or until the loaves are deeply golden brown on top and the internal temperature reaches approximately 190-200 degrees Fahrenheit (88-93 degrees Celsius) when tested with an instant-read thermometer. You can also tap the bottom of the loaf; if it sounds hollow, it’s likely done.
Cooling for Optimal Texture
Once baked, immediately remove the bread from the loaf pans and place it on a wire cooling rack. This is an important step to prevent the bottom crust from becoming soggy from trapped steam. Let the bread cool completely, or at least for a good hour, before slicing. This allows the internal structure to set properly, ensuring you get those clean, beautiful slices and the best texture. Enjoy your homemade Simple Honey Wheat Bread!
Conclusion:
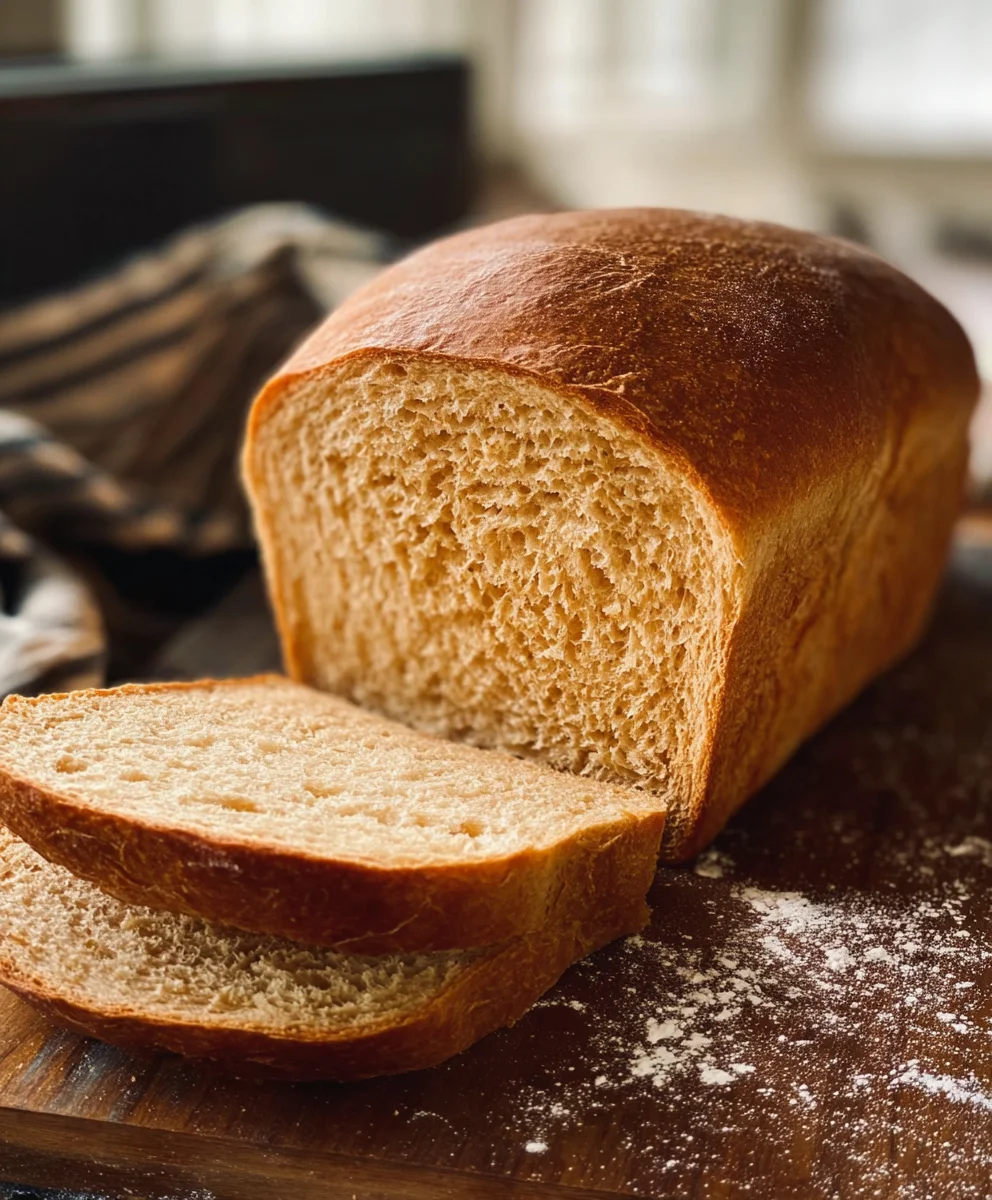
There you have it – your guide to baking the most delightful Simple Honey Wheat Bread! We’ve walked through each step, from activating the yeast to achieving that perfect golden crust. This bread is wonderfully versatile, proving that wholesome baking doesn’t have to be complicated. Enjoy the satisfying aroma that fills your kitchen as it bakes, and the unparalleled taste of homemade goodness. I truly encourage you to give this recipe a try; you might just discover your new favorite go-to bread!
For serving suggestions, this Simple Honey Wheat Bread is fantastic toasted with butter and a drizzle of extra honey, or used as the base for hearty sandwiches. It also pairs beautifully with soups and stews, or simply enjoyed on its own. Don’t hesitate to get creative with variations! You could add a sprinkle of seeds like sunflower or poppy seeds to the top before baking for extra texture and flavor, or incorporate a handful of chopped nuts for a richer loaf.
Frequently Asked Questions about Simple Honey Wheat Bread:
Q1: My Simple Honey Wheat Bread didn’t rise very well. What could have gone wrong?
Several factors can affect rising. Ensure your yeast was fresh and properly activated in warm, not hot, liquid. The ambient temperature of your kitchen can also play a role; a warmer environment helps yeast thrive. Over-kneading or under-kneading the dough can also impact its ability to rise. Make sure to let the dough double in size during its first rise before shaping.
Q2: Can I make Simple Honey Wheat Bread without honey?
While honey contributes a unique sweetness and moisture, you can substitute it. Maple syrup is a good alternative, or you can use granulated sugar. You might need to slightly adjust the amount to achieve the desired sweetness, so start with a little less and add more if needed. The texture might vary slightly without the specific properties of honey, but it will still be delicious!
Simple Honey Wheat Bread Recipe – Easy & Delicious Bake
An easy and delicious recipe for homemade honey wheat bread, perfect for any occasion.
Ingredients
-
2 cups warm milk (about 110-115 degrees Fahrenheit)
-
1-1/2 Tablespoons instant yeast
-
1 teaspoon sugar
-
1/2 cup warm water
-
2-1/2 cups whole wheat flour
-
3 to 3-1/2 cups bread flour or all-purpose flour
-
3 Tablespoons shortening
-
1/4 cup honey
-
1 Tablespoon salt
-
1 large egg whisked with 1 Tablespoon water (for egg wash)
Instructions
-
Step 1
Activate the yeast by combining warm milk and sugar in a bowl. Sprinkle yeast over the top and let sit for 5-10 minutes until foamy. While yeast blooms, combine warm water, honey, and shortening in a separate bowl until dissolved and melted. -
Step 2
Gently whisk the foamy milk and yeast mixture. Add the honey and shortening mixture. In another bowl, whisk together whole wheat flour and salt. Make a well in the dry ingredients and pour in the wet ingredients. Mix until a shaggy dough forms, adding bread flour gradually. -
Step 3
Knead the dough on a lightly floured surface for 8-10 minutes (or 6-8 minutes in a stand mixer with a dough hook) until smooth and elastic. The dough should spring back slowly when poked. -
Step 4
Place the kneaded dough in a lightly greased bowl, turning to coat. Cover and let rise in a warm, draft-free place for 1 to 1-1/2 hours, or until doubled in size. -
Step 5
Punch down the risen dough, divide into two equal portions, and shape into loaves for your greased loaf pans. Cover loosely and let rise again for 45 minutes to 1 hour, until nearly doubled and about an inch above the pan rim. Preheat oven to 375°F (190°C). -
Step 6
Brush the tops of the risen loaves with the egg wash. Bake for 30-35 minutes, or until golden brown and the internal temperature reaches 190-200°F (88-93°C). -
Step 7
Remove bread from pans immediately and cool completely on a wire rack before slicing to allow the internal structure to set properly.
Important Information
Nutrition Facts (Per Serving)
It is important to consider this information as approximate and not to use it as definitive health advice.
Allergy Information
Please check ingredients for potential allergens and consult a health professional if in doubt.