Easy Whole Wheat Bread Recipe- Healthy Homemade Loaf
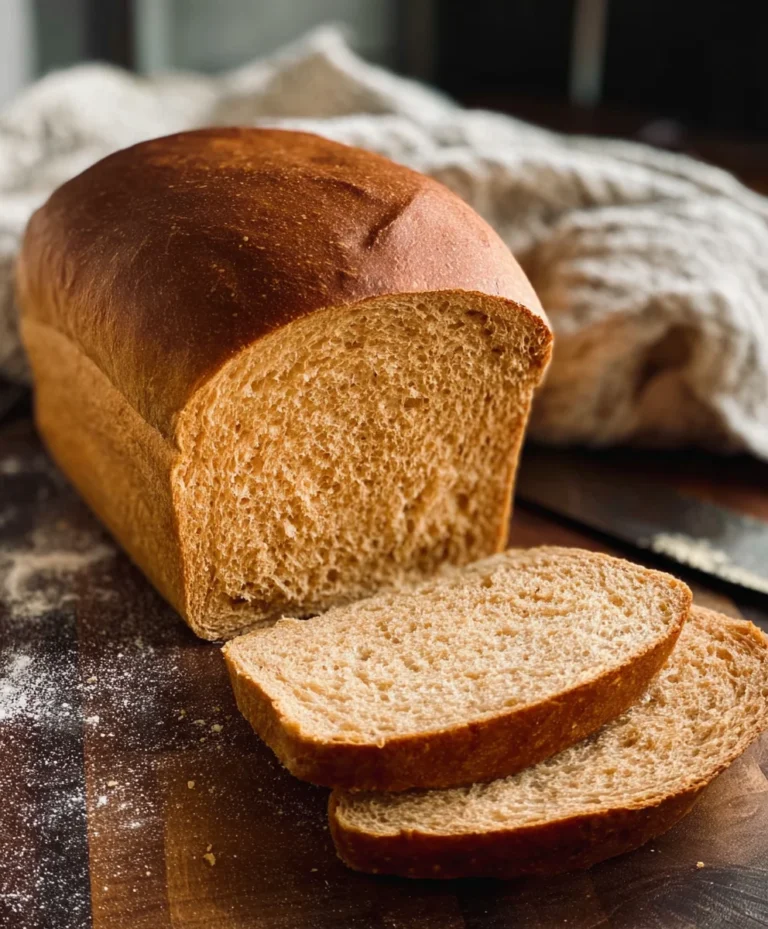
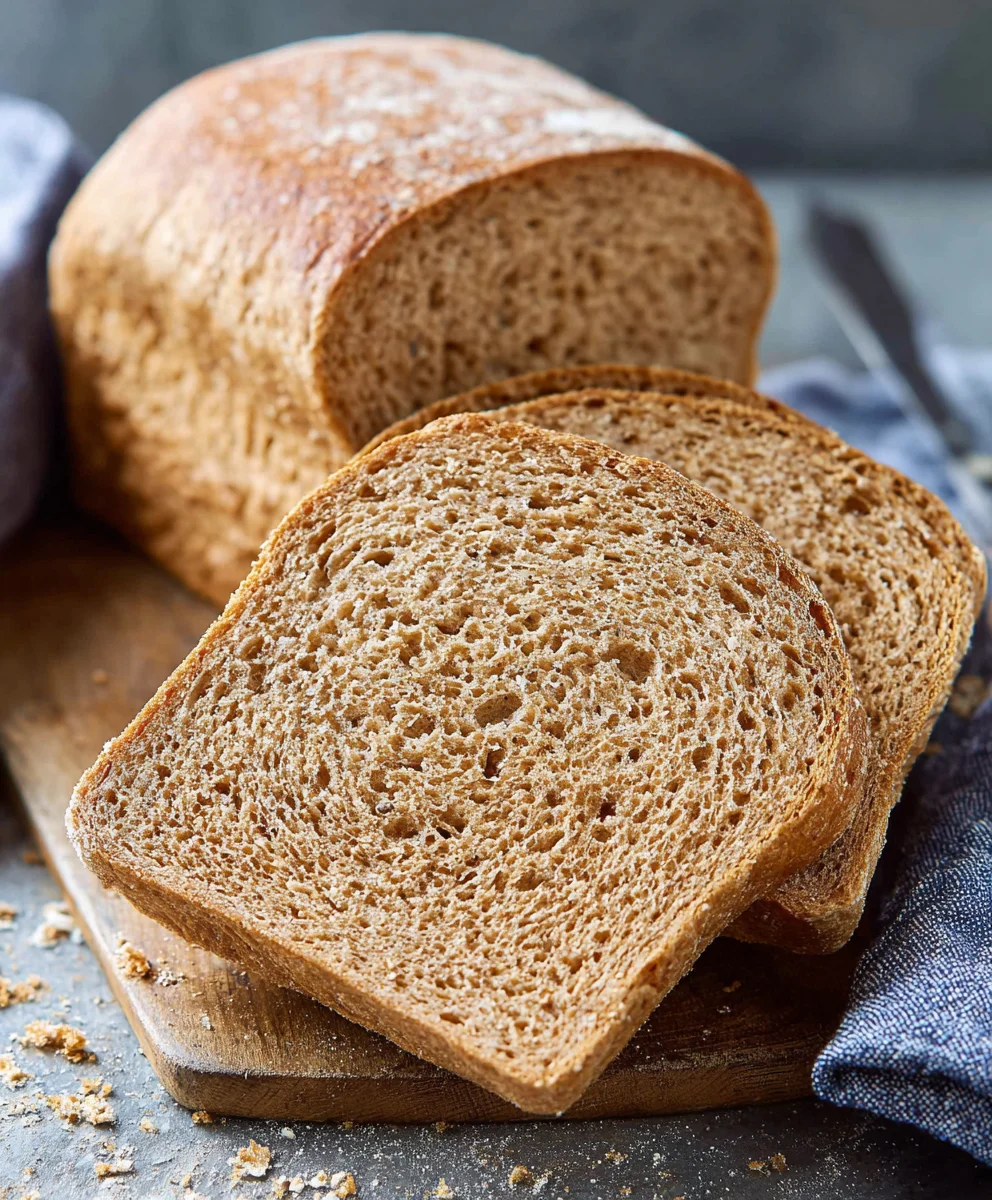
Whole Wheat Bread, that hearty and wholesome staple, is more than just a loaf; it’s a comforting embrace, a versatile canvas, and a testament to the beauty of simple, natural ingredients. There’s a unique satisfaction that comes from biting into a slice of homemade Whole Wheat Bread, a texture that’s both satisfyingly dense and wonderfully tender, accompanied by that unmistakable nutty aroma. It’s the kind of bread that makes you feel good from the inside out, a welcome departure from mass-produced alternatives. People adore it for its inherent health benefits, the subtle sweetness, and the way it pairs perfectly with everything from a smear of butter to a hearty stew. What truly sets this particular Whole Wheat Bread apart is the careful balance of flours, a touch of natural sweetness that enhances its inherent flavor, and a technique that guarantees a perfect crust and a soft, airy crum extractb, making every slice a delightful experience.
Ingredients:
- 1 cup water
- ¼ cup milk*
- 3 tablespoons honey
- 2 ¼ teaspoons active dry yeast (or instant yeast (1 packet))
- 3 cups (339 grams) whole wheat flour* (plus more as needed)
- 1 ½ teaspoons salt
- 3 tablespoons unsalted butter (cut into 6 pieces and softened)
Preparing the Dough
Activating the Yeast
To begin extract, let’s get our yeast ready. In a small bowl, combine the 1 cup of water and ¼ cup of milk. It’s important that the liquid is warm, not hot, as this is crucial for activating the yeast properly. Aim for a temperature between 105°F and 115°F (40°C to 46°C). If it’s too cold, the yeast won’t wake up and do its job, and if it’s too hot, you’ll kill it. You can test this by dipping your finger in; it should feel pleasantly warm, like a baby’s bathwater. Add the 3 tablespoons of honey to this warm liquid. Honey not only adds a subtle sweetness to our whole wheat bread but also acts as food for the yeast, helping it to multiply and create that lovely airy texture. Sprinkle the 2 ¼ teaspoons of active dry yeast over the surface. Give it a gentle stir to help it combine, but avoid overmixing. Let this mixture sit undisturbed for about 5 to 10 minutes. You should see it start to foam and bubble, looking like a frothy cap. This indicates that the yeast is alive and active and ready to work its magic. If you don’t see any foaming, it means your yeast might be old or the liquid was too hot or too cold, and you’ll need to start this step again with fresh yeast.
Combining Dry Ingredients and Initial Mix
While the yeast is blooming, let’s get our dry ingredients ready. In a large mixing bowl, combine the 3 cups of whole wheat flour and 1 ½ teaspoons of salt. Whisk them together thoroughly to ensure the salt is evenly distributed throughout the flour. This is important for flavor and also helps to control the yeast activity. Now, once the yeast mixture is foamy and active, pour it into the bowl with the dry ingredients. Add the 3 tablespoons of softened unsalted butter to the bowl as well. The butter should be soft to the touch but not melted. Softened butter incorporates more easily into the dough and contributes to a tender crum extractb in the finished loaf.
Kneading the Dough
Developing the Gluten Structure
Now comes the fun part – kneading! You can do this by hand or using a stand mixer with a dough hook attachment. If you’re kneading by hand, make a well in the center of your flour mixture and pour in the activated yeast mixture and add the softened butter. Start mixing with a spoon or a spatula until a shaggy gin extractgh begins to form. Once it becomes too difficult to mix with the spoon, turn the dough out onto a lightly floured surface. It will be sticky at first, and that’s perfectly normal for whole wheat bread. Resist the urge to add too much extra flour at this stage, as it can make the bread dense. Instead, use a bench scraper or your hands to wogin extractthe dough. Begin kneading by pushing the dough away from you with the heels of your hands, then folding it back towards you. Rotate the dough a quarter turn and repeat. Continue this process for about 8 to 10 minutes. You’re looking for the dough to become smooth, elastic, and less sticky. It should spring back slowly when you gently poke it with your finger. If using a stand mixer, attach the dough hook and mix on low speed for about 6 to 8 minutes, until the dough is smooth and pulls away from the sides of the bowl. It should still be slightly tacky to the touch.
First Rise (Proofing)
Creating a Warm Environment
Once your dough has been kneaded to perfection, it’s time for its first rise, also known as proofing. Lightly grease a clean large bowl with a little oil or cooking spray. Place the kneaded dough into the greased bowl, turning it once to ensure the entire surface is coated with a thin layer of oil. This prevents the dough from drying out as it rises. Cover the bowl tightly with plastic wrap or a clean kitchen towel. Find a warm, draft-free spot for the dough to rise. This could be a slightly warmed oven (turned off, with the light on) or simply a warm corner of your kitchen. The goal is to create a cozy environment where the yeast can work efficiently. Let the dough rise for 1 to 1.5 hours, or until it has doubled in size. The exact time will depend on the temperature of your environment. You’ll know it’s ready when it looks puffy and has significantly increased in volume.
Shaping and Second Rise
Preparing for the Oven
Gently punch down the risen dough to release the air bubbles. Turn the dough out onto a lightly floured surface again. For a standard loaf, shape it into a round or an oblong shape that will fit your loaf pan. If you’re using a loaf pan, lightly grease it or line it with parchment paper. Place the shaped dough into the prepared pan. Cover the pan loosely with plastic wrap or a clean kitchen towel again and let it rise for a second time. This second rise is shorter, usually about 30 to 45 minutes, and the dough should increase in volume by about 50% to 75%. You want it to be visibly puffed up, but not quite doubled again. This second rise helps to create a lighter, more airy texture in your finished whole wheat bread. Preheat your oven to 375°F (190°C) during this second rising period so that it’s ready when your dough is.
Baking the Whole Wheat Bread
Achieving a Golden Crust
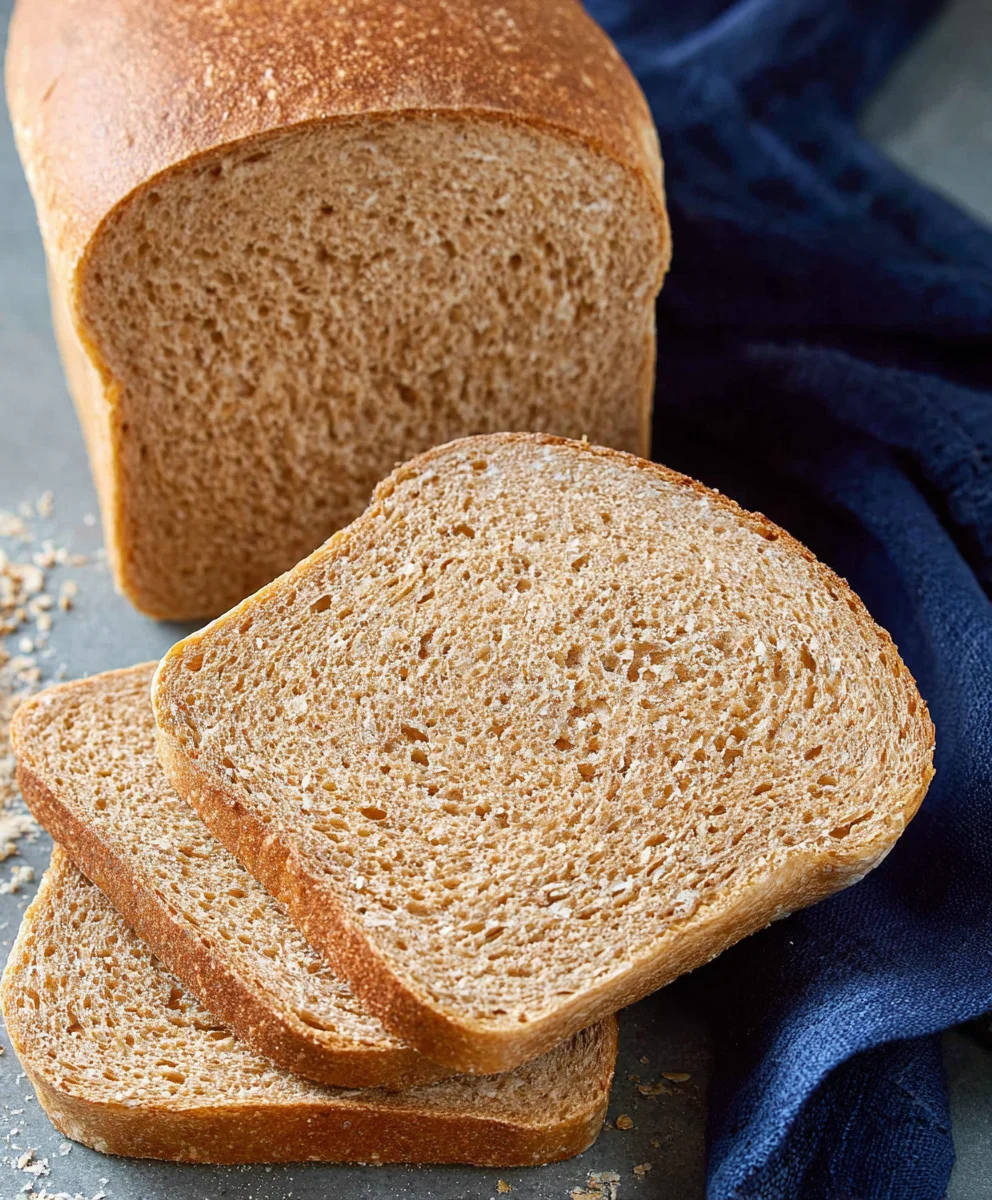
Once the dough has completed its second rise, it’s time to bake. If you like, you can brush the top of the loaf with a little milk or an egg wash for a shinier crust. You can also sprinkle it with seeds if you desire. Carefully place the loaf pan into the preheated oven. Bake for 30 to 35 minutes, or until the crust is a deep golden brown and the internal temperature of the bread reaches 190°F to 200°F (88°C to 93°C) when measured with an instant-read thermometer. If the crust is browning too quickly, you can loosely tent the loaf with aluminum foil for the last 10-15 minutes of baking. Once baked, remove the bread from the oven and immediately turn it out of the pan onto a wire rack to cool completely. This is crucial to prevent the bottom crust from becoming soggy. Allow the whole wheat bread to cool for at least an hour before slicing. This allows the internal structure to set properly, ensuring beautiful slices. Enjoy your delicious homemade whole wheat bread!
Conclusion:
And there you have it – a foolproof guide to baking your very own delicious and healthy Whole Wheat Bread! We’ve walked through the simple steps, from activating your yeast to achieving that perfect golden crust. This recipe is wonderfully versatile, making it a staple for any kitchen. Enjoy the satisfying aroma and the delightful taste of homemade bread, knowing exactly what nourishing ingredients go into it. It’s a truly rewarding baking experience that’s much simpler than you might think!
For serving, this Whole Wheat Bread is fantastic toasted with a smear of butter or your favorite jam. It also makes an excellent base for sandwiches, offering a wholesome alternative to store-bought options. Don’t hesitate to experiment with variations! You can add seeds like sunflower or pumpkin for extra texture and nutrients, or incorporate herbs like rosemary for a savory twist. Baking this bread is an invitation to get creative and make it your own.
We truly hope you feel empowered to give this Whole Wheat Bread recipe a try. The satisfaction of pulling a warm, crusty loaf from your oven is unparalleled. Happy baking, and enjoy every delicious bite!
FAQs:
Can I make this Whole Wheat Bread recipe without yeast?
While this recipe is specifically designed for yeast leavening, you could explore “quick bread” recipes that use baking soda or baking powder for leavening if you’re looking for a yeast-free alternative. However, the texture and flavor profile will be different from this classic Whole Wheat Bread.
My Whole Wheat Bread is too dense. What did I do wrong?
A common reason for dense bread is insufficient kneading or proofing. Ensure you’ve kneaded the dough until it’s smooth and elastic, and allow it ample time to rise in a warm place. Over-measuring your flour can also contribute to density, so try to use the spoon-and-level method for accurate measurements.
Easy Whole Wheat Bread Recipe- Healthy Homemade Loaf
A simple and healthy recipe for making delicious whole wheat bread from scratch. This homemade loaf is perfect for sandwiches or enjoying with your favorite toppings.
Ingredients
-
1 cup water
-
1/4 cup milk
-
3 tablespoons honey
-
2 1/4 teaspoons active dry yeast
-
3 cups whole wheat flour
-
1 1/2 teaspoons salt
-
3 tablespoons unsalted butter
Instructions
-
Step 1
Activate the yeast: Combine warm water (105-115°F) and milk in a bowl. Stir in honey and sprinkle yeast over the top. Let sit for 5-10 minutes until foamy. -
Step 2
Combine dry ingredients: In a large bowl, whisk together whole wheat flour and salt. Pour the activated yeast mixture and softened butter into the dry ingredients. Mix until a shaggy dough forms. -
Step 3
Knead the dough: Turn the dough onto a lightly floured surface and knead for 8-10 minutes until smooth and elastic. Alternatively, use a stand mixer with a dough hook for 6-8 minutes. -
Step 4
First rise (proofing): Place the dough in a lightly greased bowl, cover, and let rise in a warm, draft-free spot for 1 to 1.5 hours, or until doubled in size. -
Step 5
Shape and second rise: Punch down the dough, shape it into a loaf, and place it in a greased loaf pan. Cover and let rise for 30-45 minutes, or until increased by 50-75%. Preheat oven to 375°F (190°C) during this time. -
Step 6
Bake the bread: Bake for 30-35 minutes, or until golden brown and the internal temperature reaches 190-200°F. Cool completely on a wire rack before slicing.
Important Information
Nutrition Facts (Per Serving)
It is important to consider this information as approximate and not to use it as definitive health advice.
Allergy Information
Please check ingredients for potential allergens and consult a health professional if in doubt.